
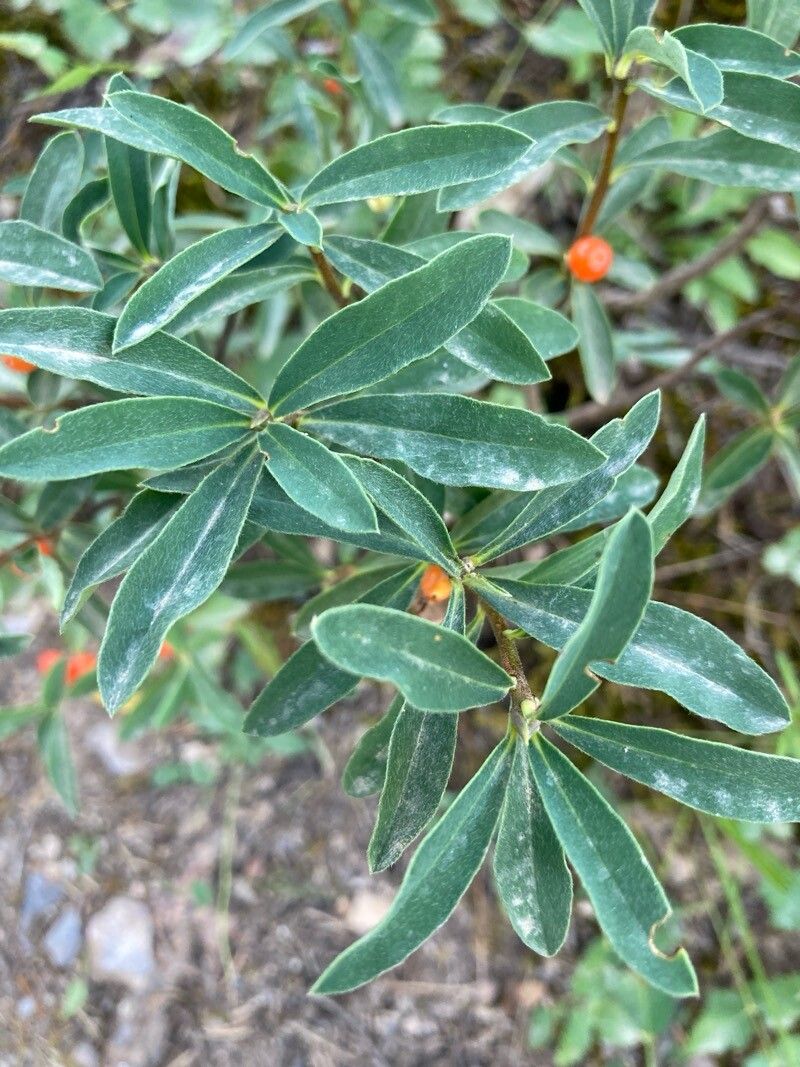
Unlocking the Secrets of Daphne Alpina: How to Propagate This Exquisite Gem
Daphne alpina, with its intoxicating fragrance and delicate beauty, is a prized possession for any gardener. But acquiring this alpine treasure can be tricky, as it’s not readily available at every nursery. The good news? You can easily grow your own Daphne alpina from cuttings! This blog post will guide you through the process, unlocking the secrets of propagating this exquisite gem.
Why Propagate?
Beyond the joy of nurturing a plant from scratch, propagation offers several advantages:
- Cost-effective: Instead of paying a premium price for a mature plant, you can create your own at a fraction of the cost.
- Preserving Desired Traits: Propagation ensures you maintain the exact characteristics of your existing Daphne alpina, including its unique fragrance and flower color.
- Increased Availability: You can easily share the joy of Daphne alpina with fellow gardening enthusiasts by gifting them cuttings or seedlings.
Choosing the Perfect Cutting
For the best results, choose your cuttings from a healthy, mature Daphne alpina plant that is actively growing. Look for:
- Semi-hardwood cuttings: These stems are firm but still flexible, taken in late spring or summer.
- Healthy, disease-free growth: Select cuttings that are free from pests, diseases, or any signs of damage.
- Tip of the branch: Cuttings taken from the tips tend to root faster and more readily.
Preparing your Cuttings
- Clean Cut: Make a clean, angled cut just below a node (where a leaf grows). This provides a larger surface area for root development.
- Remove Lower Leaves: Remove leaves below the soil line to prevent rotting.
- Treat with Rooting Hormone: Dip the cut end in rooting hormone powder for a boost to its root development.
- Prepare the Potting Mix: Use a well-draining potting mix specifically formulated for rooting cuttings.
The Rooting Process
- Planting the Cuttings: Gently insert the cuttings into the potting mix, ensuring the node is buried beneath the surface.
- Maintaining Humidity: Cover the pot with a clear plastic dome or bag to create a humid environment for the cuttings. This helps retain moisture and encourages root growth.
- Light and Temperature: Place the pot in a bright, indirect light location. Consistent temperatures between 65-75°F are optimal for root development.
- Watering: Mist the cuttings regularly to maintain a moist environment. Don’t allow the potting mix to become waterlogged.
- Patience: It typically takes 6-8 weeks for Daphne alpina cuttings to develop roots. Be patient and provide consistent care throughout this time.
Transitioning to a Growing Environment
Once your Daphne alpina cuttings have developed a strong root system, gently remove them from the plastic cover and allow them to acclimate to the open air. You can then transplant them into individual pots or directly into your garden, choosing a shady or partially shaded spot with well-draining soil.
Daphne Alpina: A Legacy of Beauty
Propagating Daphne alpina is a rewarding experience that allows you to grow a beautiful and fragrant plant from scratch. Follow these steps carefully and you’ll be surprised how easily you can cultivate your own personal haven of Daphne alpina, a testament to nature’s beauty and your own green thumb.