Taming the Wild Beauty: Propagating Daphne Oleoides
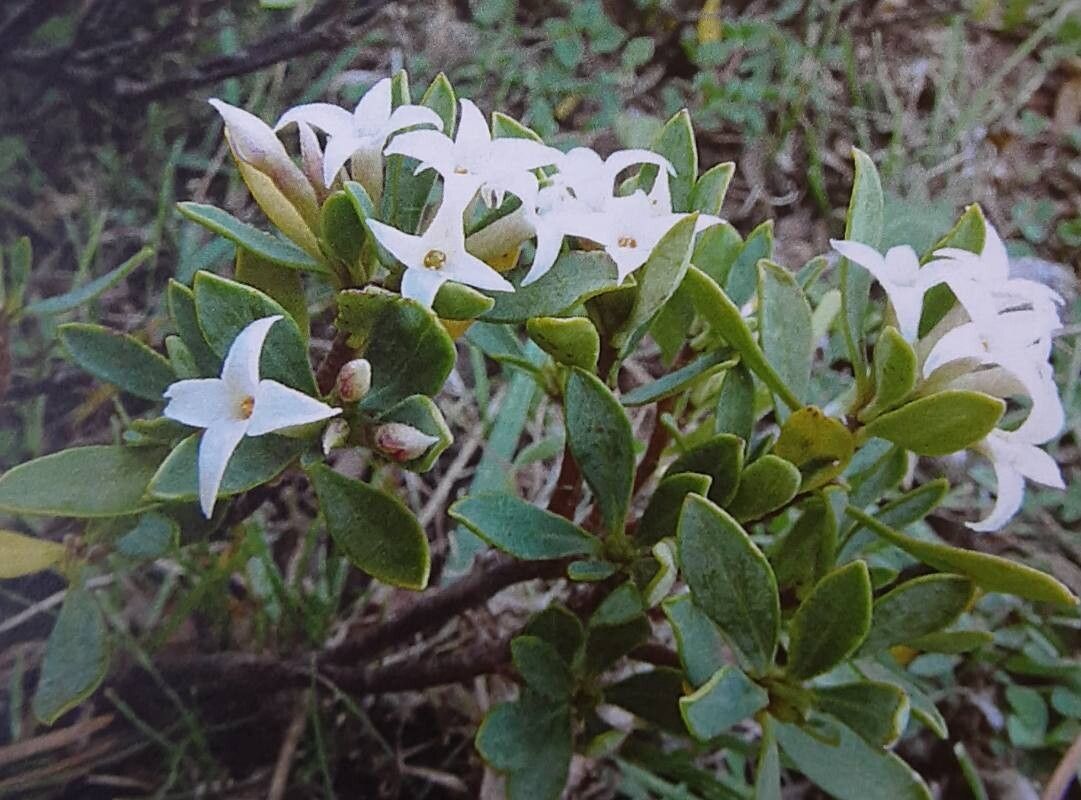
Daphne oleoides, with its intoxicating fragrance and delicate blooms, is a treasure coveted by many gardeners. However, this alluring beauty can be a bit temperamental to cultivate. One of the most rewarding, though slightly challenging, ways to welcome more of this captivating plant into your garden is through propagation.
While Daphne oleoides can be a bit fussy, don’t let that deter you. With patience and the right approach, you can successfully multiply your fragrant collection.
Understanding the Options: Seeds vs. Cuttings
There are two primary methods for propagating Daphne oleoides:
Seeds: Collecting seeds from Daphne oleoides can be tricky, as they don’t always form readily, and germination rates can be unpredictable. If you do manage to collect some ripe berries (be aware they are poisonous), carefully clean the seeds and sow them in a well-draining seed starting mix. Keep the soil consistently moist and be patient; germination can take several months.
- Cuttings: Taking semi-ripe cuttings is generally considered the most reliable method for propagating Daphne oleoides. Semi-ripe cuttings are taken from stems that have started to harden but are still somewhat flexible. This method offers faster results compared to seed propagation.
Mastering the Art of Daphne Cuttings
Timing is Key: The optimal time for taking cuttings is late summer or early fall, when the plant’s energy is focused on root development rather than new growth.
Tools of the Trade:
- Sharp, sterilized pruning shears or a knife
- Rooting hormone (powder or gel)
- Seedling trays or small pots
- Well-draining potting mix (equal parts peat moss, perlite, and vermiculite work well)
Step-by-Step Guide:
- Select Healthy Stems: Choose healthy stems that are not flowering and have new growth at the tip.
- Take the Cutting: Cut a 4-6 inch section from the tip of the stem, making a clean cut just below a leaf node.
- Prepare the Cutting: Remove the leaves from the bottom third of the cutting, leaving 2-3 leaves at the top.
- Hormone Boost (Optional but Recommended): Dip the cut end of the stem in rooting hormone to encourage root development.
- Plant the Cutting: Plant the cutting in a pot filled with the prepared potting mix, burying the bottom node.
- Create a Humid Environment: Place the pot in a propagator or cover it with a plastic bag to maintain high humidity.
- Patience is a Virtue: Place the cutting in a bright location out of direct sunlight and keep the soil consistently moist. Rooting can take anywhere from 6 weeks to several months.
Nurturing Your New Daphne Oleoides
Once your cuttings have rooted, gradually acclimate them to outdoor conditions before planting them in their permanent location. Choose a well-draining site with morning sun and afternoon shade.
Propagating Daphne oleoides can be a rewarding experience for any gardener. While it may require some patience and finesse, the reward of enjoying these fragrant beauties for years to come is well worth the effort.