Unlocking the Secrets of Decalobanthus peltatus: A Guide to Propagation
Decalobanthus peltatus, a mesmerizing tropical beauty with its unique, shield-shaped leaves, is a prized addition to any plant collection. But what if you wanted to share this wonder with others or simply expand your own green haven? The answer lies in propagation, the art of creating new plants from existing ones. Let’s dive into the fascinating world of propagating Decalobanthus peltatus, unlocking the secrets to multiplying this captivating plant.
Understanding Decalobanthus peltatus:
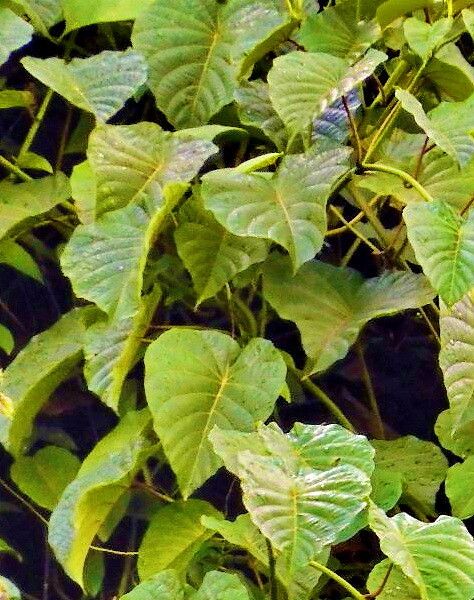
Before we delve into the practicalities, let’s understand the plant itself. Decalobanthus peltatus, a member of the Gesneriaceae family like the African Violet, hails from Southeast Asia. Its captivating charm lies in its unique, velvety leaves featuring intricate patterns and a striking shield shape. These leaves are often adorned with beautiful variegations, adding to the plant’s visual appeal.
Common Methods of Propagation:
Decalobanthus peltatus can be propagated via two primary methods:
Leaf Cuttings: The most popular and effective method, leaf cuttings are a simple yet rewarding way to grow new plants.
- Step 1: Choosing the Right Leaf: Select a healthy, mature leaf with no signs of damage or disease.
- Step 2: Preparing the Cutting: Using a clean, sharp knife or pair of scissors, cut the leaf from the plant, making sure to leave a portion of the petiole (leaf stalk) intact.
- Step 3: Rooting Medium: Choose a well-draining mix like a blend of peat moss, vermiculite, and perlite.
- Step 4: Inserting the Cutting: Insert the petiole into the rooting medium, leaving the leaf portion exposed. Ensure the cutting is firmly in place.
- Step 5: Provide Ideal Conditions: Maintain a warm and humid environment around 70-80°F (21-27°C). Cover the cutting with a humidity dome or plastic wrap to create a mini greenhouse effect.
- Step 6: Patience and Care: In a few weeks, new plantlets will emerge from the petiole, signaling successful rooting.
Leaf Division: This method involves dividing a large, healthy leaf into smaller sections, each capable of forming a new plant.
- Step 1: Selection and Preparation: Choose a large, matured leaf and gently cut it into several sections, ensuring each section has a portion of the vein attached.
- Step 2: Root Development: Treat each section similar to a leaf cutting, placing them into well-draining rooting medium and maintaining a warm, humid environment.
- Step 3: Monitoring and Care: Patience is key. New plantlets will emerge from the leaf sections, eventually developing into independent plants.
Tips for Success:
- Sterilization: Always sterilize your tools to minimize the risk of fungal infections.
- Moisture Management: Maintain a consistently moist environment for the cuttings, ensuring they do not dry out.
- Light and Temperature: Provide bright, indirect light and warm temperatures to encourage healthy root development.
- Patience is Key: Propagation can take time. Be patient and persistent, and soon you will have new Decalobanthus peltatus plants to admire.
Expanding Your Collection:
Whether starting anew or expanding your existing collection, propagating Decalobanthus peltatus is a rewarding experience. The thrill of witnessing new life emerge from a simple leaf cutting or a leaf section is a testament to the wonders of plant propagation. You’ll not only gain new plants to enjoy but also develop a deeper understanding of these beautiful and fascinating tropical treasures.
So, grab your tools, select some healthy leaves, and embrace the joy of growing new Decalobanthus peltatus. It’s a journey that will reward you with vibrant, flourishing plants and a deeper connection to the verdant world around you.