Unveiling the Secrets: How to Propagate the Exquisite Delphinium oxysepalum
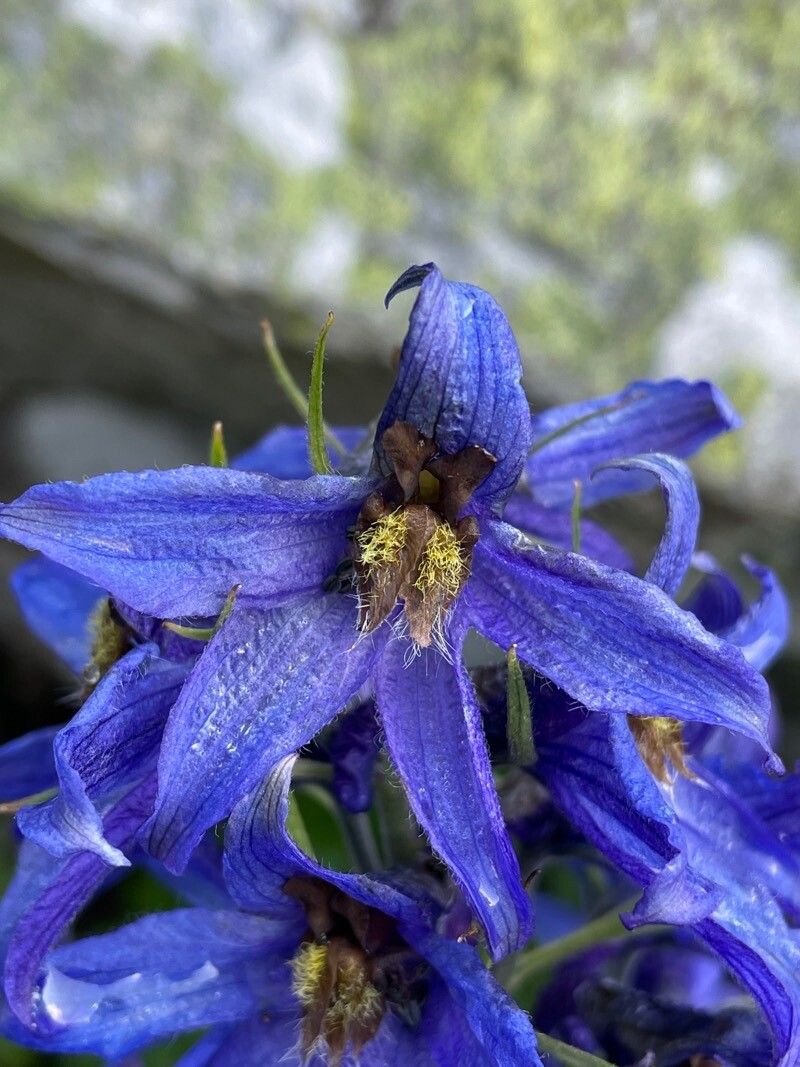
The Delphinium oxysepalum, with its delicate blooms and captivating blue hues, is a true garden gem. This stunning perennial, native to the high meadows of the Himalayas, is a sight to behold, but many shy away from growing it due to its reputation for being a fussy plant.
While it does require specific growing conditions to truly thrive, propagating Delphinium oxysepalum isn’t as daunting as one might think. Armed with the right knowledge and a little patience, you can successfully propagate this beauty and enjoy its ethereal charm year after year.
Here’s a comprehensive guide to help you master the art of propagating Delphinium oxysepalum:
Two Approaches to Success:
- Start Early: Begin sowing seeds indoors 6-8 weeks before the last expected frost.
- Chilling is Key: Delphinium oxysepalum seeds require a period of cold stratification to break dormancy. You can mimic this natural process by placing the seed tray in the refrigerator (not freezer!) for 2-4 weeks before bringing it back to a warm, bright location for germination.
- Well-Draining Medium: Use a seed starting mix that is light and drains well. Sow the seeds thinly and cover them lightly with the mix.
- Light and Moisture: Ensure consistent moisture and provide bright, indirect light. Germination typically takes 2-3 weeks.
- Transplanting: Once the seedlings develop a couple of true leaves, transplant them into individual pots and continue to grow them indoors until after the last frost.
- Harden off: Gradually acclimatize the seedlings to outdoor conditions before planting them in their permanent location.
Division:
- Timing is Crucial: Divide established clumps in early spring or fall when the plant is dormant but before new growth begins.
- Careful Extraction: Gently lift the entire clump from the ground, taking care not to damage the roots.
- Division Technique: Use a sharp, clean knife or garden shears to divide the clump into smaller sections, ensuring each section has a healthy root system and at least one growth bud.
- Replanting: Replant the divisions immediately in well-prepared soil, spacing them according to the mature size of the plant. Water thoroughly after planting.
Tips for Success:
- Patience is Paramount: Remember that both methods take time. Be patient and don’t get discouraged if you don’t see immediate results.
- Well-Drained Soil: Delphinium oxysepalum is susceptible to root rot, so ensure the soil has excellent drainage. Amending with compost can improve drainage while also enriching the soil.
- Location, Location, Location: Choose a location that receives full sun to partial shade and provides some shelter from strong winds.
- Consistent Moisture: Keep the soil consistently moist but not waterlogged. Water deeply when the top inch of soil feels dry to the touch.
By following these propagation techniques, you can enjoy the captivating beauty of Delphinium oxysepalum in your own garden. Remember, each successful propagation is a testament to your dedication and a rewarding experience for any gardening enthusiast.