Unlocking the Secrets of Dendrobium alaticaulinum Propagation: A Guide to Multiplying Your Orchid
Dendrobium alaticaulinum, with its captivating blooms and delicate fragrance, is a true gem among orchid enthusiasts. But did you know that propagating this beautiful species can be an incredibly rewarding experience? Whether you’re looking to expand your collection or share the joy with fellow plant lovers, this guide will unveil the secrets to successfully propagating Dendrobium alaticaulinum.
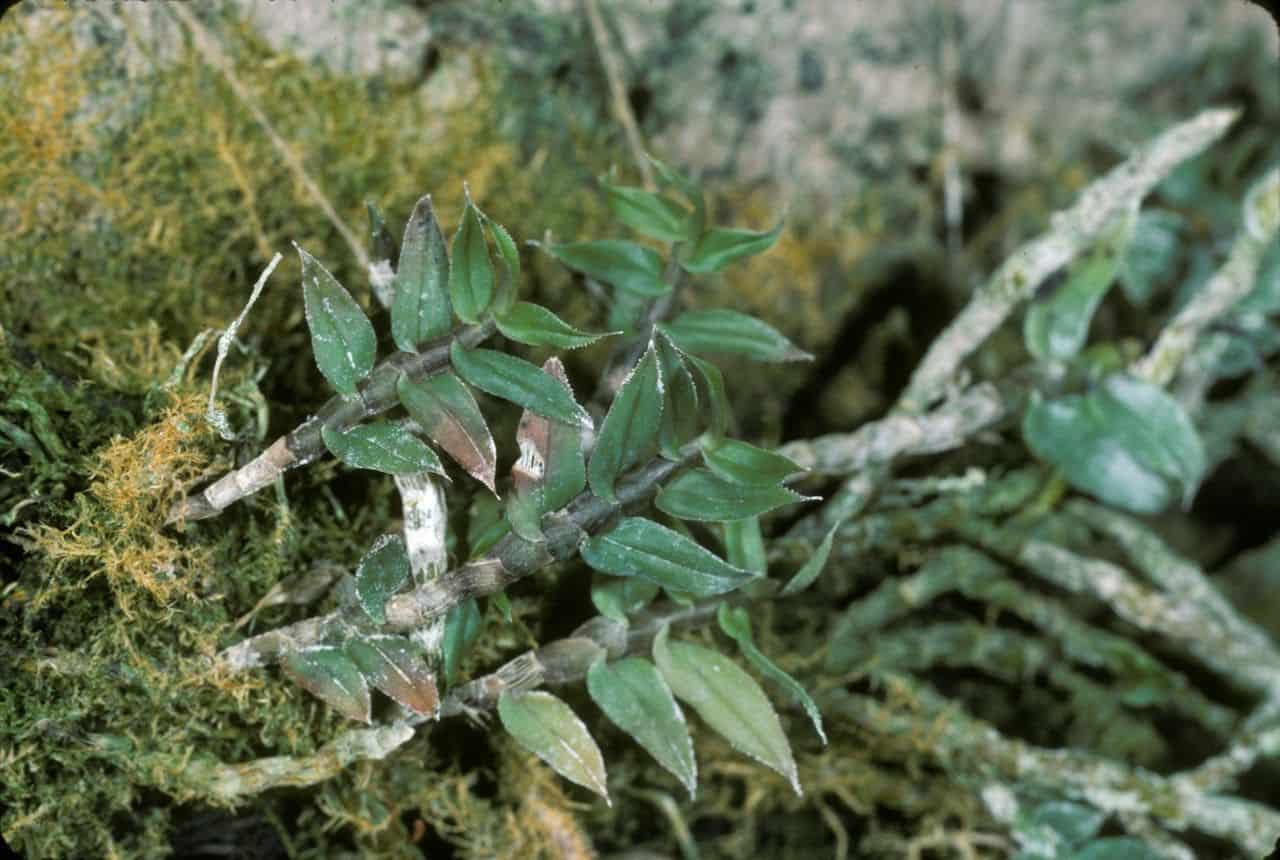
Understanding Your Orchid and its Growth Habits
Before diving into propagation techniques, it’s essential to understand the growth habit of Dendrobium alaticaulinum. This species is sympodial, meaning it grows horizontally, producing new shoots along a rhizome. Each shoot, or pseudobulb, will eventually produce flowers and then enter a resting phase.
The Two Main Methods: Keikis and Division
There are two primary methods for propagating Dendrobium alaticaulinum:
1. Keiki Production:
- What are Keikis? Keikis are essentially baby orchids that grow on the stems or pseudobulbs of the mother plant. They develop their own leaves, roots, and even flowers!
- Encouraging Keiki Growth: While keikis can occur naturally, you can encourage their production by:
- Providing optimal light conditions: Bright, indirect light is key.
- Maintaining high humidity levels around the orchid.
- Using a fertilizer high in nitrogen during the growing season.
- Removing and Potting Keikis: Once the keiki has developed a healthy root system (at least 3-4 roots, about 2 inches long), it’s ready for separation. Gently remove it from the mother plant, ensuring no damage to either. Plant the keiki in a well-draining orchid potting mix and care for it as you would a mature Dendrobium alaticaulinum.
2. Division:
- When to Divide? Division is best done during the spring or early summer when the orchid is actively growing.
- The Process:
- Carefully remove the orchid from its pot.
- Using sterilized shears, divide the rhizome, ensuring each section has at least 3-4 healthy pseudobulbs.
- Treat any cut surfaces with a fungicide to prevent infection.
- Pot the divisions in a well-draining orchid mix, ensuring the rhizome is at or slightly above the soil line.
Caring for Your New Propagations
Newly propagated Dendrobium alaticaulinum require special care:
- Light: Provide bright, indirect light, avoiding direct sunlight.
- Watering: Water thoroughly when the potting mix approaches dryness. Avoid overwatering, which can lead to root rot.
- Humidity: Aim for humidity levels between 50-70%. You can achieve this by grouping your orchids together, using a humidity tray, or placing a humidifier nearby.
- Fertilizer: Use a balanced orchid fertilizer diluted to half strength every other week during the growing season.
Patience is Key!
Remember, propagating Dendrobium alaticaulinum, while rewarding, requires patience. It may take several weeks or even months for keikis to develop and for divisions to establish themselves. But with proper care and attention, you’ll soon be enjoying an abundance of these exquisite orchids, a testament to your dedication and green thumb!