Demystifying Dendrobium auriculatum Propagation: A Guide to Multiplying Your Orchid
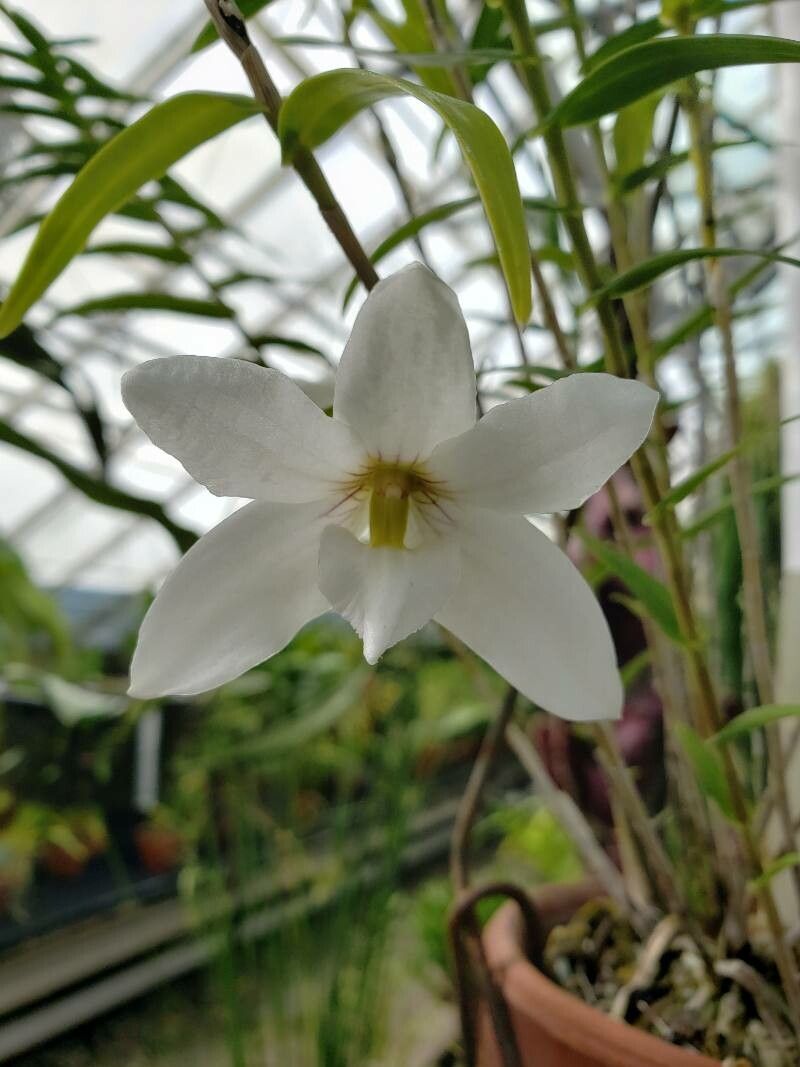
Dendrobium auriculatum, with its delicate, fragrant blooms and unique “ear-like” projections on the lip, is a captivating orchid that can add a touch of the tropics to any home. But did you know that propagating this alluring species is surprisingly achievable, even for beginner orchid enthusiasts? This guide will delve into the methods of multiplying your Dendrobium auriculatum, allowing you to share its beauty and expand your orchid collection.
Understanding the Basics
Before venturing into propagation, it’s essential to familiarize yourself with the plant’s growth habits. Dendrobium auriculatum is a sympodial epiphyte, meaning it grows horizontally with new shoots emerging from the base of older ones. These new growths, known as “keikis,” offer a natural path for propagation.
Methods for Propagation:
Keiki Division: Keikis are essentially miniature plants that develop on mature canes. Once a keiki has developed a healthy root system (at least 2-3 roots about 2 inches long), it can be carefully detached from the mother plant. Use a sterilized sharp knife or shears, making a clean cut at the point where the keiki attaches to the cane. Pot the keiki in a well-draining orchid mix, ensuring the base of the plant is level with the potting medium but not buried.
Back Bulb Propagation: Mature Dendrobium auriculatum plants often have older, leafless canes called back bulbs. These bulbs still contain growth potential and can be used for propagation. Select a healthy back bulb and carefully remove it from the plant. Place the bulb horizontally in a tray filled with slightly moistened sphagnum moss, ensuring the nodes (small bumps on the cane) are facing upwards. Maintain humidity and warmth, and with a bit of patience, new growths should emerge from these nodes.
- Seed Propagation (Advanced): Orchid seed propagation is a significantly more advanced technique requiring sterile conditions and specialized knowledge. Orchid seeds are minuscule and lack endosperm, necessitating a symbiotic relationship with specific fungi for germination. This method is best left to experienced growers or commercial nurseries.
Essential Tips for Success:
- Timing is Key: Spring and early summer, when the plant is actively growing, are the ideal times for propagation.
- Sterilization Matters: Always sterilize your cutting tools with rubbing alcohol or a flame to prevent the spread of diseases.
- Patience is a Virtue: Propagating orchids requires patience. It can take several weeks or even months for new growth to appear.
- Provide Optimal Conditions: After potting, place your new propagations in a warm, humid environment with bright, indirect light. Avoid overwatering, allowing the potting mix to dry slightly between waterings.
Conclusion:
Propagating your Dendrobium auriculatum is a rewarding experience, allowing you to expand your orchid collection while deepening your understanding of these fascinating plants. Whether you opt for keiki division, back bulb propagation, or eventually delve into the intricacies of seed propagation, remember to approach the process with patience and provide the optimal conditions for success. With a little care and attention, you’ll soon be enjoying the beauty of even more Dendrobium auriculatum orchids gracing your home.