Unveiling the Secrets: How to Propagate Your Dendrobium Dearei Orchid
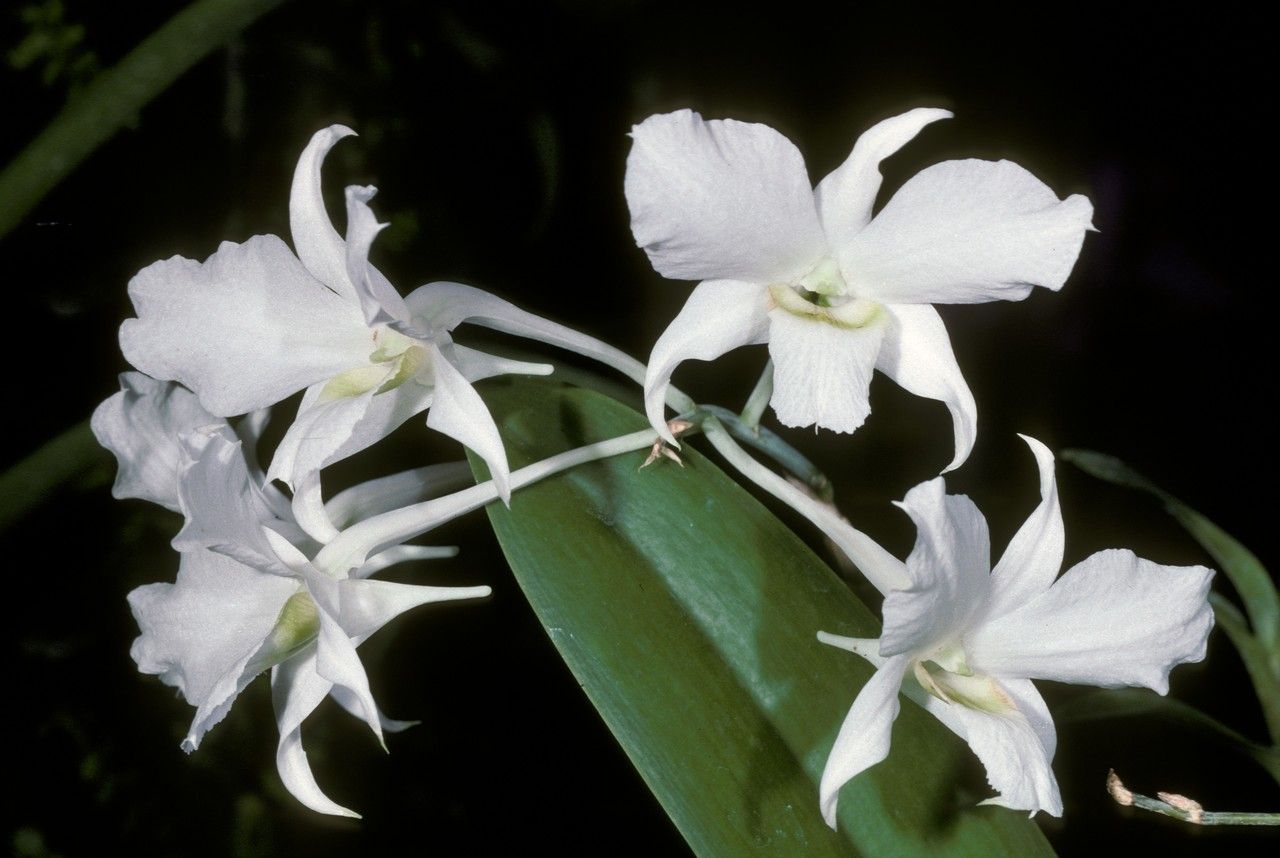
The Dendrobium dearei, with its cascading clusters of delicate, white flowers, is a sight to behold. This epiphytic orchid, native to the Philippines, is a prized possession for many orchid enthusiasts. But did you know that you can multiply your floral treasures through propagation? Don’t be intimidated – propagating your Dendrobium dearei is easier than you think!
This guide will walk you through two effective methods:
1. Keiki Division:
Keikis are essentially “baby” orchids that sprout from the mother plant’s stem. They are a sure sign of a happy and healthy Dendrobium dearei, and offer a straightforward way to propagate. Here’s how:
- Identification: Keikis develop roots and leaves while still attached to the mother plant. Wait until the keiki has at least 3-4 inches of roots and 2-3 healthy leaves.
- Preparation: Gather your materials: a sterilized cutting tool (pruning shears or a sharp knife), a pot with drainage holes, and suitable orchid potting mix (a mix of bark chips, perlite, and charcoal works well).
- Separation: Carefully cut the keiki away from the mother plant, ensuring you don’t damage either.
- Potting: Plant the keiki in the prepared pot, ensuring the base of the plant sits slightly above the rim of the pot. Gently firm the potting mix around the roots.
- Aftercare: Place your newly potted keiki in a warm, humid environment with bright, indirect light. Water sparingly, allowing the potting mix to dry slightly between waterings.
2. Backbulb Propagation:
Backbulbs are older, leafless pseudobulbs on your Dendrobium dearei that still hold potential for new growth. This method takes longer than keiki division, but can be equally rewarding:
- Selection: Choose plump, healthy backbulbs that show signs of dormant growth eyes (small bumps on the bulb).
- Preparation: Prepare a humidity tray by filling a shallow container with gravel and adding water just below the gravel’s surface.
- Placement: Lay the backbulb horizontally on top of the gravel, ensuring it’s not submerged in water.
- Environment: Position the tray in a warm location with bright, indirect light. Maintain high humidity around the backbulb.
- Patience: It may take several weeks or even months for new growth to emerge from the dormant eyes of the backbulb. Water sparingly, just enough to keep the backbulb from shriveling.
Factors for Success:
Regardless of the propagation method you choose, these factors play a crucial role in success:
- Timing: Spring and early summer, when the plant is actively growing, are the best times to propagate your Dendrobium dearei.
- Hygiene: Always sterilize your cutting tools before and after use to prevent the spread of diseases.
- Patience: Propagation requires patience. Don’t be discouraged if you don’t see results immediately.
Propagating your Dendrobium dearei is a fulfilling experience. Not only will you be expanding your orchid collection, but you’ll also be participating in the fascinating life cycle of this beautiful species. Remember, patience and a gentle touch are key. Happy propagating!