Unlocking the Secrets to Multiplying Your Dianthus Borbasii: A Propagation Guide
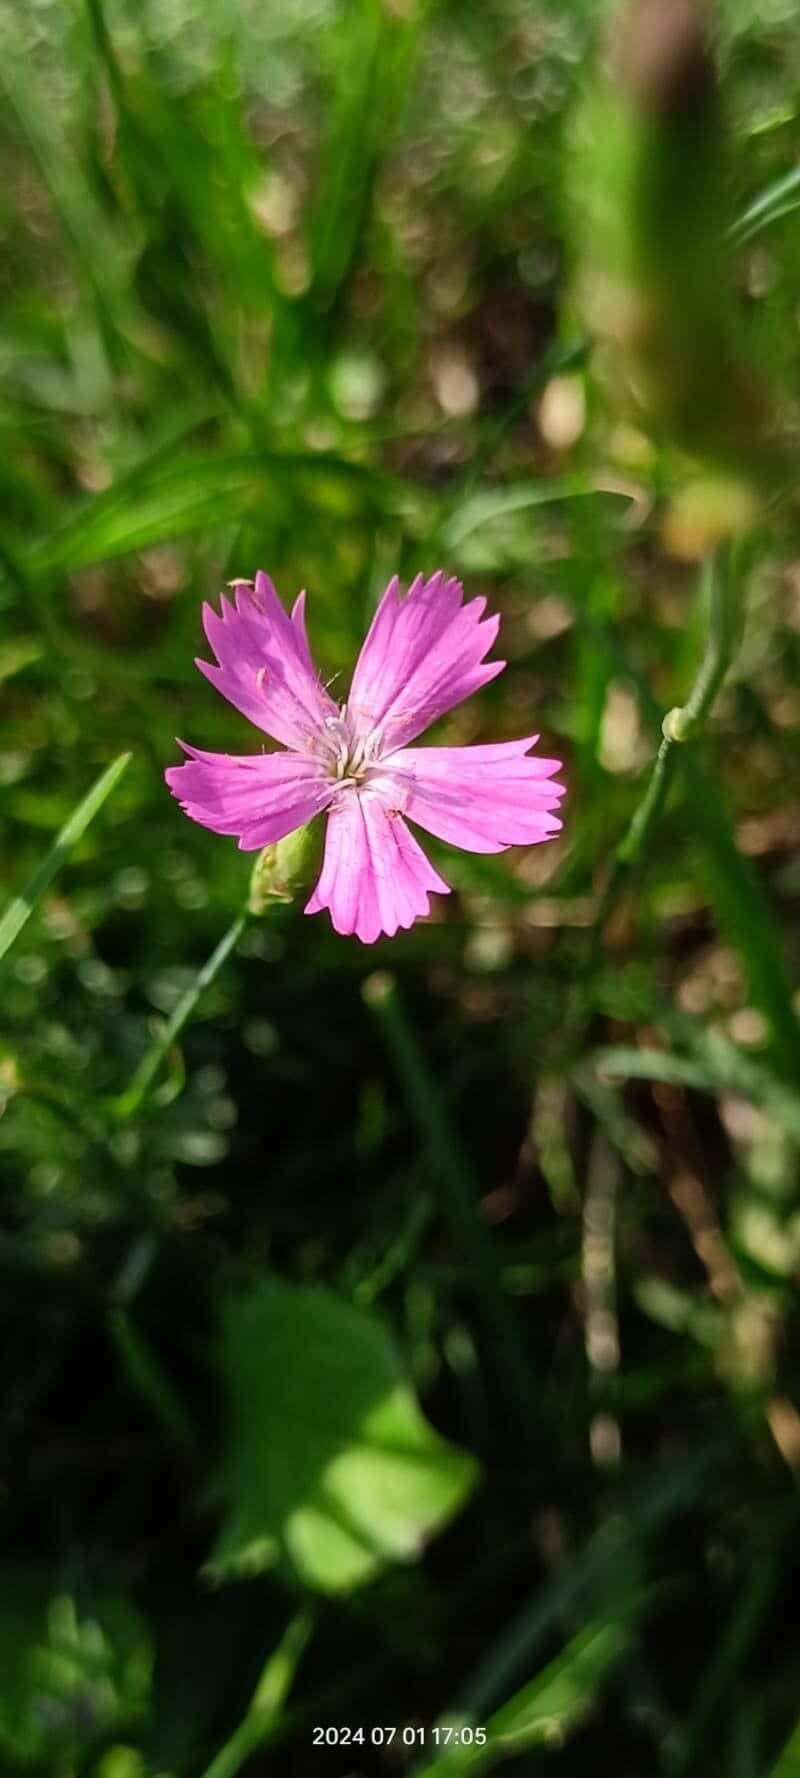
Dianthus borbasii, with its delicate blooms and captivating fragrance, is a true garden gem. This hardy perennial, often overlooked, boasts charming pink flowers that dance atop slender stems, adding a touch of elegance and whimsy to any landscape. If you’ve been fortunate enough to encounter this beauty, you’re likely eager to have more grace your garden. Fortunately, propagating Dianthus borbasii is an achievable feat, even for budding gardeners. Let’s delve into the techniques that will help you cultivate a flourishing collection of this enchanting plant.
1. Seed Starting: A Springtime Endeavor
Springtime marks the ideal season for embarking on your Dianthus borbasii propagation journey through seed. Here’s a step-by-step guide to maximize your success:
- Sourcing Seeds: Begin by acquiring seeds from a trusted source, ensuring they are fresh for optimal germination rates.
- Sowing the Seeds: Fill seed trays with a well-draining seed starting mix. Sprinkle the tiny seeds on the surface and lightly press them down. Remember, Dianthus borbasii seeds need light to germinate, so avoid burying them deep.
- Warmth and Moisture: Place the trays in a warm, brightly lit location, maintaining consistent moisture without waterlogging the soil. A consistent temperature around 70°F (21°C) is ideal.
- Emergence and Transplanting: Within 1-2 weeks, you’ll be greeted by the sight of tiny seedlings emerging. Once they develop several sets of true leaves, transplant them into individual pots or directly into your garden, ensuring they are spaced approximately 12 inches apart.
2. Cuttings: Cloning Your Favorites
For those eager to replicate the exact characteristics of a particular Dianthus borbasii plant, taking cuttings offers a foolproof method:
- Timing is Key: The optimal period for taking cuttings is late spring or early summer, when the plant’s growth is most vigorous.
- Selecting Cuttings: Choose healthy, non-flowering stems that are about 3-4 inches long. Make a clean cut just below a leaf node using sharp, sterilized scissors or pruning shears. Remove the lower leaves, leaving only a few at the top.
- Encouraging Root Development: Dip the cut end of the stem in rooting hormone powder (optional but recommended) and plant it in a pot filled with a well-draining, moisture-retentive mix.
- Creating a Humid Environment: Cover the pot with a plastic bag or use a humidity dome to create a greenhouse-like environment, promoting root development.
- Transplanting Success: After 4-6 weeks, your cutting should have developed a healthy root system, signaling its readiness to be transplanted into a larger pot or your garden.
Essential Care for Propagated Plants:
Regardless of your chosen propagation method, providing optimal care for your newly established Dianthus borbasii plants is crucial for their long-term success:
- Well-Draining Soil: Plant your Dianthus borbasii in well-draining soil, as excessive moisture can lead to root rot.
- Sunlight is Key: These sun-loving plants thrive in at least 6 hours of sunlight daily. Select a location in your garden that receives ample sunlight.
- Watering Wisely: Water deeply but infrequently, allowing the soil to dry out slightly between waterings.
- Deadheading for Continuous Blooms: Regularly remove spent blooms to encourage continuous flowering and maintain a tidy appearance.
Propagating Dianthus borbasii is a rewarding endeavor that allows you to expand your collection of these captivating plants while deepening your connection with the natural world. By following these simple techniques, you’ll be well on your way to cultivating a thriving symphony of pink blooms, adding charm and fragrance to your garden for seasons to come!