From Spore to Majesty: Unlocking the Secrets of Dicksonia sellowiana Propagation
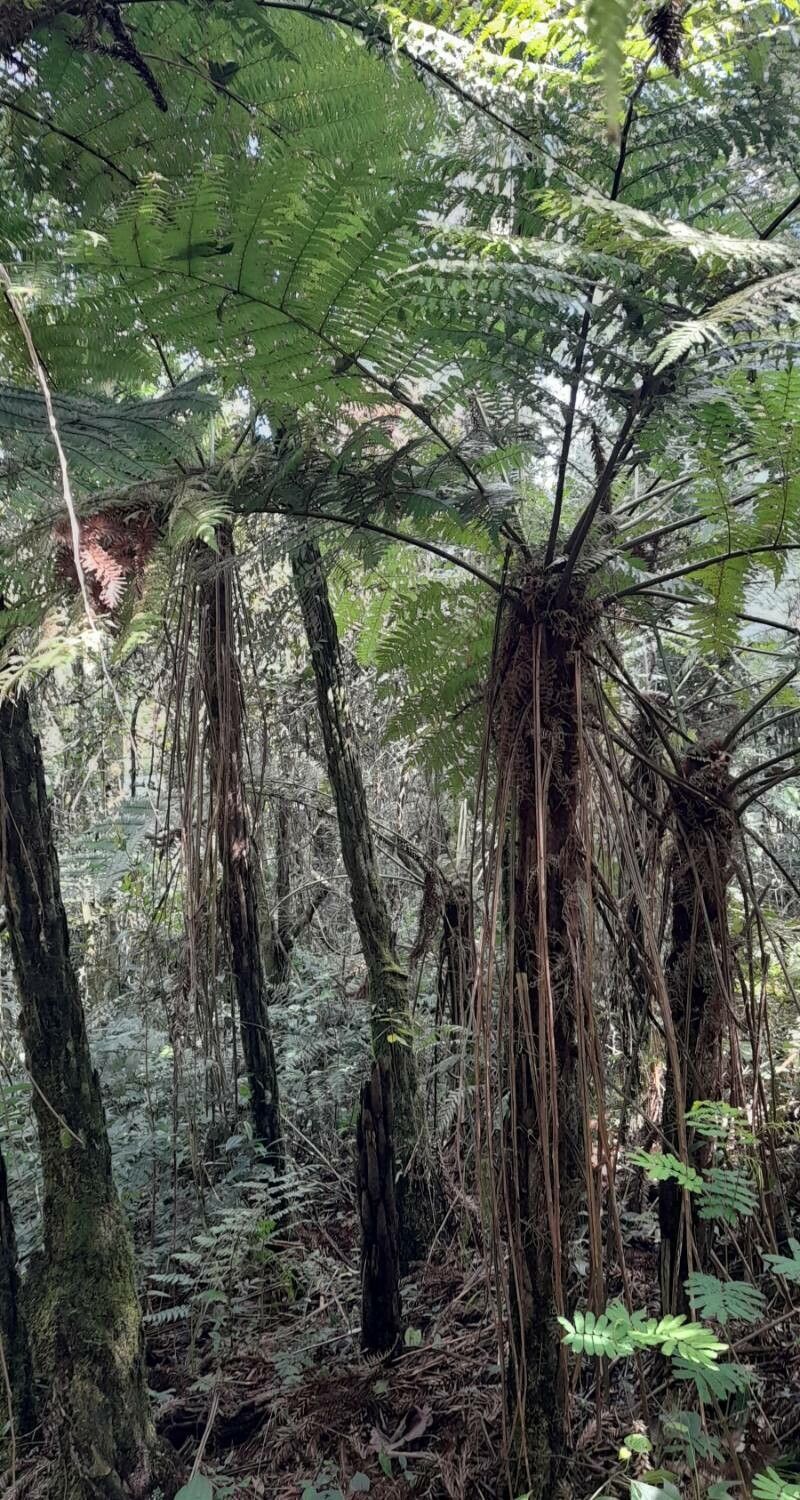
The Dicksonia sellowiana, also known as the Chilean Tree Fern, is a majestic sight. Its towering trunk, adorned with intricate fronds, creates an air of ancient beauty, transporting you to a mystical rainforest. But while the mature plant commands admiration, the journey from a tiny spore to this majestic form is a captivating tale of nature’s resilience.
So, how do you bring a Dicksonia sellowiana into your own garden? Unlike many plants that can be easily propagated through cuttings or divisions, this fern relies on a fascinating process: spore propagation.
The Spore-to-Fern Cycle:
Dicksonia sellowiana uses spores, not seeds, to reproduce. These minuscule, dust-like particles are housed in structures called sporangia that are found on the underside of the mature fronds. When the spores mature, they are released into the air, ready to embark on a journey towards a new life.
The Art of Spore Propagation:
Successfully propagating a Chilean Tree Fern from spores requires patience and a bit of finesse. Here’s a step-by-step guide:
Collecting Spores: The best time to collect spores is when they are ripe, usually from late summer to early fall. Gently brush the underside of a healthy frond, collecting the spores in a small container.
Preparing the Spore Medium: Dicksonia sellowiana spores prefer a sterile, well-drained medium. A mixture of peat moss, vermiculite, and perlite in equal parts is ideal. Sterilize the mixture by microwaving or baking to eliminate any fungal or bacterial contaminants.
Sowing the Spores: Spread the spores evenly over the surface of the sterilized medium, avoiding overcrowding.
Creating a Humid Environment: Cover the container with a clear plastic dome or wrap, creating a humid environment that encourages germination. Place the container in a bright, indirect light location.
The Waiting Game: While a few weeks sometimes suffice, germination can take several months, and patience is key. Keep the medium consistently moist, but not soggy.
Prothalli Formation: Tiny green structures called prothalli will eventually emerge from the spores. These structures are a crucial stage in the fern’s life cycle, as they host the plant’s reproductive organs.
Developing Fernlets: After fertilization, small fernlets will start to unfurl from the prothalli.
- Transplanting: Once the fernlets have developed a few fronds, they can be carefully transplanted into individual pots with a well-drained potting mix.
Tips for Success:
Sterility is crucial: Keep your spore medium and planting equipment clean to prevent infections that can harm young fernlets.
Consistency is key: Maintain a consistent level of moisture and warmth for optimal germination.
- Don’t give up! If you don’t see any signs of germination after several months, don’t despair. Dicksonia sellowiana spores can remain viable for long periods.
A Legacy of Beauty:
Propagating Dicksonia sellowiana from spores is a rewarding experience. Witnessing the transformation from tiny spores to majestic ferns is a testament to nature’s intricate beauty. With a little dedication and patience, you can cultivate a living symbol of resilience and grace, adding a touch of ancient magic to your garden for generations to come.