Unveiling the Secrets of Dischidia Imbricata Propagation: From Cuttings to Stunning Success
The Dischidia imbricata, with its cascading foliage resembling a miniature rainforest, is a captivating houseplant. But for many, the thought of multiplying this enchanting vine can seem daunting. Fear not, plant enthusiasts! This blog post will guide you through the fascinating world of Dischidia imbricata propagation, debunking myths and revealing the secrets to success.
Understanding Dischidia Imbricata: A Plant with Two Personalities
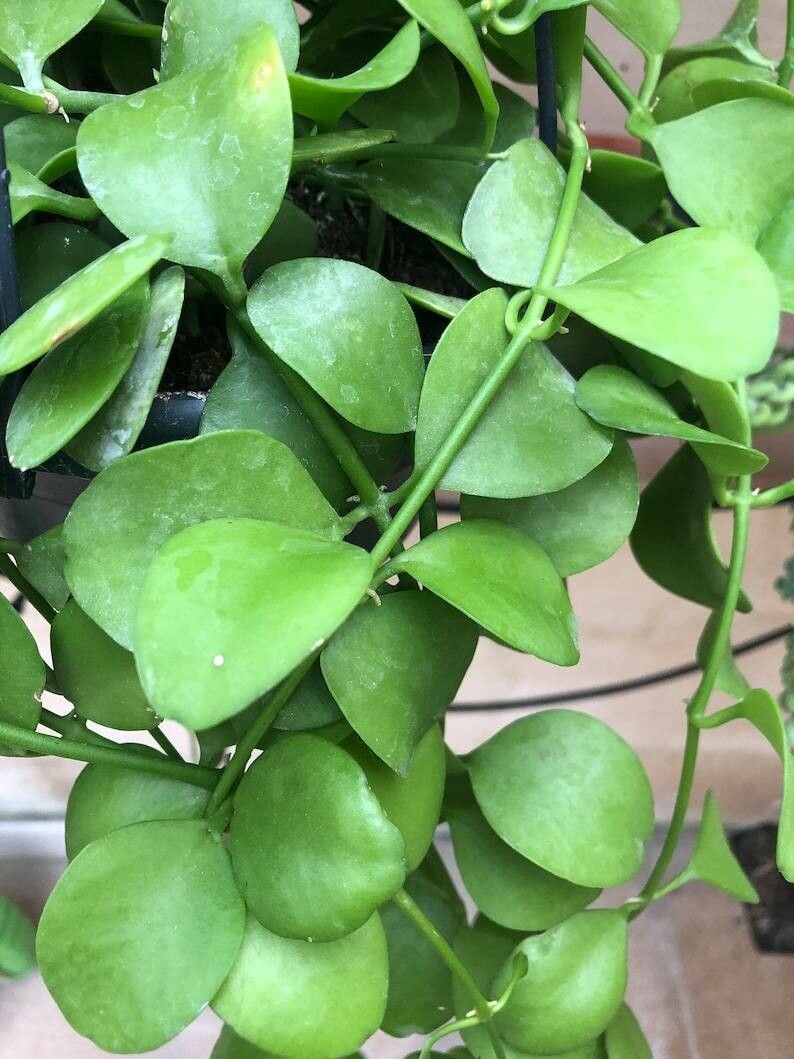
Dischidia imbricata is an epiphytic plant, meaning it thrives in the wild by attaching itself to trees and other plants, drawing nutrients from the air and rainfall. This unique characteristic is reflected in its two distinct parts:
- The fleshy, pouch-like leaves: These leaves resemble small, hanging baskets and play a crucial role in water and nutrient storage.
- The trailing stems: These stems are adorned with delicate, green leaves and are responsible for spreading the plant.
This intriguing duality makes propagation of Dischidia imbricata a rewarding and exciting journey.
Two Methods for Propagating Dischidia Imbricata:
There are two primary methods for propagating Dischidia imbricata:
1. Stem Cuttings: The most common and straightforward method involves taking stem cuttings, the most readily available material. To do this:
- Select healthy stems: Choose stems with at least three nodes (the points where leaves emerge).
- Make sharp cuts: Use a clean, sharp knife or scissors to make clean cuts just below a node.
- Remove lower leaves: Strip away the leaves below the first node to prevent rotting.
- Prepare a medium: Choose a well-draining potting mix or sphagnum moss.
- Place cuttings in the medium: Insert the cuttings into the medium, ensuring the nodes are well-covered.
- Maintain humidity: Cover the container with a plastic dome or bag to maintain humidity.
- Provide indirect light: Place the cuttings in a bright, indirect light location.
2. Leaf Cuttings: Although less popular, propagating Dischidia imbricata from leaf cuttings is possible, especially with mature, pouch-like leaves.
- Harvest mature leaves: Choose healthy pouch-like leaves that are fully developed, preferably with a small stem attached.
- Prepare the leaves: Gently remove the leaf from the stem and make a small cut at the base.
- Place on moist medium: Use a combination of perlite and sphagnum moss for optimal root development.
- Maintain humidity: Cover the cutting with a plastic dome or bag to retain humidity.
- Provide indirect light: Place the cutting in a bright, indirect light location.
Tips for Success:
- Patience is key: Propagation can take a few weeks to a few months, so be patient and don’t give up too soon.
- Maintain consistent humidity: Regular misting or using a humidifier will help create a moist environment for the cuttings.
- Choose a well-draining medium: To prevent root rot, use a well-draining potting mix.
- Provide indirect light: Avoid direct sunlight, which can scorch the sensitive leaves.
- Monitor for signs of growth: Once you see new growth, it’s a sign that your rooting process is successful.
Conclusion:
Propagating Dischidia imbricata is a satisfying experience that allows you to expand your plant collection and share this unique and beautiful species with others. By following these simple techniques and armed with a touch of patience, you can cultivate a thriving Dischidia imbricata jungle within your home.