Unleash the Beauty of the “Orchid Cactus”: A Guide to Propagating Disocactus Ackermannii
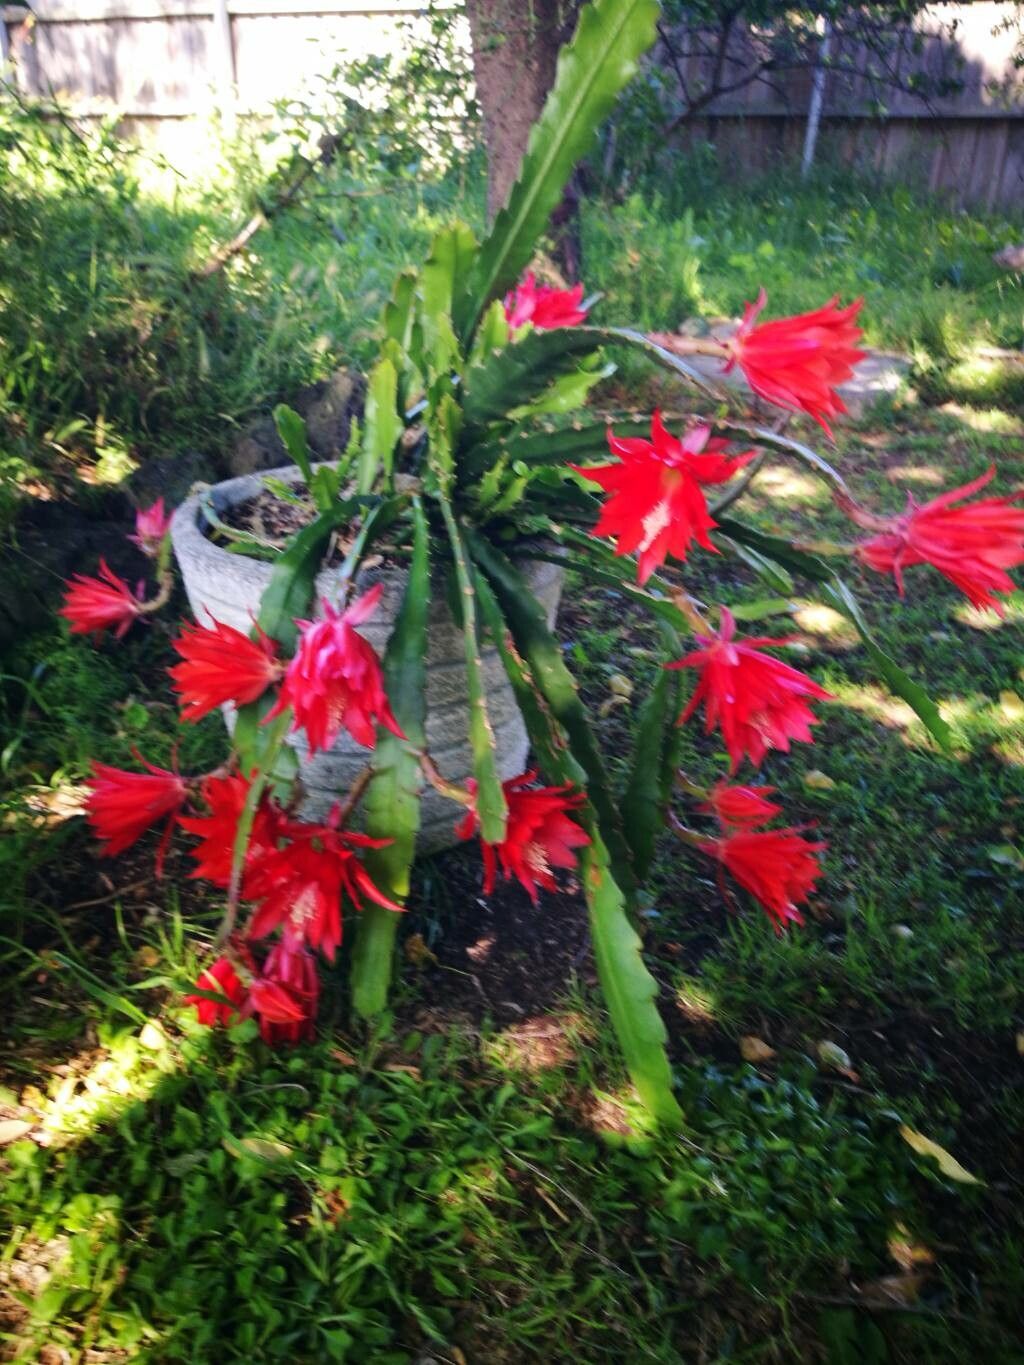
The Disocactus ackermannii, often called the “Orchid Cactus” for its vibrant, orchid-like flowers, is a stunning addition to any home. But did you know that you can easily expand your collection of these beauties by propagating them yourself?
This guide will delve into the fascinating world of Disocactus ackermannii propagation, helping you unlock the secrets to creating new plants from cuttings, ensuring you can enjoy more of these captivating beauties.
Understanding Propagation: The Power of Clones
Propagation, in its simplest form, is the art of creating new plants from existing ones. For Disocactus ackermannii, this is most commonly achieved through cuttings, utilizing the plant’s natural ability to regenerate.
Choosing the Right Cutting:
- Timing is Key: The ideal time to take cuttings is during the plant’s active growing season, usually in spring and summer. Avoid taking cuttings during the dormant period in winter.
- Healthy is Wealthy: Select a healthy, disease-free stem for your cutting, ideally one that’s at least 4-6 inches long. The more nodes (where roots and new growth emerge) on your cutting, the better.
- Sharp is Savvy: Use a clean, sharp knife or pruning shears to make a clean cut just below a node. Avoid tearing or crushing the stem.
Methods for Propagation:
1. Stem Cuttings:
- Prepare Your Cutting: Remove any leaves from the bottom 2 inches of the cutting. Allow the wound to callous over for a few days in a dry, shady location. This will help prevent rot.
- The Root Zone: Dip the cut end into rooting hormone powder, which stimulates root growth. This step is optional but highly recommended.
- Planting Time: Insert the cutting into a well-draining potting mix. Use a pot that’s slightly larger than the cutting and keep it in a warm, bright location but out of direct sunlight.
- Patience is Key: Maintain a consistent watering routine, keeping the soil slightly moist but not soggy. It may take several weeks for roots to develop.
2. Air Layering:
- The Technique: This method is slightly more involved but offers higher success rates. It involves gently creating a wound on the stem, encasing it in moist moss, and then sealing it with plastic wrap to promote root growth.
- Growth and Development: After a few weeks, roots should start to emerge from the wound. Once the roots are established, you can separate the newly rooted section from the parent plant.
Tips for Success:
- Environment: Create a humid environment by placing cuttings in a propagation dome or covering them with plastic wrap. This helps retain moisture and encourage root growth.
- Lighting: Provide indirect bright light to your cuttings. Avoid direct sunlight which can scorch the delicate young plants.
- Watering: Keep the soil consistently moist but not waterlogged. Water thoroughly when the top layer of soil feels dry to the touch.
From Cuttings to Blooms:
Once your cuttings have developed a strong root system, you can transplant them into individual pots with well-draining potting mix. With proper care, your newly propagated Disocactus ackermannii will mature and start to bloom within a year or two.
Enjoy the Fruits of Your Labor:
Propagating Disocactus ackermannii is a rewarding experience that allows you to share the beauty of these remarkable plants with others. You can even grow unique plant collections by experimenting with different cuttings and colors. So, join the world of propagation, unleash the beauty of the orchid cactus, and let your green thumb flourish!