Unlocking the Secrets of Disporopsis Fuscopicta Propagation: A Guide to Multiplying Your Fairy Bells
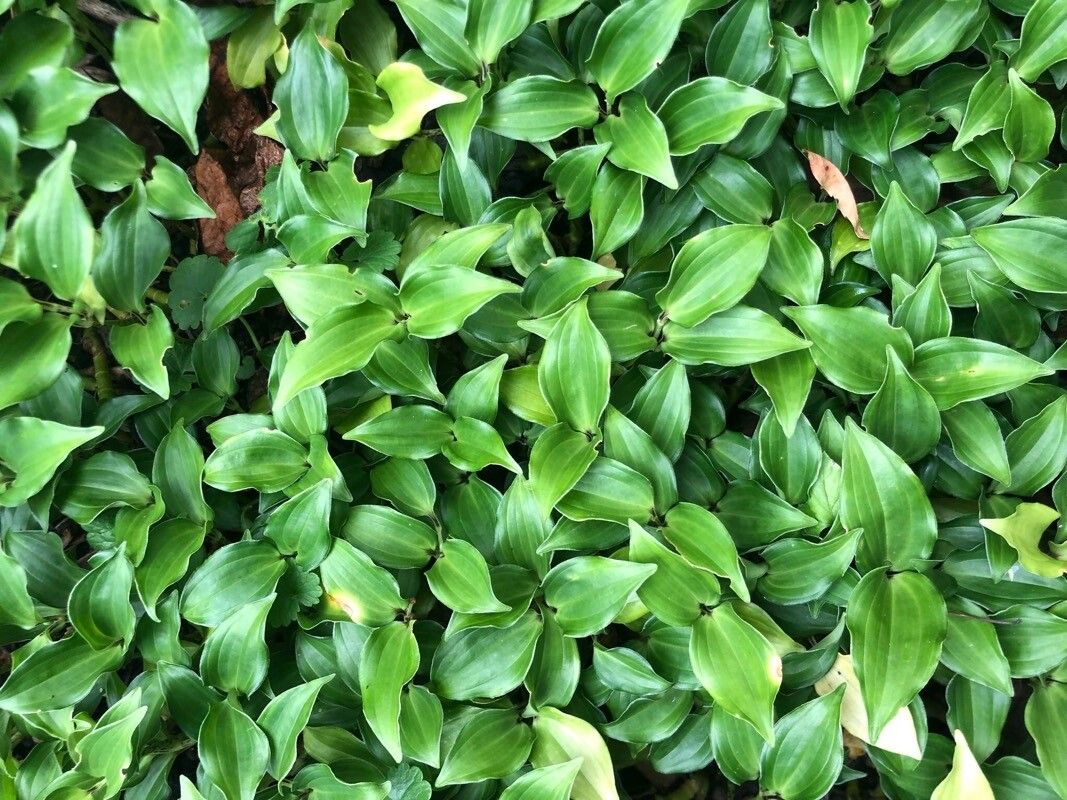
Disporopsis fuscopicta, better known by its charming moniker “Fairy Bells,” is a captivating woodland plant with delicate, bell-shaped flowers and striking foliage. Whether you’re a seasoned gardener or a curious beginner, the prospect of multiplying these enchanting blooms is undeniably enticing. But fear not, propagating Disporopsis fuscopicta doesn’t require a magic wand, just a dash of knowledge and a sprinkle of patience.
This comprehensive guide will delve into the two most effective methods for propagating Fairy Bells: division and seed sowing.
Method 1: Division – The Gift that Keeps on Giving
Division is the easiest and most reliable way to propagate your Fairy Bells. This method capitalizes on the plant’s natural tendency to form clumps over time. Here’s how it’s done:
1. Timing is Key: The optimal time for division is early spring, just as new growth begins to emerge.
2. Digging Deep: Carefully lift the entire clump from the ground using a garden fork, ensuring you dig wide to avoid damaging the rhizomes (underground stems).
3. Separation Anxiety? Not Here!: Gently tease apart the clump into smaller sections, each with healthy roots and shoots. A sharp, clean knife can be used for stubborn rhizomes.
4. Replant and Rejoice: Replant the divisions at the same depth they were originally growing, spacing them about 12-18 inches apart. Water them in well and watch them flourish!
Method 2: Seeds – Embracing the Element of Surprise
Propagating Disporopsis fuscopicta from seed offers a more adventurous route, with the added bonus of potentially yielding unique variations. Here’s what you need to know:
1. Seed Collection: Collect ripe seeds from the plant in late summer or early fall. Look for fleshy berries that have turned a deep blue or black.
2. Breaking Dormancy: Disporopsis fuscopicta seeds require a period of cold stratification to germinate. You can achieve this by sowing them in pots and leaving them outdoors over winter, or by simulating the process in your refrigerator (stratification details further below).
3. Sowing the Seeds of Hope: In spring, sow the stratified seeds in pots filled with well-draining seed compost. Press them lightly into the surface and cover with a thin layer of vermiculite.
4. Patience is a Virtue: Germination can be slow and erratic, taking anywhere from a few weeks to several months.
Cold Stratification Demystified:
To cold stratify your seeds in the refrigerator, follow these simple steps:
- Place the seeds between two damp paper towels.
- Seal them in a plastic bag and label them with the date.
- Store the bag in your refrigerator at a temperature between 33-41°F (1-5°C) for 8-12 weeks.
- Check the seeds periodically to ensure the paper towels remain moist.
Propagating your own Disporopsis fuscopicta is a rewarding experience that allows you to expand your garden’s elegance while deepening your connection with this remarkable plant. Whether you choose the reliability of division or the thrill of seed sowing, with a little care and attention, you’ll soon have a chorus of Fairy Bells gracing your woodland haven.