From Seed to Splendor: Propagating the Majestic Dodonaea pinnata
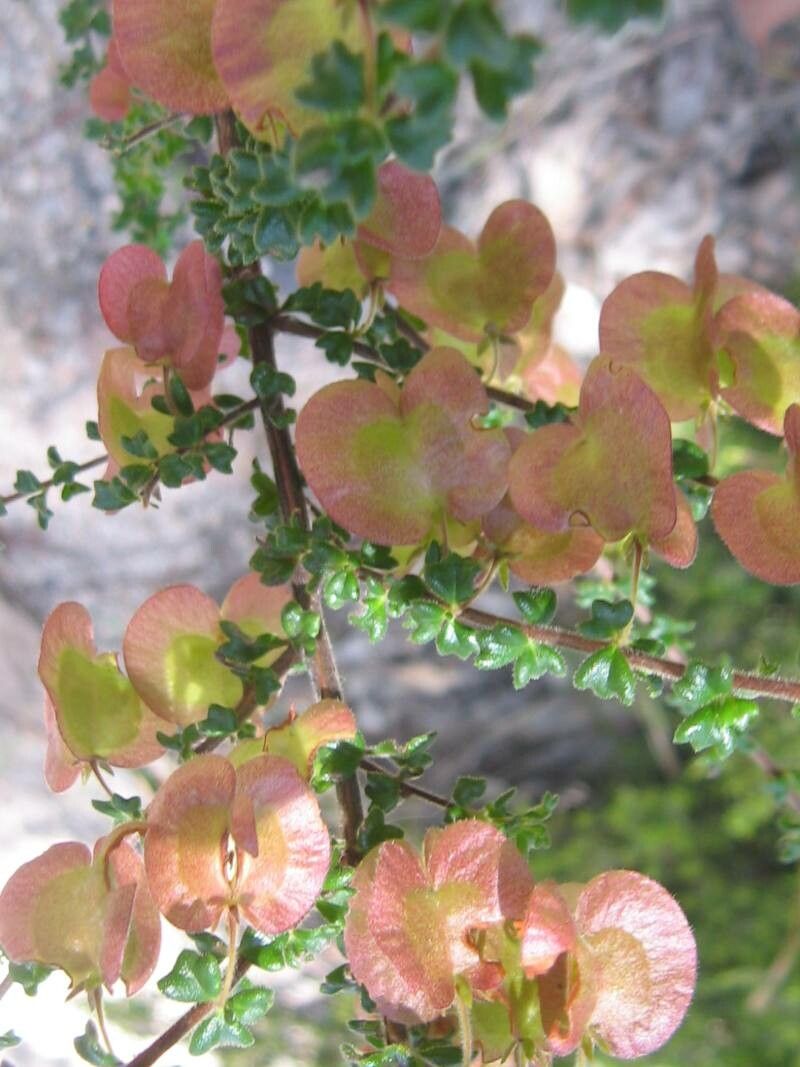
The Dodonaea pinnata, also known as the Hop Bush, is a stunning, drought-tolerant shrub prized for its vibrant foliage and unique, papery seed pods. Its adaptability and resilience make it a favorite for landscapers and home gardeners alike. But did you know that you can easily propagate this beauty yourself? This guide will delve into the fascinating world of Dodonaea pinnata propagation, empowering you to grow new plants from seed, cuttings, and even layering.
From Seed to Success:
Propagating Dodonaea pinnata from seed is a simple and rewarding process. Here’s how:
- Gather Seeds: The seed pods, which resemble miniature lampshades, contain tiny seeds ready for germination. Harvest pods that have turned brown and papery, and gently extract the seeds.
- Prepare the Seedbed: Choose a well-draining potting mix and sow the seeds in shallow trays or pots. Lightly press them into the soil surface, just barely covering them with soil.
- Provide Light and Warmth: Place the seed trays in a bright spot, but avoid direct sunlight. Maintain a consistent temperature of around 70-75°F (21-24°C) for optimal germination.
- Keep Moist but Not Soggy: Mist the soil regularly to maintain moisture, but avoid overwatering. Patience is key; seeds may take several weeks to germinate.
Cuttings for Instant Gratification:
If you’re looking for a quicker way to multiply your Dodonaea pinnata collection, taking cuttings is the way to go.
- Time is Key: The best time for taking cuttings is during the spring or early summer when the plant is actively growing.
- Choose the Right Cuttings: Select semi-hardwood cuttings, which are branches that have matured but are still flexible. Cut them to about 4-6 inches long, ensuring each cutting has at least two sets of leaves.
- Prepare for Success: Remove the leaves from the bottom inch of the cutting and dip the cut end in rooting hormone powder to enhance root development.
- Start Rooting: Insert the cuttings into a moist, well-draining potting mix and place them in a bright location, but out of direct sunlight. Cover the cuttings with a plastic dome or bag to create a humid environment.
- Patience Pays Off: With proper care, rooting should occur within 4-6 weeks. Once roots are established, you can gradually acclimate the cuttings to outdoor conditions.
The Art of Layering:
For a foolproof and unique method, try air layering!
- Choose the Right Branch: Select a strong, healthy branch on your Dodonaea pinnata that is at least a year old.
- Prepare the Site: Make a shallow cut around the branch, about an inch from the base. Apply rooting hormone to the cut surface and wrap the area with moist sphagnum moss. Secure the moss with plastic wrap and tape, making sure it stays moist.
- Patience and Observation: Monitor the moss for moisture and keep it consistently moist. It may take a few months for roots to develop.
- Separation and Transplanting: Once roots have formed, you can carefully cut the branch below the rooted area. Gently transplant the new plant into a container or the ground.
Bonus Tip: No matter which propagation method you choose, provide your new Dodonaea pinnata plants with well-draining soil, regular watering (allowing the soil to dry slightly between waterings), and plenty of sunlight.
Conclusion:
Propagating Dodonaea pinnata is an enjoyable and rewarding experience, allowing you to expand your garden with these remarkable plants. Whether you choose to grow new plants from seed, cuttings, or air layering, the process is relatively simple and accessible to gardeners of all levels. Be sure to follow the steps carefully, provide proper care, and watch as your Dodonaea pinnata thrives, bringing beauty and vibrancy to your landscape for years to come.