Blooming Beauty: The Easy Guide to Propagating Dombeya Tiliacea
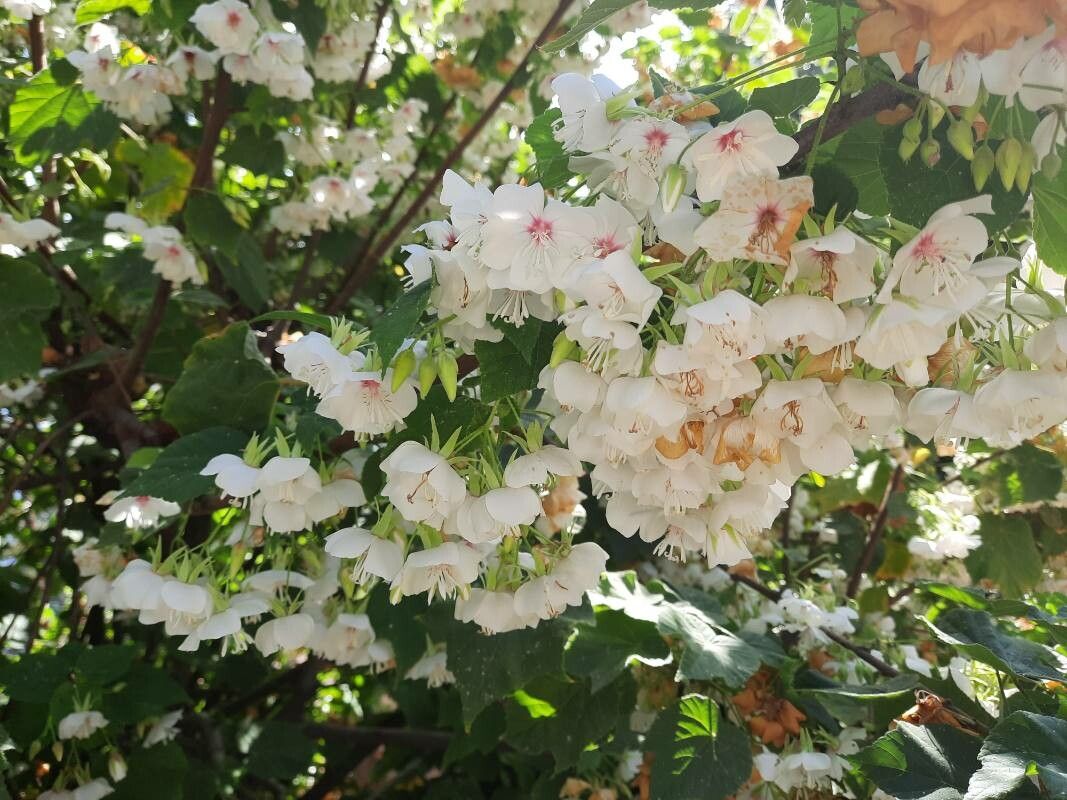
The Dombeya tiliacea, also known as the “Pink Ball Tree,” is a captivating sight with its clusters of vibrant pink flowers that resemble fluffy balls. But don’t let its delicate appearance fool you – this tropical beauty is surprisingly easy to propagate.
Whether you’re looking to share the joy of this stunning plant with friends or simply want to expand your own garden collection, propagation is a rewarding and achievable endeavor.
The Benefits of Propagation:
- Cost-effective: Propagation allows you to create new plants for a fraction of the cost of purchasing them from a nursery.
- Genetic diversity: Propagating from cuttings ensures that you maintain the unique characteristics of your original plant.
- Increased success rate: Dombeya tiliacea can be challenging to grow from seeds. Propagation through cuttings offers a higher success rate, especially for beginners.
Propagating Dombeya Tiliacea: A Step-by-Step Guide:
1. Taking Cuttings:
- Timing is key: The best time to take cuttings is during the spring or early summer when the plant is actively growing.
- Choose healthy stems: Select vigorous, non-flowering stems that are between 4-6 inches long. Look for stems with at least a few nodes (tiny bumps where leaves grow).
- Make clean cuts: Use sharp pruning shears to make a clean cut just below a node.
2. Preparing the Cuttings:
- Remove lower leaves: Cut off the leaves from the bottom 2-3 inches of the cutting.
- Optional: Wound the stem: Lightly scrape the bark on the bottom inch of the stem to encourage root growth.
- Dip in rooting hormone: Apply rooting hormone powder or gel to the cut end of the stem to stimulate root development.
3. Planting the Cuttings:
- Choose the right medium: A well-draining potting mix, such as a blend of peat moss, perlite, and vermiculite, works best.
- Fill pots: Fill small pots or seed trays with the potting mix and make a hole for each cutting.
- Plant the cuttings: Gently insert the cuttings into the holes, ensuring the cut end is fully submerged in the potting mix.
- Water thoroughly: Water the cuttings well, ensuring the potting mix is evenly moist.
4. Provide Ideal Conditions:
- Warmth: Dombeya tiliacea cuttings thrive in warm temperatures, ideally between 70-80°F.
- Light: Place the pots in a bright, indirect location, avoiding direct sunlight.
- Humidity: Maintain high humidity around the cuttings. You can achieve this by covering the pots with a plastic dome or bag, or by misting them regularly.
5. Patience and Care:
- Root development: It can take several weeks to a few months for the cuttings to develop roots.
- Watering: Keep the potting mix consistently damp, but not soggy.
- Ventilation: Once roots start developing, gradually introduce more ventilation to the cuttings by slowly removing the plastic cover.
Troubleshooting:
- Wilting: If the cuttings start to wilt, ensure they are not overwatered and increase humidity levels.
- Fungal infections: If you notice black or brown spots on the stems, remove the affected cuttings and sterilize your tools.
- Slow growth: If the cuttings haven’t grown roots after a few months, repot them in fresh, well-draining potting mix and continue with the ideal conditions.
Enjoy Your Newly Grown Dombeya Tiliacea!
Once your cuttings develop a strong root system, they can be transplanted into larger pots or directly into the garden in a warm, sunny location. With proper care, your home-grown Dombeya tiliacea will blossom and bring joy for years to come.