Unlocking the Secrets to Propagating the Majestic Drynaria Laurentii
The Drynaria laurentii, also known as the Tongue Fern or Basket Fern, is a true marvel of the plant world. With its striking, antler-like fronds cascading downwards, it adds a touch of prehistoric wonder to any space it graces. While caring for this epiphytic fern might seem like a daunting task, propagating your own Drynaria laurentii is surprisingly achievable, even for beginner plant enthusiasts.
This article will unveil the secrets to successfully propagating this magnificent fern, empowering you to expand your plant collection or share this botanical treasure with fellow plant lovers.
Understanding the Drynaria Laurentii
Before embarking on your propagation journey, it’s crucial to understand the unique growth habit of the Drynaria laurentii. This epiphytic fern hails from tropical rainforests and naturally grows upon tree trunks and rocks, deriving moisture and nutrients from the air and rain.
The plant features two distinct frond types:
- Foliage Fronds: The long, dramatic, and deeply lobed fronds responsible for the plant’s signature antler resemblance. These fronds are fertile and produce spores for sexual reproduction.
- Nest Fronds: Round, sterile fronds that grow at the base of the plant. These fronds are responsible for anchoring the fern to its host and absorbing water and nutrients.
Methods of Propagation
There are two primary methods to propagate Drynaria laurentii:
1. Spore Propagation:
This method mimics the fern’s natural reproduction cycle but is considered more challenging and time-consuming.
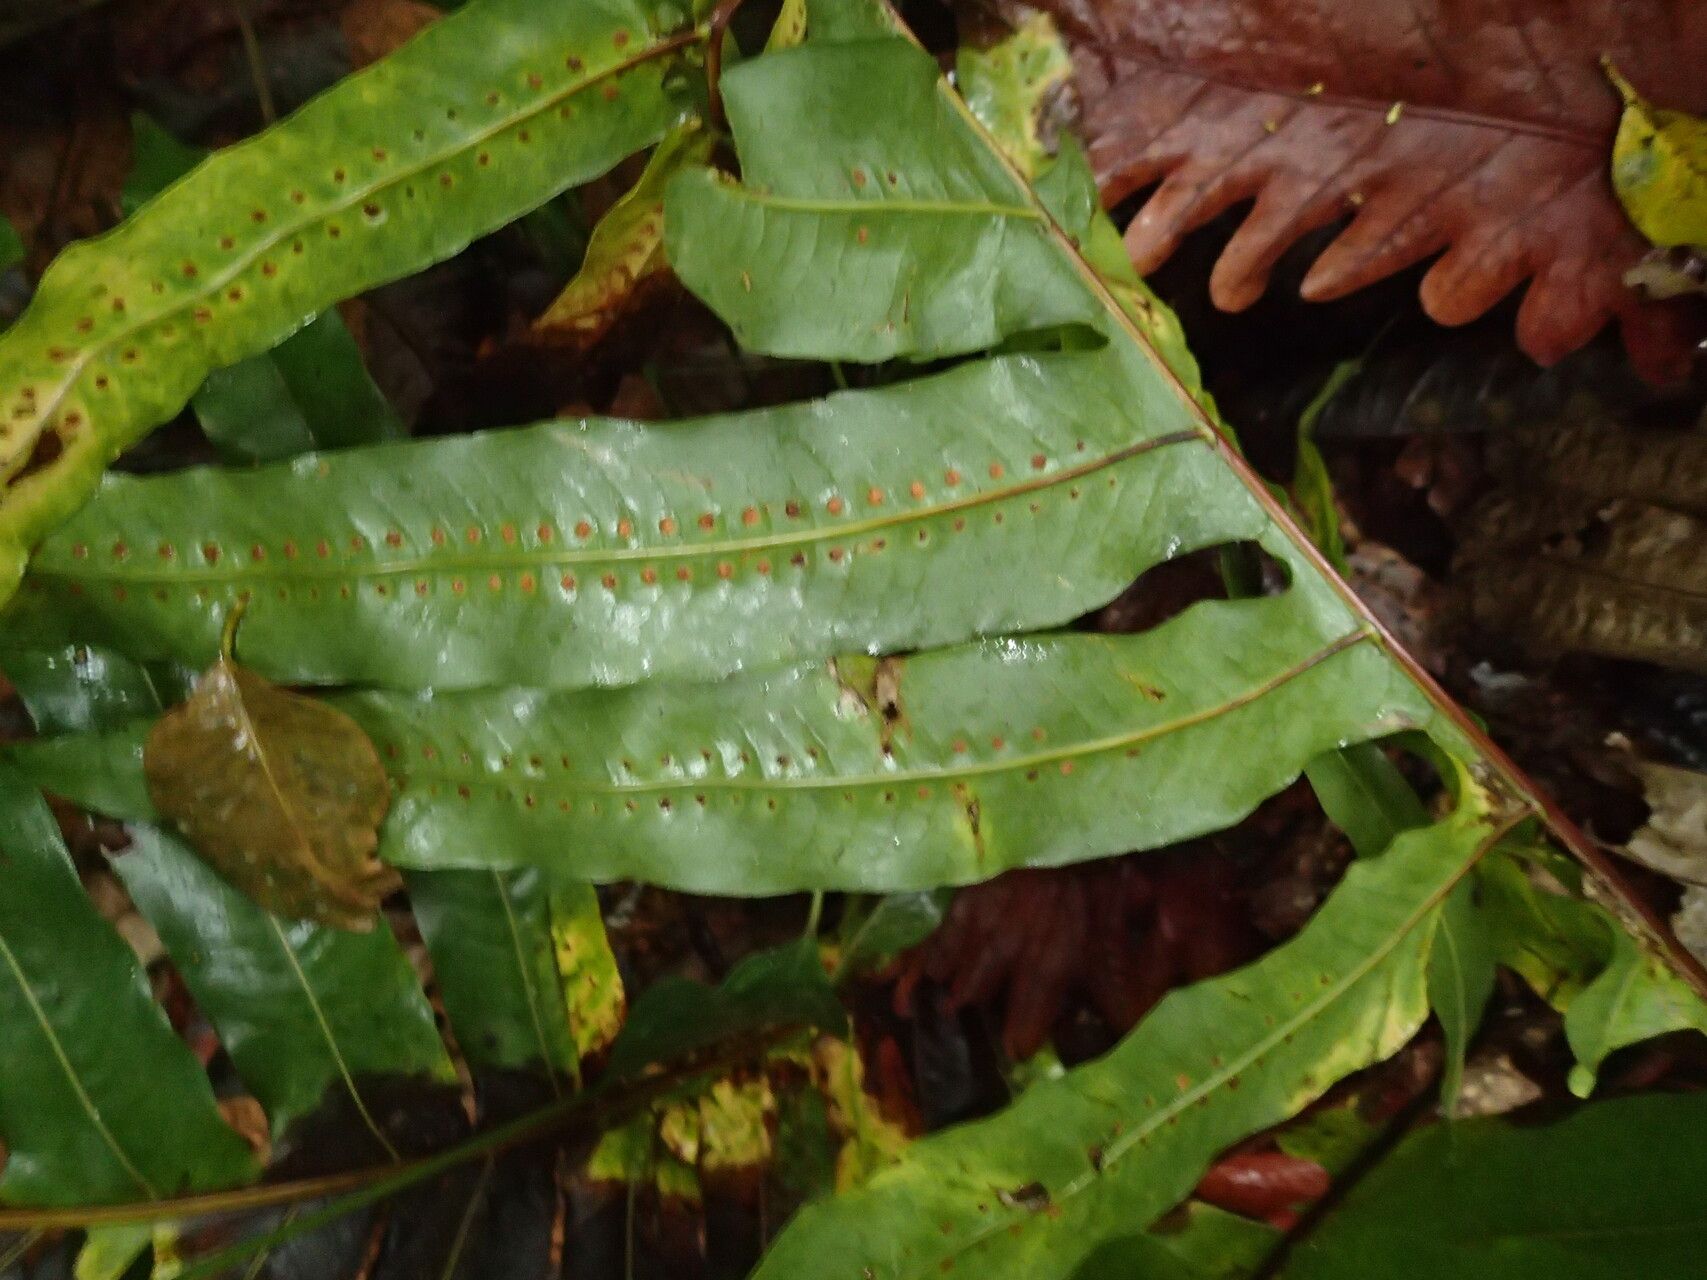
- Collecting Spores: Locate the sori (small, brown dots) on the underside of mature foliage fronds. Once the sori feel powdery, carefully scrape them onto a clean sheet of paper.
- Sowing Spores: Sprinkle the spores thinly over a sterilized, moisture-retentive growing medium, such as peat moss or a specialized fern potting mix. Mist lightly and cover the container to maintain high humidity.
- Germinating Spores: Place the container in a warm, bright location, out of direct sunlight. Germination can take several weeks to months. Once small ferns develop, gradually acclimate them to lower humidity before transplanting.
2. Rhizome Division:
Rhizome division offers a faster and more reliable method for propagating Drynaria laurentii, particularly for beginners.
- Dividing the Rhizome: Carefully remove the fern from its container and identify healthy sections of the rhizome with both nest and foliage fronds attached.
- Making the Cut: Using a sterilized knife or shears, cleanly divide the rhizome, ensuring each section has adequate roots and at least one growth point (where fronds emerge).
- Potting the Divisions: Plant each division in a well-draining, chunky potting mix suitable for epiphytes. Water thoroughly and place in a humid environment, out of direct sunlight.
Tips for Success:
- Provide High Humidity: Drynaria laurentii thrive in humid environments. Mist the fronds regularly and consider using a humidifier or pebble tray to maintain adequate moisture levels.
- Ensure Bright, Indirect Light: These ferns prefer bright, indirect light. Avoid placing them in direct sunlight, as this can scorch their delicate fronds.
- Water Properly: Water thoroughly when the potting mix feels dry to the touch. Avoid overwatering, which can lead to root rot.
Propagating Drynaria laurentii can be a rewarding experience, allowing you to cultivate more of these awe-inspiring ferns and share them with fellow plant lovers. With patience, the right techniques, and a touch of dedication, you can unlock the secrets to successfully propagating these botanical masterpieces, enriching your plant collection and bringing a touch of prehistoric wonder into your home.