Unveiling the Secrets: How to Propagate the Majestic Dryopteris ardechensis
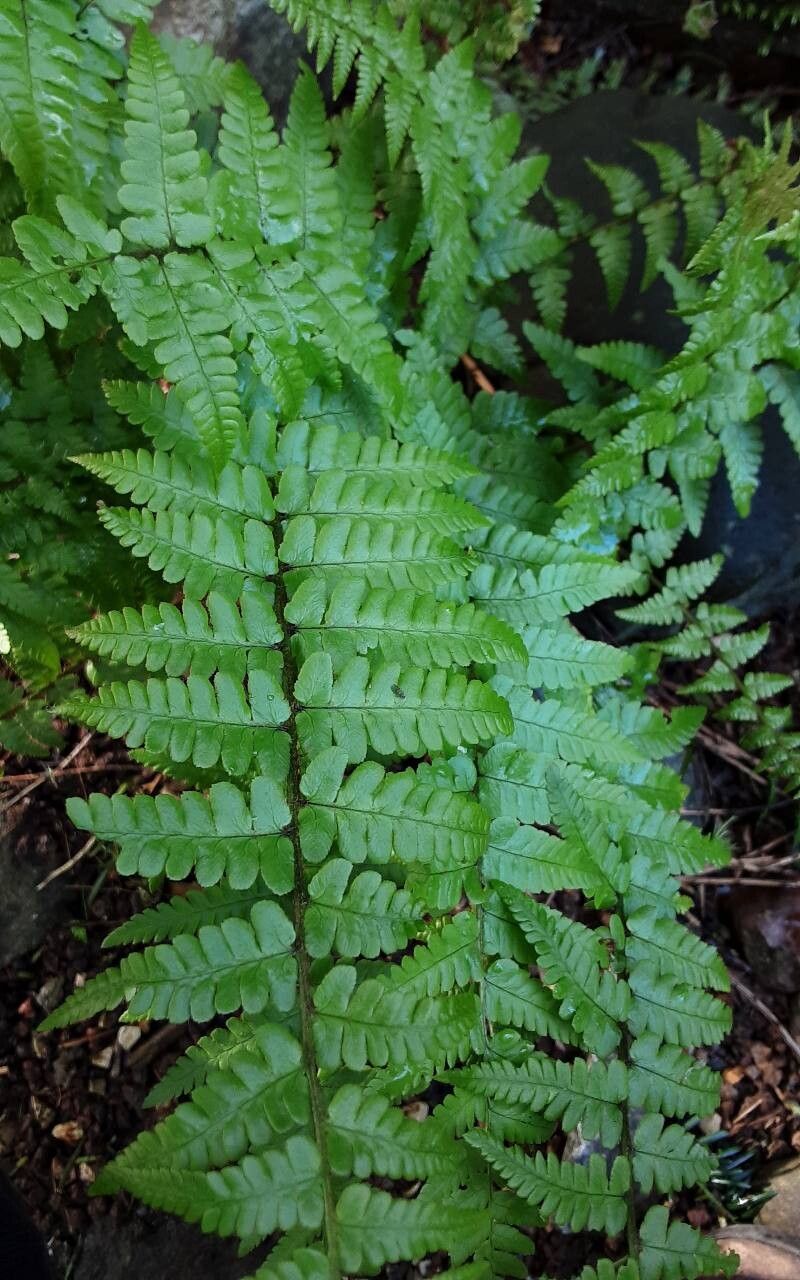
The Dryopteris ardechensis, also known as the Persian Shield Fern, is a sight to behold. Its upright fronds, sporting a captivating mix of coppery-pink and green hues, bring a touch of exotic charm to any garden. But did you know that this botanical beauty is surprisingly easy to propagate? That’s right, you can multiply your fern collection without breaking the bank or needing a green thumb the size of Texas.
This guide dives deep into the fascinating world of Dryopteris ardechensis propagation. Get ready to unleash your inner plant parent and learn the secrets to successfully growing more of this fascinating fern.
Understanding the Basics
Before we delve into the methods, let’s understand what makes propagation tick. Essentially, it’s about creating new plants from existing ones. For the Dryopteris ardechensis, we have two primary avenues:
- Division: This technique involves splitting a mature fern into smaller sections, each containing its own roots. It’s the easiest and fastest way to propagate Dryopteris ardechensis.
- Spores: A more adventurous (and slightly more challenging) route involves collecting and germinating spores from the underside of the fern fronds. It’s like experiencing the fern’s lifecycle from the very beginning!
Method 1: Division – The Simplest Approach
- Timing is Key: The best time to divide your Dryopteris ardechensis is during early spring, just when new growth emerges.
- Prepare Yourself: Gather your tools – a sharp, clean knife or gardening shears, a trowel, and pots filled with a well-draining potting mix.
- Unearth and Divide: Carefully dig up the fern, ensuring you capture most of its root system. Using your knife or shears, divide the fern into sections, ensuring each section has a healthy amount of roots and fronds.
- Potting Your Divisions: Plant each division in its own pot, ensuring the crown (where the fronds meet the roots) is level with the soil surface. Water thoroughly.
- Nurture and Grow: Place your newly potted divisions in a shaded area and keep the soil consistently moist. They will establish themselves within a few weeks.
Method 2: Spores – For the Patient Gardener
- Spore Collection: Mature fronds will develop small brown structures underneath called sori. These house the spores. Cut a frond with mature sori and place it in a paper bag to dry.
- Spore Sowing: Once dry, the spores will easily fall off the frond. Scatter them thinly over a tray filled with moist, sterilized seed-starting mix. Don’t bury them!
- Creating the Ideal Environment: Cover the tray with plastic wrap to maintain humidity and place it in a warm, brightly lit area, but out of direct sunlight.
- Patience is a Virtue: Spore germination can take several weeks, even months. During this time, ensure the soil remains consistently moist by misting regularly.
- Transplanting Time: Once the tiny fernlets are large enough to handle, carefully transplant them into individual pots.
Caring for Your New Ferns
Whether you’ve chosen division or the more adventurous spore propagation, caring for your new ferns remains the same. Dryopteris ardechensis thrives in shady locations with moist, well-drained soil. They appreciate regular watering, especially during dry periods, and benefit from occasional fertilization during the growing season.
Propagating your own Dryopteris ardechensis is a rewarding experience. It allows you to connect with nature’s rhythm and witness the plant’s incredible resilience firsthand. So, why wait? Unleash your inner plant propagator and expand your collection today!