Unfurling New Life: The Secrets to Propagating Dryopteris nipponensis
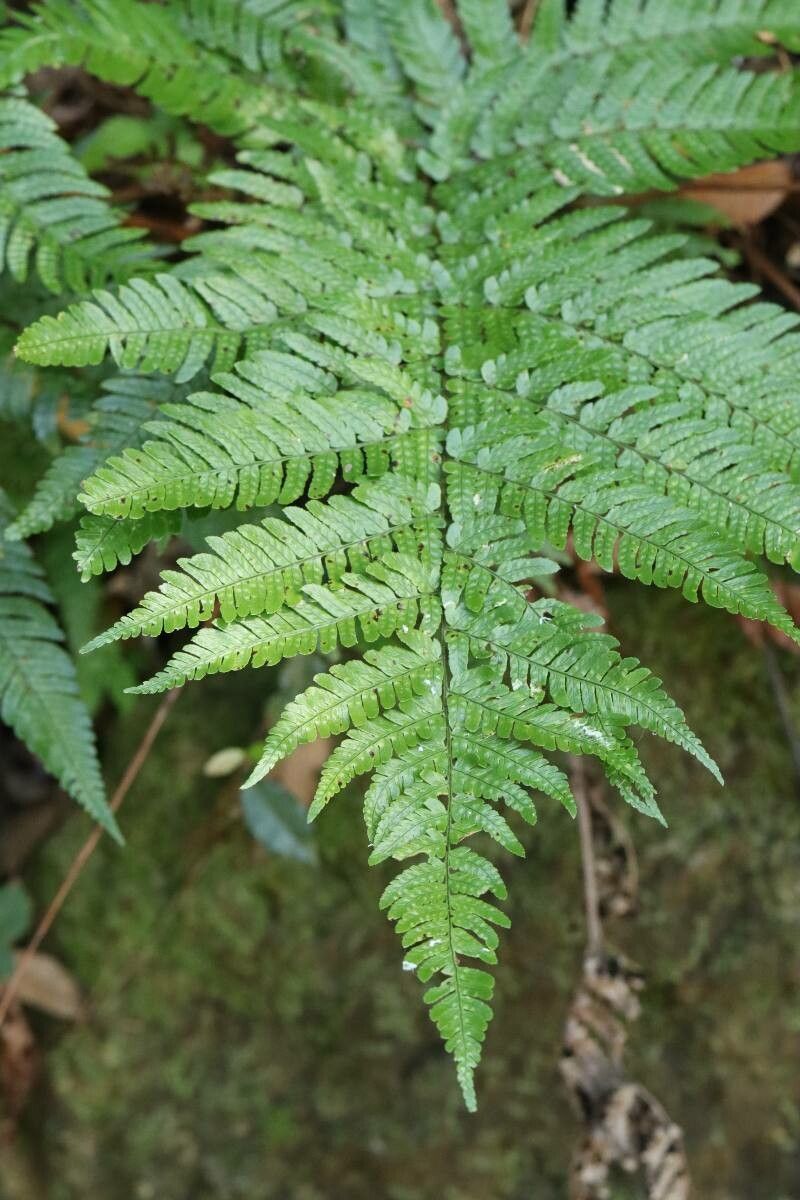
The delicate fronds of Dryopteris nipponensis, also known as the Japanese Shield Fern, add a touch of elegant wildness to any garden. But what if you could share this beauty with others, or simply expand your own fern collection? The good news is, propagating this stunning fern is achievable, even for novice gardeners.
The Beauty of Spore Propagation
Dryopteris nipponensis, like most ferns, doesn’t reproduce through seeds. Instead, it utilizes tiny spores that are housed on the underside of the fronds. While this method might sound daunting, it’s actually surprisingly easy to master and offers a sense of wonder as you watch life emerge from these microscopic beginnings.
Here’s what you’ll need for spore propagation:
- Mature fronds: Choose healthy fronds with mature sori (clusters of spore-producing structures) that have a brown or reddish-brown hue.
- Sterile container: A shallow container, like a plastic seed tray, will work perfectly.
- Sterile growing medium: A mixture of peat moss and perlite, or a specialized fern potting mix, provides ideal conditions.
- Spray bottle: To keep the growing medium consistently moist.
- Plastic wrap: To create a humid microclimate during the initial germination phase.
Step-by-Step Guide to Spore Propagation:
- Harvest the spores: Carefully snip off the mature fronds. Use a clean brush to gently scrape the spores onto a sheet of paper.
- Prepare the growing medium: Fill the sterile container with your chosen medium, ensuring it’s evenly moist.
- Sow the spores: Sprinkle the spores sparingly on the surface of the growing medium, avoiding overcrowding.
- Cover and maintain humidity: Cover the container with plastic wrap to trap moisture and create a warm environment. Place the container in indirect light, keeping the medium consistently moist.
- Germination: Be patient! Spores can take anywhere from a few weeks to several months to germinate. Keep the plastic wrap in place until you see a green, velvety layer called a prothallus developing on the surface.
- Thinning and transplanting: Once the prothalli grow slightly larger, carefully thin them out to give them space to thrive. After a few months, tiny fern plants will begin to appear. When they develop a few true leaves, you can gently transplant them into individual pots.
Important Notes:
- Sterilization: Cleanliness is crucial! Sterilize all tools and containers before embarking on spore propagation. This helps prevent contamination and fungal growth.
- Patience: Spore propagation requires patience and a watchful eye. Don’t be discouraged if it takes time for your spores to germinate.
- Consistency: Maintaining consistent moisture levels is vital for seedling development. Aim for a damp but not soggy medium.
Why Propagate Dryopteris nipponensis?
Beyond the thrill of creating new life, spore propagation provides several benefits:
- Genetic diversity: Using spores ensures genetic diversity, which makes your ferns more robust and resilient.
- Affordable propagation: It’s a cost-effective way to expand your fern collection, allowing you to share the beauty with others.
- Educational experience: Engaging in spore propagation is a fascinating and rewarding way to learn about the life cycle of these ancient plants.
With these simple steps and a touch of botanical magic, you can easily harness the power of spores to bring new life to your garden and enjoy the captivating beauty of Dryopteris nipponensis for years to come.