Sharing the Love: Propagating the Elegant Dryopteris pallida Fern
The Dryopteris pallida fern, also known as the Pale Wood Fern, is a stunning addition to any shady garden. Its delicate, light green fronds, often with a hint of silvery-blue, create a whimsical and airy atmosphere. But did you know that this beautiful fern can also be easily propagated? That’s right, you can start new plants from your existing ones using a few simple methods, allowing you to share this beauty with friends, fill your garden with more of its charm, or even start a new collection.
Spores: The Natural Way
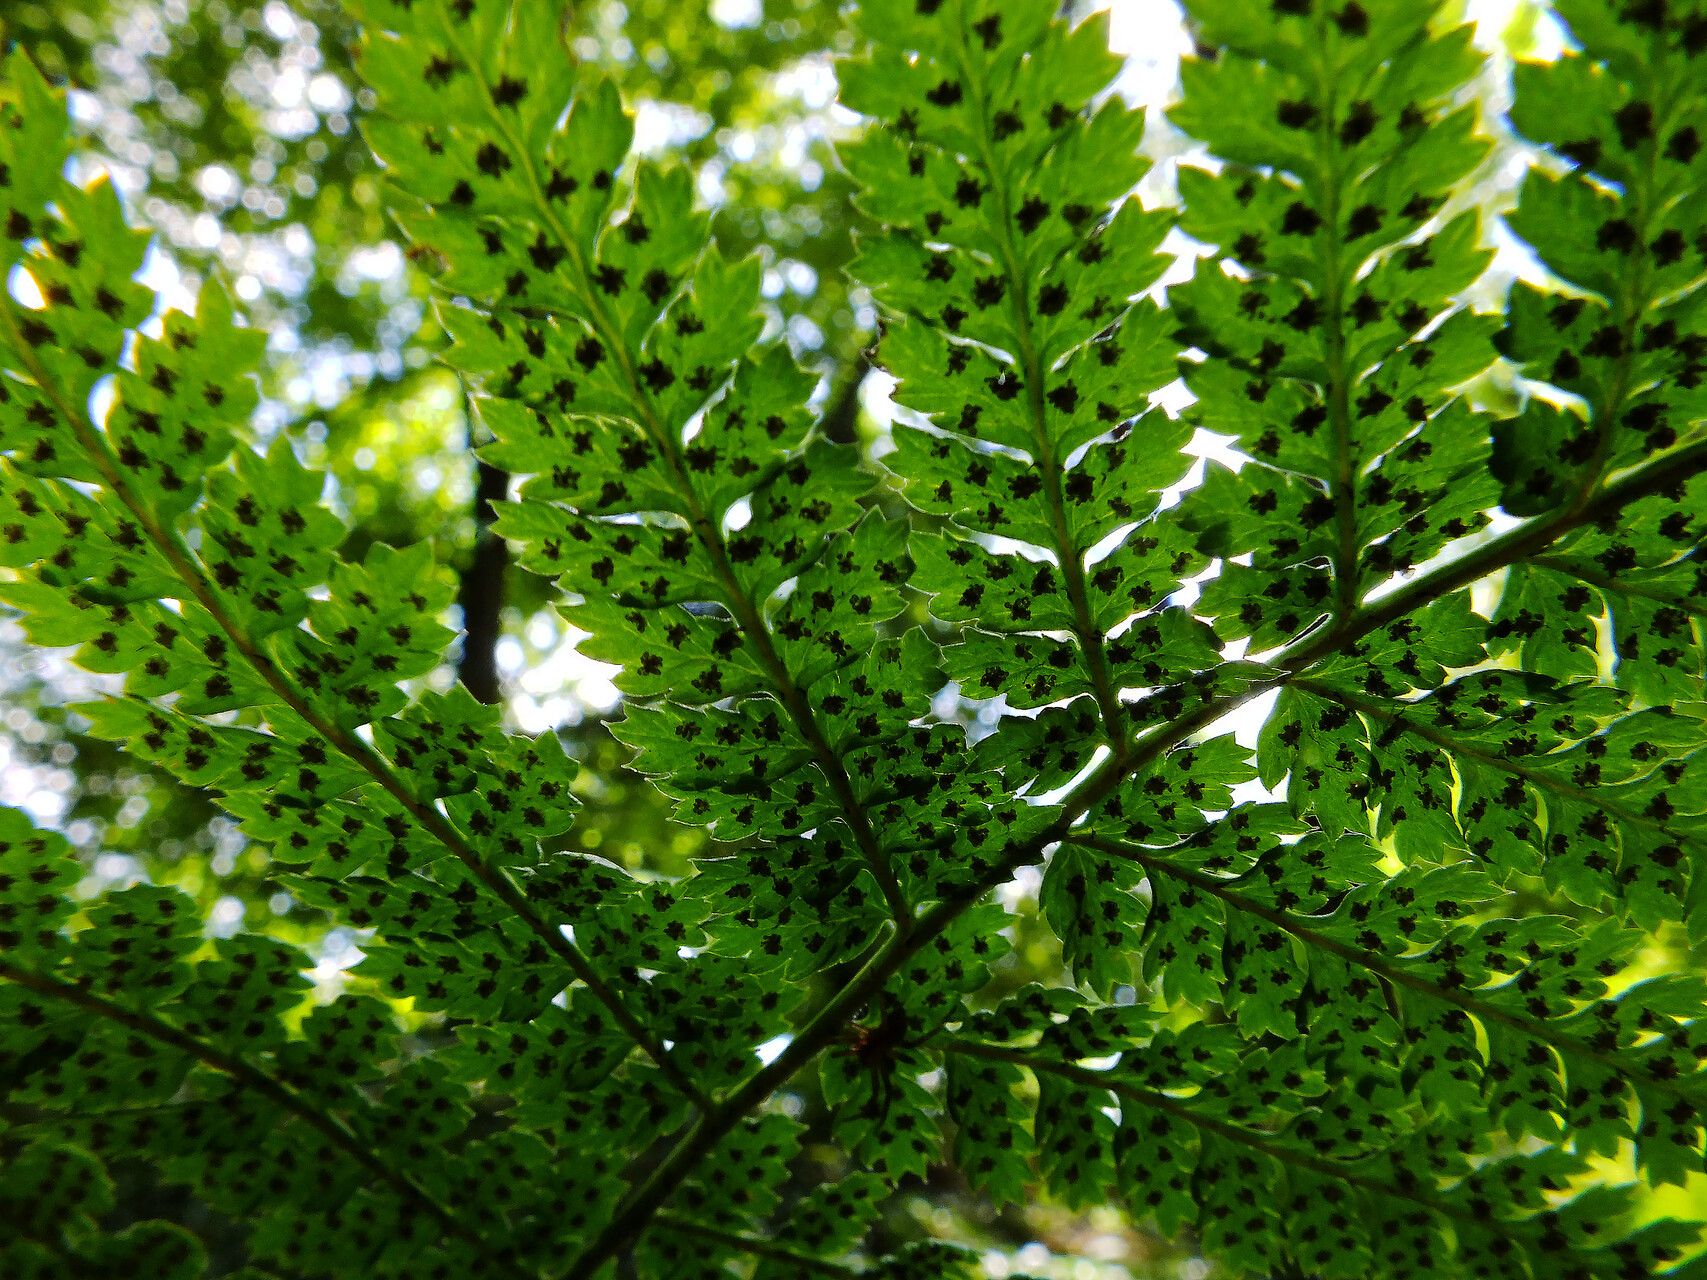
The most natural way to propagate Dryopteris pallida is through spores. These tiny, dust-like structures are produced on the underside of the fronds in clusters called sori.
Here’s how to propagate using spores:
- Harvest the spores: In late summer, look for mature fronds with brown sori on the underside. Carefully clip these fronds and let them dry in a paper bag.
- Collect the spores: Once the fronds are dry, gently shake the bag to release the spores. You can collect them on a piece of paper.
- Prepare a seed starting mix: Fill a seed tray with a mixture of equal parts peat moss, vermiculite, and perlite. Moisten the mix thoroughly, but not to the point of being soggy.
- Sow the spores: Sprinkle the spores evenly over the surface of the mix, but don’t bury them. Mist the tray with water gently using a spray bottle.
- Create a humid environment: Cover the seed tray with a clear plastic dome or a piece of plastic wrap to maintain humidity. Place it in a bright, indirect light location.
- Patience is key: The spores may take a few weeks to germinate, and the seedlings will be quite small. Continue to keep the soil moist and humid.
- Gradually acclimate: Once the seedlings have a few true leaves, gradually acclimate them to outdoor conditions by removing the cover for short periods each day.
Division: A Faster Option
A quicker way to propagate Dryopteris pallida is through division. This method involves splitting the existing plant to create new, independent plants.
Here’s how to divide a fern:
- Choose the right time: The best time to divide a Dryopteris pallida is in early spring or late summer.
- Prepare the plant: Dig up the fern carefully, making sure to preserve the root ball as much as possible.
- Divide the clump: Use a sharp knife or hand pruners to divide the root ball into smaller sections, each containing several healthy fronds and a portion of the roots.
- Plant the divisions: Plant the divisions immediately in well-prepared soil, ensuring the crown of the plant is slightly above ground level.
- Water regularly: Keep the newly divided plants well-watered until they are established, which should take a few weeks.
Tips for Successful Propagation
- Choose healthy plants: Only propagate from healthy, vigorous plants with a good root system.
- Provide ideal conditions: The spores need a consistently humid environment to germinate. Ensure the soil is adequately moist but not overly wet.
- Don’t over-water seedlings: Overwatering can lead to root rot, so allow the soil to dry slightly between waterings.
- Protect young plants: Young ferns are vulnerable to frost, so protect them well in colder climates.
Sharing the Green
Now that you know the secrets of propagating Dryopteris pallida, you can enjoy the beauty of this charming fern in more areas of your garden, or share the joy with others! With a little time and effort, you can create a lush and vibrant display of this elegant fern, filling your world with its delicate grace.