Multiply Your Succulent Success: Propagating Echeveria australis
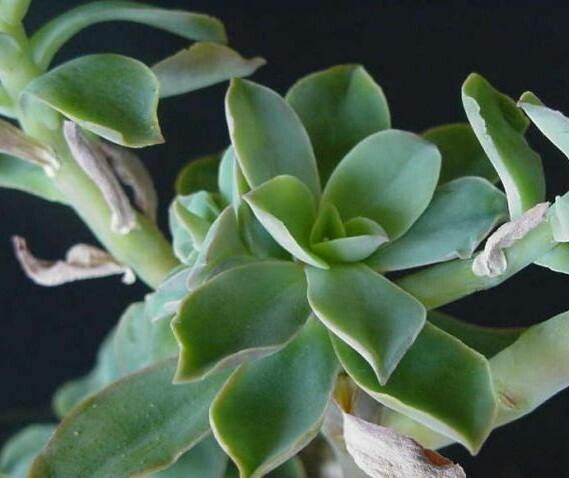
Echeveria australis, with its mesmerizing rosette of fleshy leaves, is a succulent superstar. But did you know this easy-care beauty is also remarkably easy to propagate? That’s right, you can turn one plant into a whole collection! Whether you’re a seasoned gardener or just starting out, propagating your Echeveria australis is a rewarding experience.
Understanding the Basics
Before we dive into the how-to, let’s talk about the “why” behind successful Echeveria australis propagation. This succulent, like many others, has the incredible ability to regenerate from its leaves and offsets (also called “pups”). This means you can create brand new plants from a single leaf or a small offshoot.
Propagation Methods
There are two main ways to propagate Echeveria australis:
1. Leaf Cuttings: This method involves carefully removing a healthy leaf from the mother plant and encouraging it to grow roots and eventually, a new rosette.
* **Step-by-Step Guide:**
    1. **Select a healthy leaf:** Choose a plump, firm leaf from the outer layers of the rosette. Avoid leaves that are damaged, wilting, or showing signs of disease.
    2. **Twist and remove:** Gently twist the leaf from the stem, ensuring the entire leaf comes off with a clean break. Avoid cutting the leaf, as this can lead to rot.
    3. **Let it callus:** Allow the leaf to air dry in a shady, well-ventilated spot for a few days, or until the cut end forms a callus.
    4. **Prepare your planting medium:** Use a well-draining potting mix specifically formulated for succulents and cacti.
    5. **Lay the leaf on the soil:** Place the callused end of the leaf gently on the surface of the  soil. Don't bury the leaf.
    6. **Misting is key:** Mist the soil lightly every few days to keep it slightly moist. Overwatering can lead to rotting.
    7. **Patience is a virtue:** In a few weeks, you'll notice tiny roots emerging from the base of the leaf, followed by a miniature rosette.
    8. **Potting up:** Once the new plantlet develops a strong root system and a rosette of its own, you can carefully pot it up into its own container.
2. Offsets: Echeveria australis often produce offsets, or “pups,” that grow from the base of the mother plant. These baby succulents can be separated and potted up easily.
* **Step-by-Step Guide:**
    1. **Identify a suitable offset:** Look for offsets that are at least an inch or two in diameter with a well-developed root system.
    2. **Separate the offset:** Carefully detach the offset from the mother plant using a clean, sharp knife or your fingers. Make sure to keep as much of the offset's roots intact as possible.
    3. **Pot up immediately:** Plant the offset in a well-draining succulent mix, burying the roots gently. Water lightly.
Tips for Success:
- Timing is key: Spring and early summer, when the plant is actively growing, are the best times for propagation.
- Light is essential: Provide your cuttings or offsets with bright, indirect light. Avoid direct sunlight, which can scorch the developing plants.
- Don’t be afraid to experiment: While these methods offer a high success rate, don’t be discouraged if a few attempts don’t take. Experiment and find what works best for you and your environment.
Propagating Echeveria australis is a fun and rewarding way to expand your succulent collection. With a little patience and these simple steps, you’ll be enjoying the beauty of these fascinating plants for years to come!