Unlocking the Secrets of Elaeocarpus bullatus Propagation: A Step-by-Step Guide to Growing Your Own
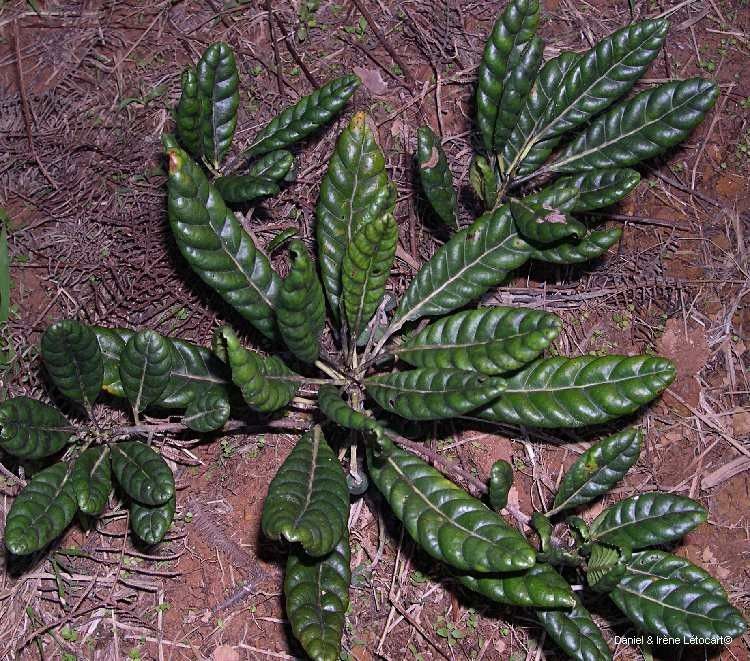
Elaeocarpus bullatus, with its striking foliage and captivating blue berries, is a true gem of the plant world. But finding this exotic beauty at your local nursery might be a challenge. That’s where propagation comes in! With a little patience and the right techniques, you can easily grow your own Elaeocarpus bullatus from cuttings or seeds, bringing this stunning plant into your own garden.
Propagation through Cuttings:
The most common and accessible method of propagating Elaeocarpus bullatus is through semi-hardwood cuttings. Here’s a step-by-step guide:
Timing is Key: The best time to take cuttings is during the late spring or early summer when the plant is actively growing. Choose healthy, non-flowering stems with at least 4-6 nodes (the bumps along the stem where leaves emerge).
Prepare the Cuttings: Using sharp, clean pruning shears, make a clean cut just below a node. Remove any leaves below the first node, leaving 2-3 leaves at the top.
Root Hormone Boost: Dipping the base of the cutting in rooting hormone powder will greatly enhance their chances of success.
Potting Up: Fill a pot with a well-draining potting mix and create a small hole in the center. Gently insert the cutting, making sure the nodes are below the soil line.
Creating a Humid Environment: Covering the pot with a plastic bag or dome will help to maintain humidity and prevent the cuttings from drying out.
- Patience is a Virtue: Keep the cuttings in a warm, bright location (but out of direct sunlight) and regularly mist them with water. You can expect to see roots forming within 6-8 weeks.
Propagation from Seed:
While slightly more time-consuming, propagating Elaeocarpus bullatus from seed is a rewarding experience.
Fresh Seeds for Best Results: The freshest seeds will have the highest germination rate. You can collect your own seeds from ripe berries, or purchase them from a trusted source.
The Scarification Trick: Elaeocarpus bullatus seeds have a tough seed coat that needs to be weakened before they can germinate. This process, known as scarification, can be achieved by nicking the seed coat with a sharp knife or soaking the seeds in warm water for 24 hours.
Soaking and Sowing: After scarification, plant the seeds about 1/4 inch deep in a pot filled with a seed-starting mix. Keep the soil moist and the seeds in a bright location but away from direct sunlight.
- It Takes Time: Germination can take several weeks to several months, so be patient and maintain consistent care. Once the seedlings emerge, you can transplant them into individual pots when they are large enough to handle.
Tips for Success:
High Humidity: Ensuring high humidity is key, especially for cuttings. Regularly misting, using a humidity dome, or even placing the pots on a humidity tray will help.
Well-Draining Soil: Elaeocarpus bullatus prefers a well-draining soil to prevent root rot.
- Plenty of Indirect Light: This plant thrives in a bright location but needs protection from the harsh midday sun.
With a bit of effort and the right techniques, propagating Elaeocarpus bullatus is achievable. It’s a rewarding process that allows you to enjoy the beauty of this unique plant in your own garden. So, get your hands dirty and embark on your own propagation journey!