Unlocking the Secrets of the Blue Marble Tree: A Propagation Guide
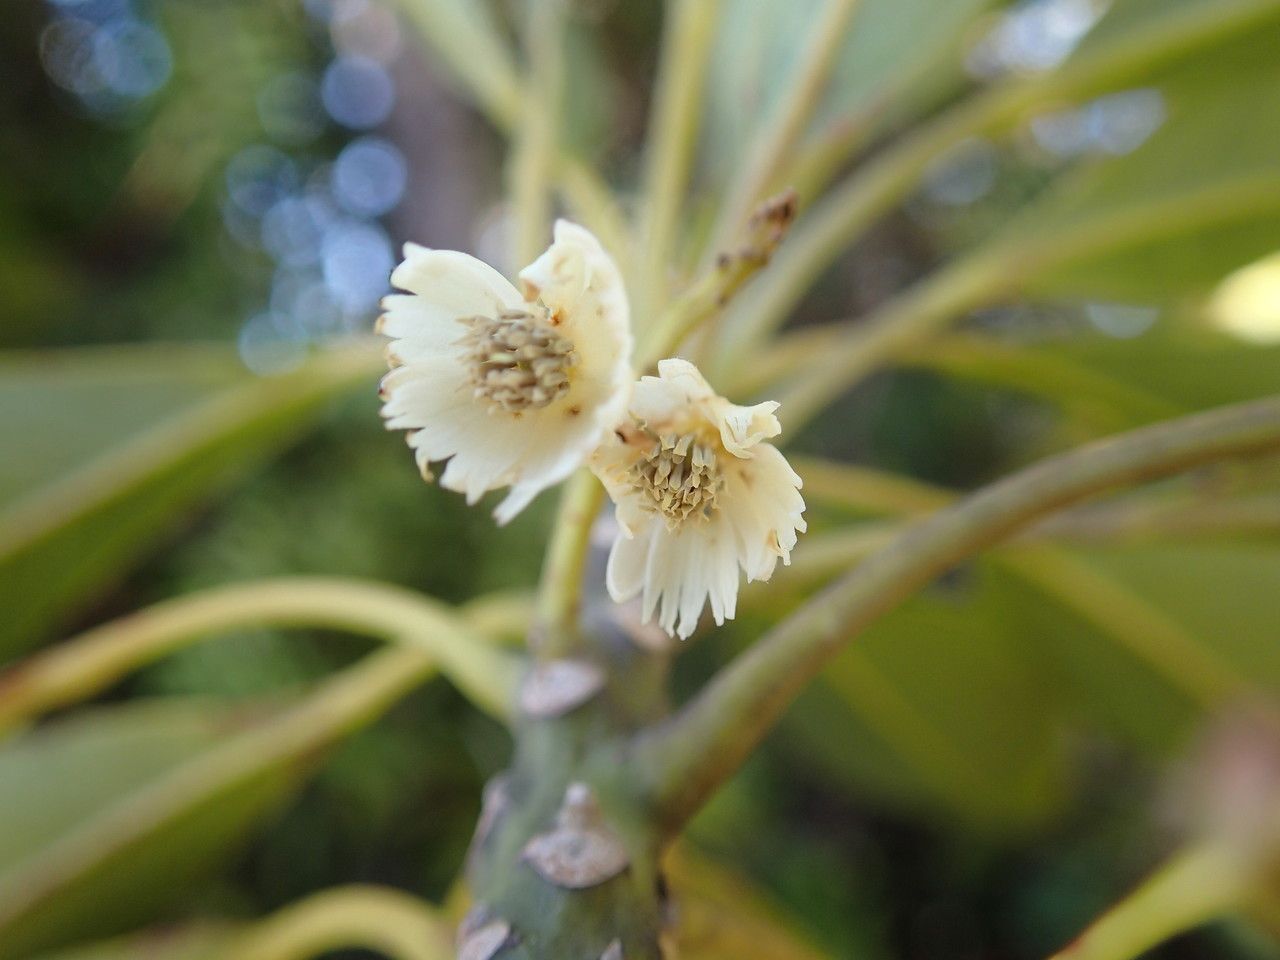
The Elaeocarpus vieillardii, more affectionately known as the Blue Marble Tree, is a visual delight. Native to the rainforests of New Caledonia, this evergreen species charms with its glossy green foliage and, most strikingly, its breathtaking display of vibrant blue fruits. These marble-like berries, the origin of its charming name, dangle like exotic ornaments, transforming the tree into a living spectacle.
If you’re lucky enough to have encountered this beauty and yearn to welcome its magic into your own space, propagation is the answer. While it requires a touch of patience and dedication, the rewards of nurturing a Blue Marble Tree from its infancy are immeasurable. Let’s dive into the two main methods of propagation:
1. Seed Propagation: A Journey of Patience and Reward
Patience is the key to success when it comes to growing Blue Marble Trees from seed. However, the journey is undoubtedly rewarding.
Here’s what you need to know:
- Seed Collection: Source fresh seeds from ripe fruits. Look for berries that are a deep, rich blue. You can extract the seeds by gently crushing the fruit and rinsing away the pulp.
- Seed Treatment: Blue Marble Tree seeds have a hard outer shell that necessitates scarification to improve germination rates. Lightly rubbing the seed coat with sandpaper or nicking it gently with a sharp, sterilized knife can help break down this barrier.
- Sowing: Plant your seeds in a well-draining seed-raising mix, keeping a depth of about 1-2 cm.
- Environment: Moisture and warmth are crucial for germination. Create a humid microclimate by covering the pot with a plastic bag or using a propagator. Aim for a consistent temperature of around 20-25°C.
- Germination Time: Be prepared for a wait. Germination can take anywhere from a few months to a year, so don’t lose hope if you don’t see immediate results.
- Transplanting: Once your seedlings have developed a few sets of true leaves, they’re ready to be carefully transferred to individual pots with well-draining soil.
2. Cutting Propagation: A Faster Route to Success
For those eager for quicker results, propagation through cuttings offers a viable alternative.
Here’s a step-by-step guide:
- Timing is Key: Select healthy, semi-hardwood cuttings from the current year’s growth during the cooler months of spring or autumn.
- Cut with Care: Using a sharp, sterilized knife or pruning shears, take cuttings around 10-15cm long, making a clean cut just below a leaf node.
- Prepare the Cutting: Remove the lower leaves, leaving only a few at the top. You can also wound the base of the cutting slightly to encourage root development.
- Rooting Hormone (Optional): Dipping the base of your cutting in rooting hormone can enhance success rates, although it’s not strictly necessary.
- Planting: Insert your prepared cutting into a pot filled with a well-draining propagation mix, ensuring the leaf nodes are buried.
- Environment: Maintain a humid environment, replicating the process used for seed propagation.
- Root Development: In approximately 6-8 weeks, your cuttings should start developing roots. You can test this by gently tugging on the base of the cutting; resistance indicates successful rooting.
- Transplanting: Once your rooted cuttings show signs of new growth, they can be transferred to larger individual pots.
Nurturing Your Blue Marble Tree: A Labor of Love
Whether you choose the rewarding path of seed propagation or the swifter route of cuttings, nurturing a Blue Marble Tree is an act of love and dedication. Provide it with well-drained soil, dappled sunlight, and regular watering, and watch as it flourishes into a magnificent specimen. Its captivating beauty, a testament to your patience and care, will be a source of enduring joy for years to come.