Unlocking the Secrets: How to Propagate the Tongue Fern (Elaphoglossum lingua)
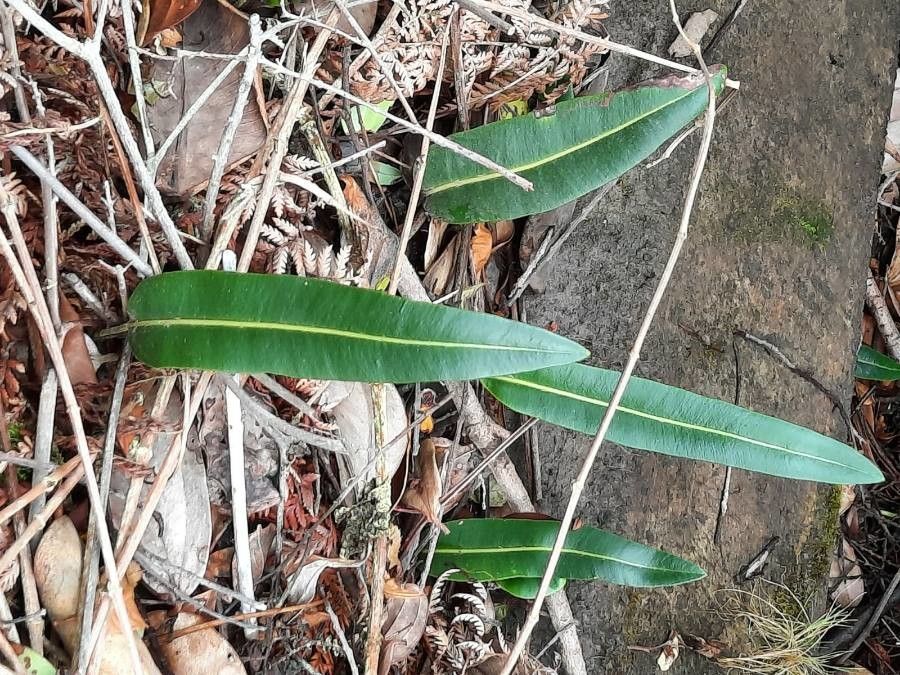
The Elaphoglossum lingua, more affectionately known as the Tongue Fern due to its long, undivided fronds, is an increasingly popular houseplant. Its unique appearance, with leathery, tongue-shaped leaves that unfurl from a central rosette, adds a touch of the exotic to any space. But successfully propagating this epiphytic fern can seem like a mysterious art. Fear not, fellow plant enthusiasts, for we’re about to unlock the secrets of multiplying your Tongue Fern!
Propagation Methods: Spores vs. Pups
Unlike many houseplants that readily propagate from cuttings, the Tongue Fern reproduces primarily through spores and occasionally produces pups. Let’s explore both methods:
1. The Spore Path: A Journey of Patience
Propagating ferns from spores is a rewarding experience, though it requires a good deal of patience. Here’s how:
- Spore Collection: On the underside of mature fronds, you’ll find small, brown, clustered dots called sori. These contain the spores. When they appear plump and slightly fuzzy, carefully scrape them onto a white paper using a clean, dry knife.
- Preparing the Spore Bed: Choose a well-draining medium like sphagnum moss or a peat-based seed starting mix. Sterilize it by baking in the oven at a low temperature for an hour to kill any pathogens.
- Sowing the Spores: Sprinkle the spores thinly over the surface of the moistened medium. Don’t bury them, as they need light to germinate.
- Creating a Humid Environment: Cover the container with a clear plastic wrap or place it in a propagator to maintain high humidity. Provide indirect light and maintain a temperature around 70-75°F (21-24°C).
- Germination & Growth: Germination can take anywhere from a few weeks to a few months. Once they sprout, they resemble a thin, green moss. Gradually acclimate them to lower humidity levels once they develop small fronds.
2. The Pup Surprise: Easier, But Less Common
Occasionally, your Tongue Fern might surprise you with small plantlets, or “pups,” emerging near the base of the mother plant. These can be carefully separated and potted up individually.
- Identifying Pups: Look for small plantlets with their own root system developing near the base of the mature fern.
- Separation: Gently remove the mother plant from its pot and carefully detach the pup, ensuring it has a good amount of roots.
- Potting the Pup: Plant the pup in a well-draining potting mix, similar to the mother plant’s, and water it thoroughly.
- Care for the New Plant: Place it in a warm, humid environment with indirect light, and watch your new Tongue Fern thrive!
Tips for Success:
- Cleanliness is key: Sterilize all tools and containers before use to prevent fungal contamination.
- Patience is a virtue: Propagating ferns takes time. Don’t be discouraged if you don’t see results immediately.
- Simulate their natural habitat: Provide indirect light, high humidity, and warmth to mimic their natural epiphytic environment.
Propagating your own Elaphoglossum lingua might seem daunting at first, but with a little patience, the right knowledge, and a touch of dedication, you can unlock the secrets to expanding your fern family. So go ahead, embrace the challenge, and enjoy the satisfaction of nurturing new life from spores or pups!