Unlocking the Secrets of Propagation: How to Grow More Elattostachys apetala
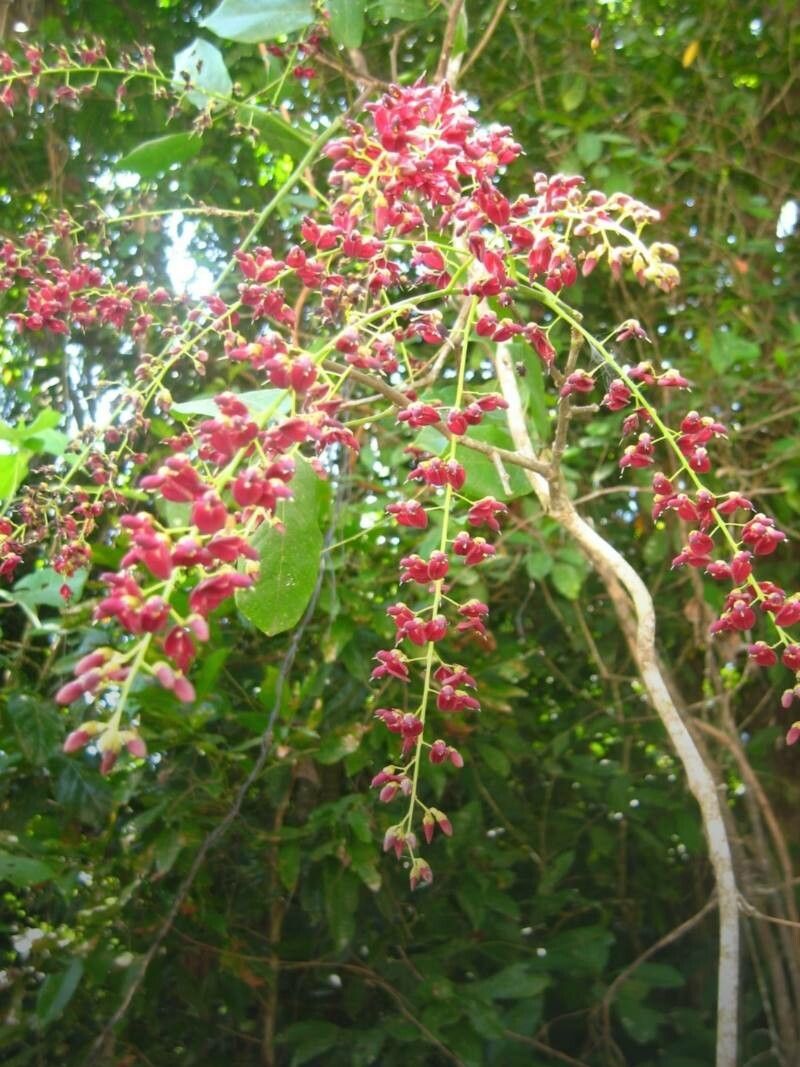
The Elattostachys apetala, with its stunning foliage and quirky charm, is a prized addition to many gardens. But what if you could enjoy even more of its beauty? Enter the fascinating world of propagation!
This blog post will guide you through the process of multiplying your Elattostachys apetala, allowing you to create new plants and share the joy with friends or further enhance your garden’s aesthetic.
Why Propagate?
Propagating plants is not just about multiplying, it’s about preserving the unique characteristics of a beloved specimen. You can ensure that your new plants inherit the same vibrant colors and attractive growth habits as the mother plant. Besides, propagation is a fun and rewarding experience, allowing you to witness the magic of nature firsthand.
Methods of Propagation
While Elattostachys apetala can be propagated through seed, this method is less common due to the inherent unpredictability of seedlings. The most popular and reliable methods for this plant are:
- Cuttings: This is the most straightforward and widely used technique.
- Tip cuttings: Take a cutting from the tip of a stem with a few leaves.
- Stem cuttings: Cut a portion of a stem with at least two leaf nodes.
- Air layering: A more advanced technique ideal for older plants.
Step-by-Step Guide to Propagation
1. Timing is Key: The best time for propagation is during spring or early summer when the plant is actively growing.
2. Prepare Your Cutting:
- Choose healthy stems: Opt for strong, disease-free stems.
- Make a clean cut: Use a sharp knife or pruning shears to make a clean, diagonal cut just below a leaf node.
- Remove lower leaves: Remove all leaves below the soil line to prevent rot.
3. Root Hormone (Optional):
- Dip the cut end: Apply a rooting hormone powder to the cut end of the stem to encourage root development.
4. Planting:
- Potting mix: Choose a well-draining potting mix.
- Planting depth: Insert the cut end into the potting mix, ensuring the leaf nodes are above the soil line.
- Moistening: Water the cutting thoroughly and keep the soil evenly moist but not soggy.
- Humidity: Use a plastic bag or humidity dome to create a humid environment. This can be achieved by placing the cutting in a clear plastic bag propped open to allow some air circulation.
5. Patience is Essential:
- Light conditions: Provide indirect light, avoiding direct sunlight.
- Monitoring: Keep an eye on your cutting and ensure the soil remains slightly moist.
- Timeframe: It can take several weeks or months for roots to develop.
6. Transplanting Time:
- New growth: Look for signs of new growth, indicating healthy root development.
- Repotting: Gently transplant the cutting into a slightly larger pot with a well-draining potting mix.
Tips for Success
- Sterilization: Sterilize your tools before and after use to prevent the spread of diseases.
- Proper watering: Water your cuttings regularly, but avoid overwatering. Aim for a consistently moist but not soggy soil environment.
- Patience: Propagation requires time and patience. Don’t be discouraged if you don’t see results immediately.
By following these guidelines, you can successfully propagate your Elattostachys apetala and enjoy the beauty of this unique plant in your garden. Remember, every new propagation is a testament to the wonders of nature, and a testament to your own horticultural skills.