Mastering the Art of Multiplying Your Epidendrum Anceps: A Propagation Guide
The Epidendrum anceps, with its charming reed-like stems and vibrant blooms, is a rewarding orchid for any enthusiast. And what’s even more rewarding than enjoying its beauty? Multiplying your collection, of course! Propagating this hardy species is surprisingly achievable, even for beginners. Let’s delve into the techniques that will turn you into an Epidendrum anceps propagation pro.
Understanding the Basics
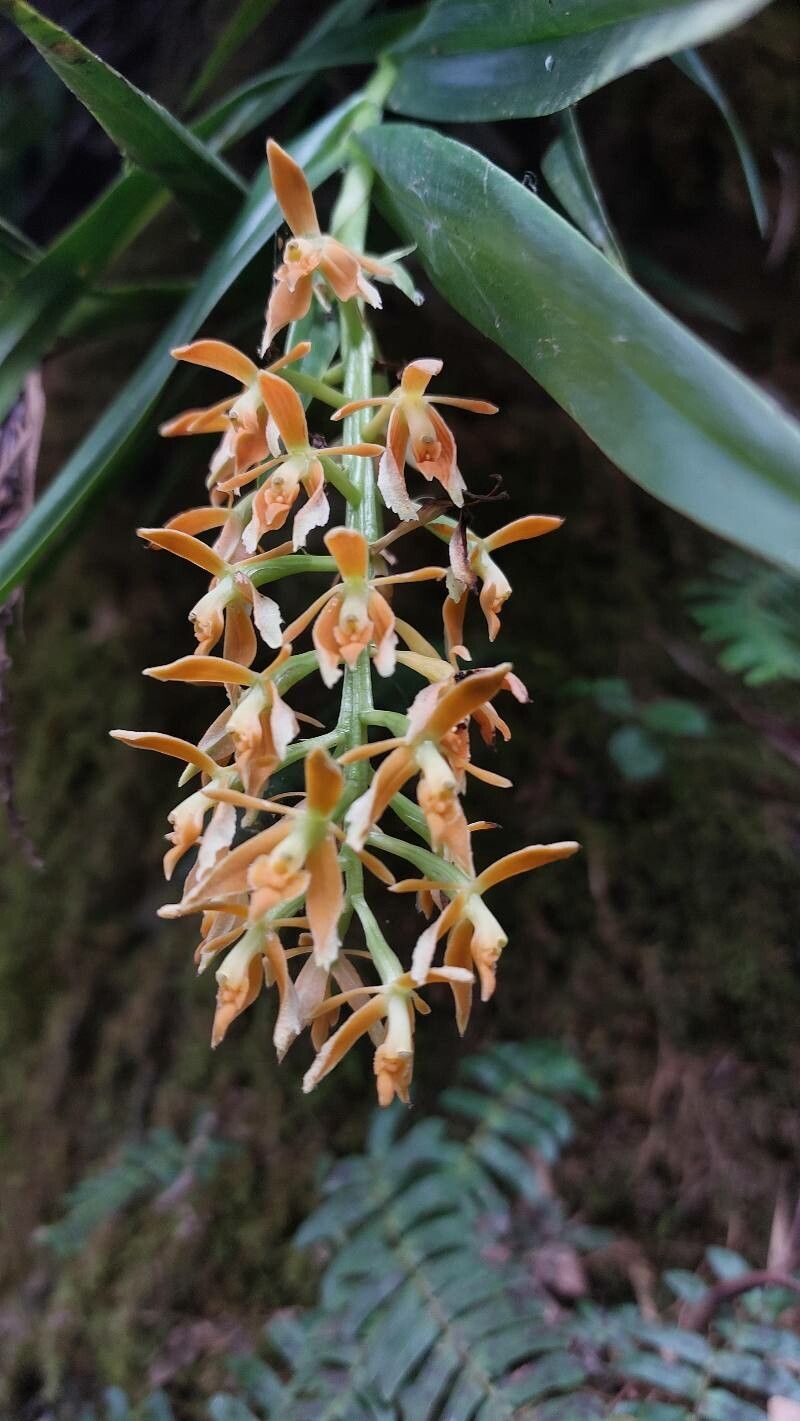
Before we jump into the methods, it’s helpful to understand the growth habit of this orchid. Epidendrum anceps, also known as the “veined Epidendrum,” is a sympodial epiphyte. This means it grows horizontally, producing new shoots (called “pseudobulbs”) along a rhizome. Each pseudobulb matures, flowers, and then contributes to the next generation of growth.
Methods for Multiplication:
1. Division: This is the most common and reliable method for Epidendrum anceps. Here’s how:
- Timing is Key: Ideally, divide your orchid just as new growth begins in Spring.
- The Right Candidate: Choose a healthy plant with at least 4-6 pseudobulbs.
- Tools of the Trade: Sterilize your cutting tool (sharp knife or pruning shears) to prevent infections.
- The Process: Carefully cut the rhizome, ensuring each division has at least 2-3 pseudobulbs with healthy roots.
- Potting Up: Plant the divisions in well-draining orchid mix and provide gentle support as they establish.
2. Keikis (Plantlets): Sometimes, your Epidendrum anceps will surprise you with keikis, miniature plantlets that sprout along the stem. Once a keiki develops roots about 2-3 inches long:
- Careful Removal: Gently detach it from the mother plant with a sterile tool.
- Independent Living: Pot the keiki in its own pot with orchid mix and treat it as a mature plant.
3. Back Bulbs (Less Common): Older, leafless pseudobulbs are called “back bulbs.” While not as reliable, they can sometimes be encouraged to produce new growth.
- Creating the Right Environment: Place removed back bulbs in a warm, humid environment with bright, indirect light.
- Patience is Key: It can take months for a back bulb to sprout. Keep the medium lightly moist and don’t fertilize until new growth appears.
Tips for Propagation Success:
- Hygiene Matters: Always sterilize your tools and use fresh potting mix to prevent disease.
- Optimal Conditions are Key: Provide bright, indirect light, humidity levels of 60-70%, and good air circulation.
- Water Wisely: Water thoroughly when the potting mix is nearly dry. Avoid overwatering, which can lead to root rot.
- Fertilizer in Moderation: Use a balanced orchid fertilizer diluted to half strength during the growing season (Spring-Summer).
Reap the Rewards of Your Efforts:
Successfully propagating your Epidendrum anceps is incredibly fulfilling. You’ll not only expand your collection but also deepen your connection with these fascinating plants. So, embrace the propagation process, and watch with delight as your orchid family thrives!