From Seed to Sprout: A Beginner’s Guide to Propagating Epilobium Clavatum
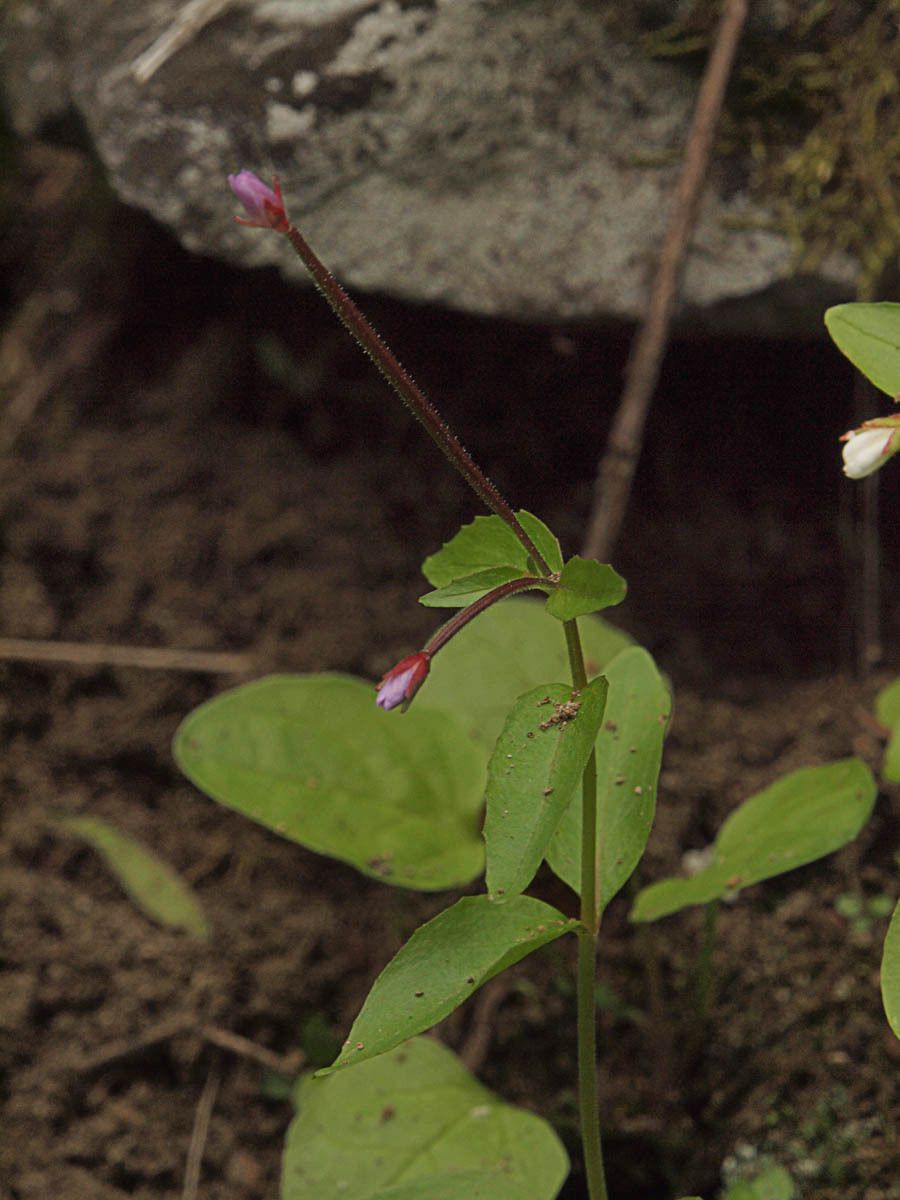
Epilobium clavatum, commonly known as the willowherb, is a charming perennial graced with delicate pink or purple flowers and attractive foliage. Its resilience and ease of care make it a popular choice for gardens and wildflower meadows. But did you know that you can easily expand your willowherb population by propagation?
This blog post will guide you through the process of propagating Epilobium clavatum, whether you prefer to start from seed or take cuttings.
Seed Propagation: From Tiny Seeds to Lush Plants
Harvesting Seeds: The journey begins with seed collection. Once the willowherb flowers have faded and given way to seed capsules, carefully collect those capsules before they fully open. The seeds are tiny and dispersed easily, so be gentle during this step.
Preparing for Sowing: When you’re ready to plant, choose a light, well-draining seed tray or pot filled with seed starting mix. You can also sprinkle the seeds directly into your garden bed.
Sowing the Seeds: Place the seeds on the surface of the soil and gently press them in. Avoid covering them with too much soil, as they require sunlight to germinate. Mist the surface with water and cover the tray with a clear plastic wrap to create a mini-greenhouse environment.
- Patience is Key: Keep the tray in a warm, bright location, avoiding direct sunlight. Germination can take a few weeks, so be patient! Once seedlings emerge, remove the plastic wrap and gradually acclimate them to outdoor conditions.
Propagation Through Cuttings:
This method offers a faster route to new plants.
Selecting Cuttings: Choose healthy, non-flowering stems from your willowherb plant. Each cutting should be approximately 4-6 inches long. Use a sharp knife or shears to make a clean cut just below a node (the point where a leaf grows).
Preparing Cuttings: Remove any leaves below the soil line and dip the cut end in rooting hormone. This will encourage root development.
Planting Cuttings: Fill a small pot with a peat-based potting mix. Create a hole in the mix and insert the cutting, ensuring that at least two nodes are buried. Gently firm the soil around the stem.
- Care for Your Cuttings: Water thoroughly and place the potted cuttings in a bright, but not sunny, location. Keep the soil moist, but not waterlogged, until roots develop, which usually takes 2-4 weeks.
Transplanting Your New Willowherbs
Once your seedlings or cuttings are established, they are ready to be moved to their permanent home.
Choosing the Right Spot: Epilobium clavatum thrives in sunny to partly shaded locations. Ensure the soil is well-draining and amend it with compost if needed.
- Transplanting with Care: Gently dig a hole slightly larger than the root ball and carefully extract the plant from its container. Place it in the hole, ensuring the top of the root ball is level with the soil. Fill the hole with soil, firming it gently around the roots. Water thoroughly to settle the soil and help the plant establish itself.
Enjoy Your New Willowherbs
With a little patience and care, you can successfully propagate your Epilobium clavatum, expanding your garden’s beauty and enjoying the delicate charm of its flowers. Remember to enjoy the process and watch as your new plants flourish!