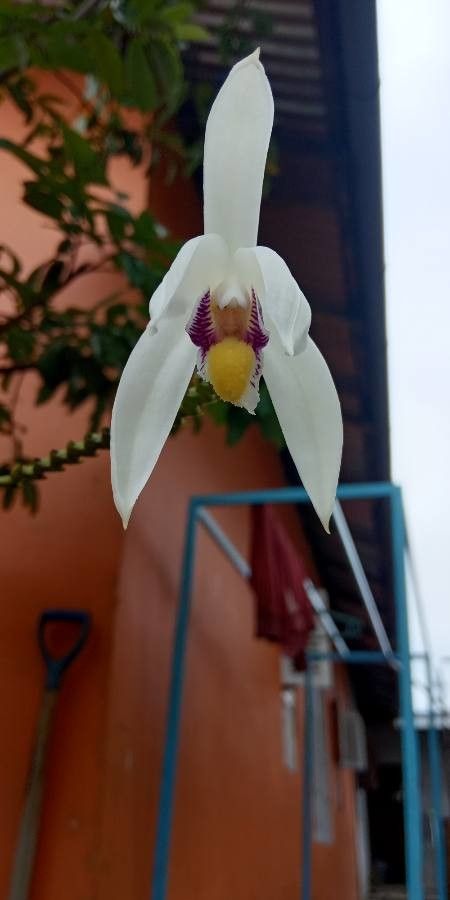
Unlocking the Secrets of Eria coronaria Propagation: A Guide to Growing Your Orchid Paradise
The Eria coronaria, with its delicate, fragrant blossoms and captivating beauty, is a true treasure for any orchid enthusiast. But if you’re looking to expand your collection or simply share the joy of this magnificent plant, the journey starts with propagation. Don’t be intimidated! With a little know-how, you can easily create new Eria coronaria plants from existing ones, welcoming a blossoming new chapter in your orchid journey.
Methods for Propagation:
Eria coronaria doesn’t produce many seeds, making traditional seed propagation a tricky endeavor. Instead, the most effective methods for increasing your Eria coronaria stock are division and propagation from cuttings.
1. Division: A Simple Approach for Mature Plants:
When your Eria coronaria plant has become noticeably full and crowded, it’s time for a division.
- Timing: The ideal time for division is during the growing season, typically during spring or early summer.
- Process: Carefully separate the plant at the base, ensuring each new division has healthy roots and foliage.
- Planting: Pot each new division in a well-draining orchid potting mix, making sure the roots are fully covered.
- Care: Water sparingly, avoiding overwatering, and position in a bright, indirect light location.
2. Propagation from Cuttings: A New Plant from a Single Stem:
This method involves taking segments of a mature Eria coronaria stem and coaxing them to develop roots.
- Timing: The best time for cuttings is during the active growth period, usually spring or early summer.
- Process: Select a healthy stem and cut it into approximately 4-6 inch long pieces. Ensure each cutting has at least two to three nodes (the points where leaves and roots develop).
- Preparation: Remove the lower leaf and any flower spikes. To encourage rooting, dip the cut end in rooting hormone.
- Planting: Place the cuttings in a well-draining, airy mixture, like a combination of sphagnum moss and perlite. Keep the mixture moist but avoid soggy conditions.
- Care: Maintain a warm and humid environment, ideally with temperatures around 70-80°F. You can achieve this by placing the cuttings in a propagation box or covering them with a plastic bag to create a humid environment.
Tips for Success:
- Sterilization: Use sterilized tools to minimize the risk of introducing diseases.
- Humidity: Maintain high humidity around your cuttings to encourage root development.
- Light: Give your cuttings bright, indirect light and avoid direct sunlight.
- Patience: Patience is key. It can take anywhere from several weeks to a few months for cuttings to root.
Beyond the Basics:
- Use a quality rooting hormone: To promote root growth, a rooting hormone can be a valuable tool.
- Maintain a consistent environment: Sudden changes in temperature or humidity can stress young plants and hinder their progress.
- Monitor for pests and diseases: Regular checks will help you address any issues promptly.
Final Thoughts:
Propagating your Eria coronaria is a rewarding journey that allows you to expand your collection while sharing the beauty of these exquisite orchids. By following these steps and embracing the process, you can successfully cultivate new plants that will bring joy and vibrant color to your living space. Remember, patience and a little TLC go a long way in nurturing your Eria coronaria’s journey from cuttings to blooming masterpieces.