Unlocking the Secrets of Black-Eyed Heath: An Erica Melathera Propagation Guide
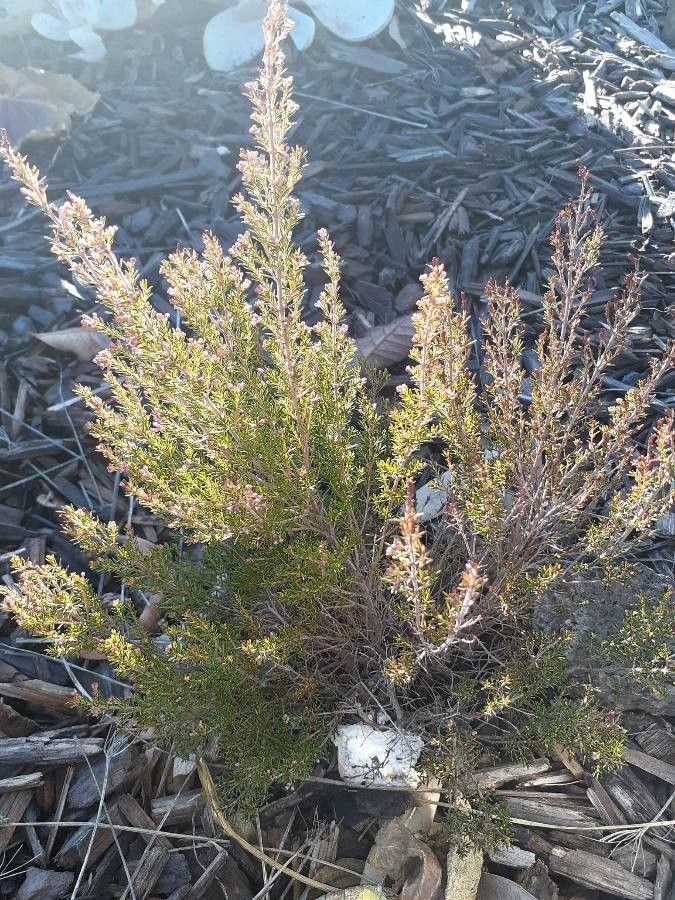
Erica melanthera, the charming “Black-Eyed Heath,” is a South African native that steals hearts with its abundance of dainty pink flowers and contrasting dark anthers, resembling tiny, curious eyes. Bringing home a pot from the garden center is a delight, but wouldn’t it be more rewarding to multiply your collection? Propagation might seem intimidating, but fear not! With a little patience and the right techniques, you can easily propagate Erica melanthera and fill your garden with its unique charm.
Two Paths to Propagation:
1. Cuttings: A Step-by-Step Guide
Taking cuttings is the most common and effective method for propagating Erica melanthera. Here’s how:
- Timing is Key: The ideal time to take cuttings is in late summer or early fall when the plant is actively growing.
- Choose Your Weapon: Use a sharp, sterilized knife or pruning shears to prevent disease.
- Making the Cut: Select healthy, non-flowering shoots and cut approximately 3-4 inches long, just below a leaf node.
- Prepare the Cuttings: Remove the lower leaves, leaving only a few at the top. This reduces water loss and encourages root development.
- Hormone Boost (Optional): Dipping the cut end in rooting hormone powder can increase the success rate, though it’s not strictly necessary.
- Potting Mix Matters: Use a well-draining, acidic potting mix specifically formulated for ericaceous plants. You can also create your own by combining peat moss, perlite, and vermiculite.
- Planting: Gently insert the cuttings into the prepared potting mix, burying the bottom node.
- Humidity is Key: Cover the pot with a clear plastic bag or use a propagation dome to create a humid environment.
- Location, Location, Location: Place the pot in a bright, indirectly lit area, avoiding direct sunlight.
- Patience is a Virtue: Keep the potting mix consistently moist but not waterlogged. Rooting can take 6-8 weeks, sometimes longer.
- Signs of Success: New growth indicates successful rooting. Gradually acclimatize the cuttings to normal conditions by removing the cover for increasingly longer periods. Once they are acclimated, you can transplant them into individual pots or your garden.
2. Seed Starting: A Test of Patience
Propagating Erica melanthera from seed requires more patience and a touch of luck:
- Seed Collection: Collect seeds from dried flower heads in late fall or winter.
- Sowing: Sow seeds on the surface of a seed-starting mix, pressing them in lightly without burying.
- Light and Warmth: Provide bright, indirect light and maintain a temperature of around 65-70°F (18-21°C).
- Moisture Control: Mist the seed tray regularly to keep the surface moist but avoid waterlogging.
- Time to Sprout: Germination can be erratic and take several weeks to months.
- Transplanting: Once seedlings are large enough to handle, transplant them into individual pots and grow them on until they are ready for the garden.
Tips for Success:
- Well-Drained Soil: Erica melanthera thrives in acidic, well-drained soil. Amend heavy clay soils with organic matter to improve drainage.
- Sun Lovers: Choose a sunny or partially shaded location for your Erica melanthera.
- Water Wisely: Water regularly during the growing season, keeping the soil moist but not soggy. Reduce watering in winter.
- Feed Your Plants: Fertilize lightly in spring with an ericaceous fertilizer to promote healthy growth and blooming.
Armed with this knowledge and a sprinkle of gardening magic, you are well on your way to propagating Erica melanthera. Enjoy the journey and be rewarded with a bounty of these charming, black-eyed beauties!