From Seed to Success: The Secrets of Propagating Yerba Santa
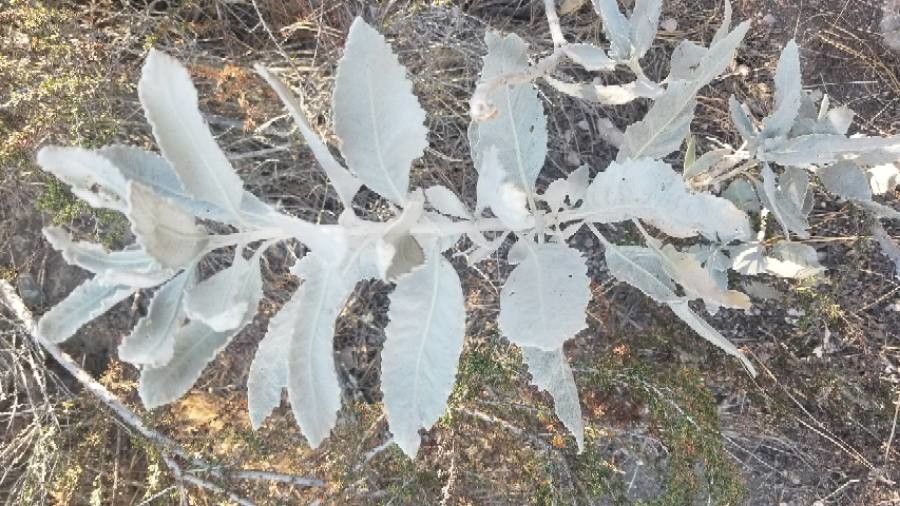
Yerba santa (Eriodictyon tomentosum), with its silvery leaves and fragrant, medicinal properties, is a beloved plant among herbalists and gardeners alike. But did you know it’s possible to grow your own Yerba santa from scratch? It might seem intimidating, but propagation is actually quite rewarding, allowing you to expand your garden and share this healing herb with others.
Three Ways to Grow New Yerba Santa Plants
There are three primary methods for propagating Yerba santa:
- Seeds: While often a bit trickier, growing Yerba santa from seed offers the thrill of nurturing a plant from its very beginnings.
- Stem Cuttings: This straightforward method involves taking cuttings from existing Yerba santa plants and encouraging them to root.
- Division: For established plants, division provides a way to create multiple new plants from a single parent plant.
Seed Propagation: A Patient Approach
- Timing: The ideal time to sow Yerba santa seeds is in the early spring.
- Preparation: Choose a well-draining seed-starting mix and fill seed trays with it. Sprinkle the seeds on the surface and gently press them in. Mist the soil to keep it moist.
- Germination: Cover the seed trays with a clear plastic dome or wrap to create a humid environment. Place them in a bright, warm location but out of direct sunlight. Germination can take several weeks, so patience is key!
- Transplanting: Once seedlings develop their first true leaves, carefully transplant them into individual pots filled with a well-draining potting mix.
- Hardening Off: Before planting your young Yerba santa outdoors, “harden them off” by gradually acclimating them to the sun and wind over a period of a few weeks. This will help them adjust to the outside environment.
Stem Cuttings: A Faster Route
- Timing: The best time to take cuttings is in the spring or early summer when the plant is actively growing.
- Procedure: Choose healthy, non-flowering stems. Make a clean cut just below a node (the point where a leaf grows from the stem). Remove the leaves from the bottom 1-2 inches.
- Rooting: Dip the cut end of the stem in rooting hormone to promote root growth. Plant the cutting in a pot filled with a moist, well-draining rooting mix. Water regularly and keep the cutting in a bright, humid location, but out of direct sunlight.
- Transplanting: Once roots have developed (usually in a few weeks), you can transplant your new Yerba santa into its permanent home outdoors.
Division: A Quick Way to Multiply
- Timing: The best time to divide Yerba santa plants is in the early spring or fall.
- Procedure: Carefully dig up the plant and gently separate the roots. Each division should have a healthy root system and a few stems.
- Replanting: Plant the divisions in new locations with well-draining soil and water regularly.
Cultivating Your Yerba Santa
Regardless of the propagation method you choose, Yerba santa thrives in well-draining soil and a sunny location. It prefers dry conditions and doesn’t need excessive watering.
In Conclusion:
Propagating Yerba santa can seem daunting at first, but with a little patience and understanding, you can easily grow your own supply of this beneficial herb. Whether you choose to start from seed, take cuttings, or divide an existing plant, you’ll be rewarded with a lush, fragrant addition to your garden and a source of natural healing.