From Seed to Showstopper: Unlocking the Secrets of Propagating Eriogonum dasyanthemum
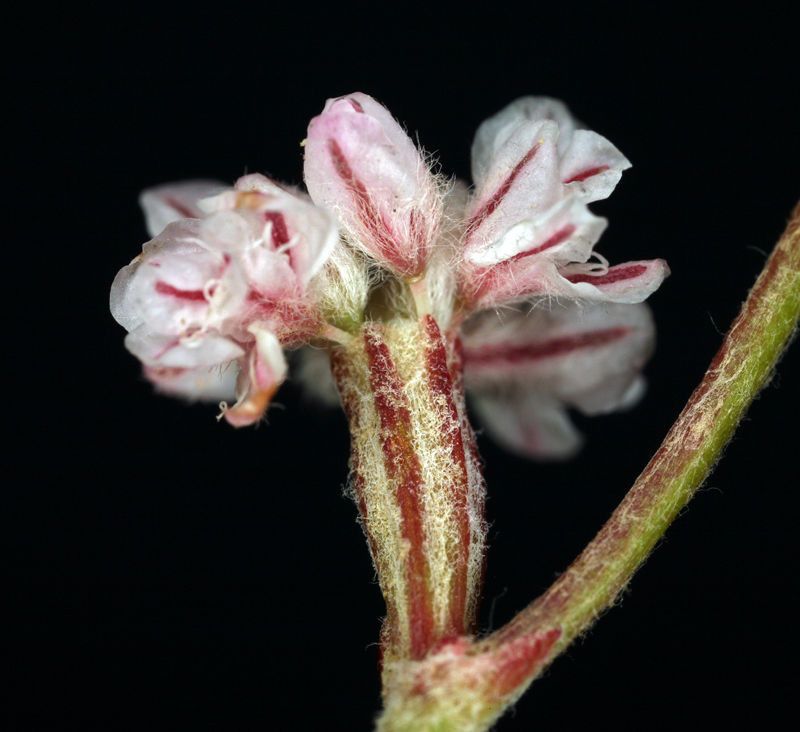
Have you fallen in love with the woolly charm of Eriogonum dasyanthemum, a plant that practically whispers “desert elegance”? Its silvery leaves and captivating blooms make it a captivating addition to any garden, offering a touch of arid beauty. But what if you could share this plant’s magic with others, or create your very own little desert oasis with more of these beauties?
The magic of propagation opens up a world of possibility, allowing you to cultivate Eriogonum dasyanthemum from the comfort of your own home. But don’t be intimidated by the unfamiliar name! This guide will walk you through the secrets to successfully growing new Eriogonum dasyanthemum plants, whether you prefer the hands-on approach of seed starting or the ease and speed of cuttings.
Seed Starting: A Journey of Patience and Reward
Imagine a tiny seed, brimming with the potential of a new Eriogonum dasyanthemum. Seed starting offers a rewarding adventure, but remember, it’s a marathon, not a sprint. Here’s how to embark on this journey:
Timing is everything: Spring is the ideal time to start your seeds. Choose a well-draining seed-starting mix, ensuring a light and airy environment for those delicate roots.
Sow with care: Gently press the seeds into the soil, lightly covering them. Avoid over-watering, as this can lead to damping off, a fungal disease fatal to seedlings.
Light and warmth: Eriogonum dasyanthemum seeds need light to germinate, so place them in a sunny location or under grow lights. Maintain a consistent temperature between 65-75 degrees Fahrenheit for swift germination.
Patience is key: Be patient! It may take several weeks for your seeds to sprout. While you wait, ensure the soil remains evenly moist, but not soggy.
- Hardening off: Once your seedlings have developed a few true leaves, it’s time for them to acclimate to outdoor conditions. Gradually introduce them to full sun and wind over a period of a week or two before transplanting them into their permanent homes.
Cuttings: A Quick and Easy Shortcut
If patience is not your strong suit, cuttings offer a more immediate solution. Here’s the shortcut to success:
Timing is everything: The best time for cuttings is during the spring or early summer when the plant is actively growing.
Choose your cutting wisely: Select healthy, non-flowering stems that are about 4-6 inches long. Make sure the cutting has at least two nodes, the tiny bumps on the stem where leaves grow.
Prepare the cutting: Remove the leaves from the bottom inch or two of the cutting. Dip the cut end into a rooting hormone, if desired.
Get the right soil: Potting soil mixed with perlite or sand will create a well-draining environment for your cuttings to root. Insert the cut end of the stem into the soil, making sure it’s firmly planted up to the first set of leaves.
Keep it moist: Maintain a consistently moist environment, but avoid overwatering, which can lead to root rot. Keep the cuttings in a bright, warm location, but out of direct sunlight.
- Time for celebration: In a few weeks, you’ll be rewarded with new roots. You’ll know they’re ready to be planted when they are long and strong.
Cultivating Your Eriogonum dasyanthemum Dream
No matter which method you choose, know that success is within your grasp! With careful attention and a little nurturing, you’ll be able to cultivate your own thriving Eriogonum dasyanthemum. Enjoy the joy of sharing these enchanting plants with others or delight in the sight of your very own desert oasis blooming with these magnificent beauties!