From One Giant Wildflower to Many: Mastering the Art of Eriogonum grande Propagation
The Giant Wild Buckwheat, or Eriogonum grande, is a breathtaking sight in the wild. With its majestic clusters of bright yellow flowers, it dominates the landscape, providing a vibrant splash of color. But did you know you can bring this beauty into your own garden?
Growing Eriogonum grande from seed is a rewarding experience, inviting you to witness the cycle of life unfold from a tiny speck to a magnificent plant. This article will walk you through the process of propagating Eriogonum grande, sharing the ins and outs of seed collection, sowing, and nurturing these stunning wildflowers.
Seed Collection: A Gift From the Wild
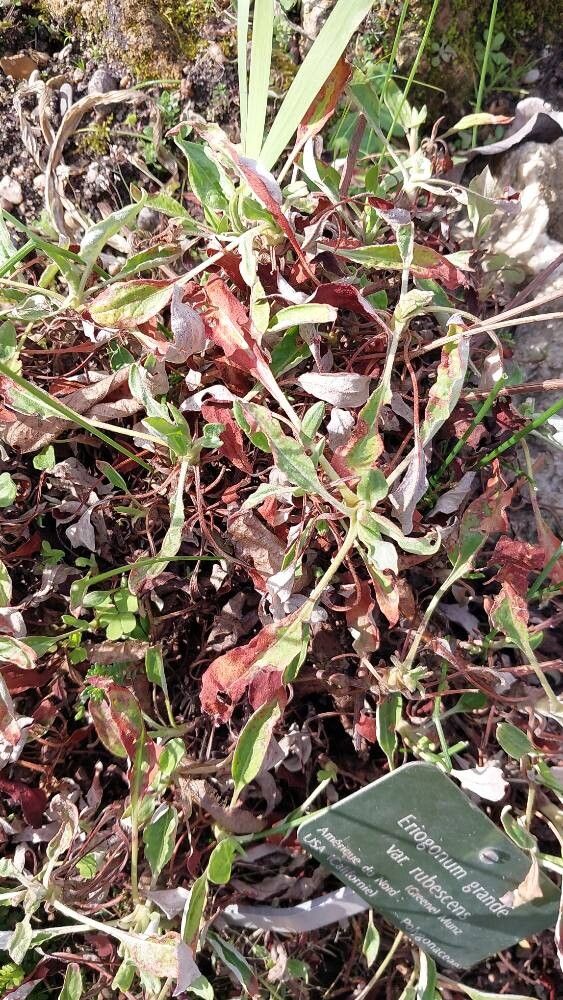
The journey begins with seed collection. Eriogonum grande produces seeds encased in small, nut-like structures called achenes. These are nestled within the spent flower heads, often turning brown and dry as the plant matures.
The ideal time for seed collection is late summer or early fall, after the flowers have faded but before the seeds have dispersed. Carefully collect the dried flower heads and store them in a cool, dry place for several weeks. This allows the seeds to dry further and improve viability. Once dried, gently rub the achenes between your fingers to release the seeds. Be sure to store them in airtight containers in a cool, dark location until you’re ready to sow.
Sowing the Seeds: A Journey Begins
Starting Eriogonum grande from seed requires patience and a little know-how. These wildflowers prefer a well-drained soil, so choose a pot or seed tray filled with a mixture of potting soil and perlite or sand.
Direct Sowing:
For a truly wild experience, direct sowing can be done in the garden during the fall or spring. Sow the seeds about 1/4 inch deep and space them 6-12 inches apart. Gently water the soil and allow it to drain.
Starting Indoors:
For a faster germination process, starting the seeds indoors is recommended. Fill a seed tray with the seed starting mix and lightly press the seeds onto the surface, avoiding burying them too deep. Mist the seeds with water and cover the tray with plastic wrap to retain moisture.
Place the tray in a bright, sunny location with temperatures around 70-75 degrees Fahrenheit. Germination can take several weeks, so be patient! Once the seedlings emerge, remove the plastic wrap and continue to water them regularly.
Transplanting: A Step Towards Growth
Once your Eriogonum grande seedlings have developed several true leaves (the leaves beyond the initial seed leaves), they are ready for transplanting. Choose a sunny spot in your garden with well-drained soil, remembering that these wildflowers thrive in poor, rocky soil.
Dig a hole slightly larger than the seedling’s root ball and gently loosen the soil around the roots. Plant the seedling at the same depth it was growing in the pot or seed tray. Water thoroughly after planting and continue to water regularly until the seedlings have established themselves.
The Rewards of Patience:
Eriogonum grande are relatively low-maintenance plants. They require minimal watering, especially once established. The wildflowers are drought-tolerant and can withstand occasional frost.
As your Eriogonum grande matures, you’ll enjoy its incredible resilience and the beauty of its vibrant yellow flowers. It will attract butterflies and bees to your garden, adding to its ecological value and creating a vibrant ecosystem.
Propagating Eriogonum grande isn’t just about creating a beautiful garden, it’s about connecting with nature, appreciating its resilience, and sharing its beauty with others.