Golden Yarrow’s Golden Touch: A Guide to Propagating Eriophyllum confertiflorum
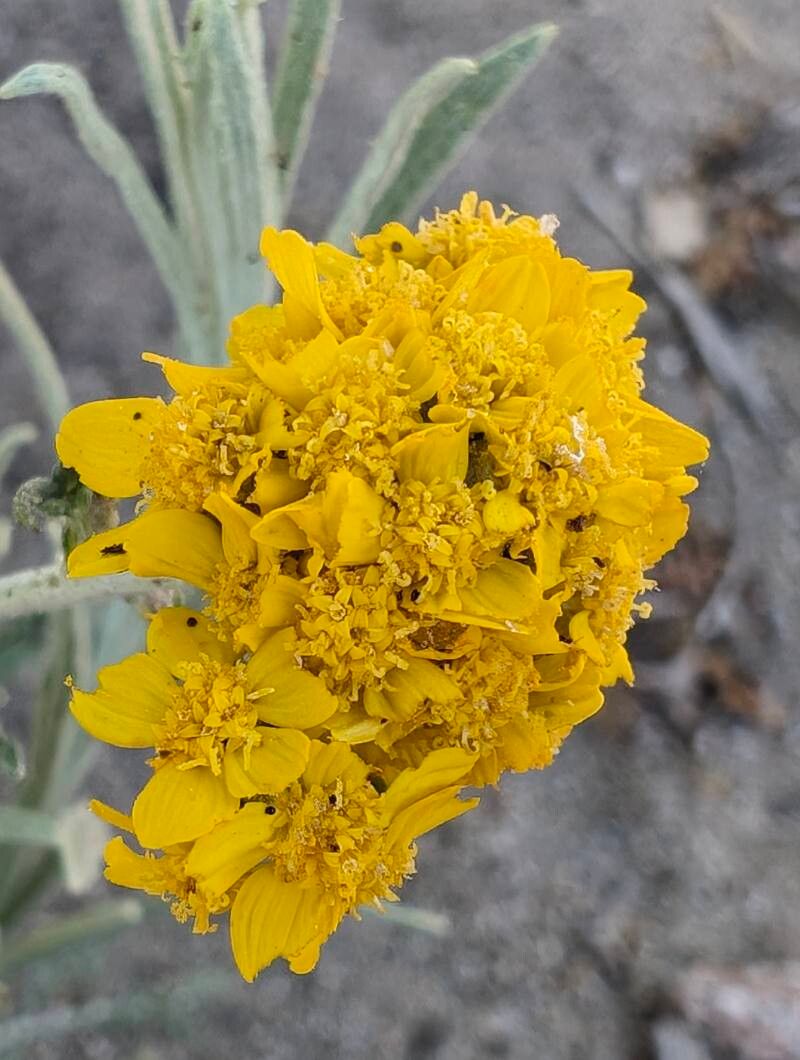
Eriophyllum confertiflorum, more commonly known as Golden Yarrow or Yellow Yarrow, is a vibrant wildflower native to the western United States. This drought-tolerant beauty brings a burst of sunshine to gardens with its clusters of golden yellow, daisy-like blooms that appear in late spring and last throughout summer. While easily grown from commercially available seeds, propagating Golden Yarrow yourself allows you to multiply your stock and share this cheerful plant with fellow garden enthusiasts.
This guide dives into two popular methods of propagating Eriophyllum confertiflorum:
1. Growing from Seed:
- Collecting Seeds: The first step is harvesting ripe seeds. As the flowers fade, keep an eye out for small, dry achenes (fruit containing a single seed) that form at the center of the flower head. Collect them once they turn brown and easily detach.
- Cold Stratification: Golden Yarrow seeds benefit from a period of cold stratification, mimicking the natural winter conditions they experience in the wild. Mix the seeds with a bit of damp sand or vermiculite, store them in a sealed plastic bag, and place them in your refrigerator for 4-6 weeks.
- Sowing: Once stratified, you can sow the seeds directly into the garden after the last frost or start them indoors 6-8 weeks before the last frost date. Sow seeds in a well-draining seed-starting mix, barely pressing them into the surface.
- Light & Moisture: Keep the soil consistently moist but not waterlogged. Golden Yarrow seeds need light to germinate, so avoid burying them deep.
- Transplantation: Seedlings started indoors can be transplanted outdoors after hardening them off, a process that introduces them gradually to outdoor conditions.
2. Propagating from Cuttings:
This method is generally quicker and often yields mature plants faster than growing from seed.
- Timing is Key: The best time to take cuttings is in the spring or early summer from healthy, new growth.
- Choosing the Cutting: Select a stem that is approximately 4-6 inches long and free from flowers or buds.
- Preparing the Cutting: Using clean, sharp shears or a knife, make a diagonal cut just below a leaf node (where the leaf joins the stem). Remove the lower leaves, leaving 2-3 sets of leaves at the top.
- Encouraging Root Growth: Dipping the cut end in rooting hormone can significantly increase the success rate. However, Golden Yarrow can often root without it.
- Planting the Cutting: Insert the cutting into a pot filled with a well-draining potting mix. Ensure at least one leaf node is buried in the medium.
- Creating a Humid Environment: Cover the pot with a plastic bag or use a humidity dome to create a warm, humid environment for the cutting.
- Rooting & Transplantation: Roots typically develop in 4-6 weeks. Once the cutting shows new growth, you can transplant it into a larger pot or your garden.
Essential Tips for Success:
- Well-Draining Soil: Golden Yarrow thrives in well-draining soil and dislikes soggy conditions. Amend heavy clay soils with sand or compost to improve drainage.
- Sunlight Requirements: Choose a location in your garden that receives at least 6 hours of sunlight daily.
- Watering: While established plants are quite drought-tolerant, provide regular watering during their first year to help them establish strong root systems.
Propagating your own Golden Yarrow is a rewarding experience that allows you to expand your garden and share the beauty of this hardy, sun-loving wildflower. With a little patience and care, you can enjoy a symphony of golden blooms for years to come.