Unlocking the Secrets of Erodium astragaloides Propagation: A Guide to Growing this Alpine Treasure
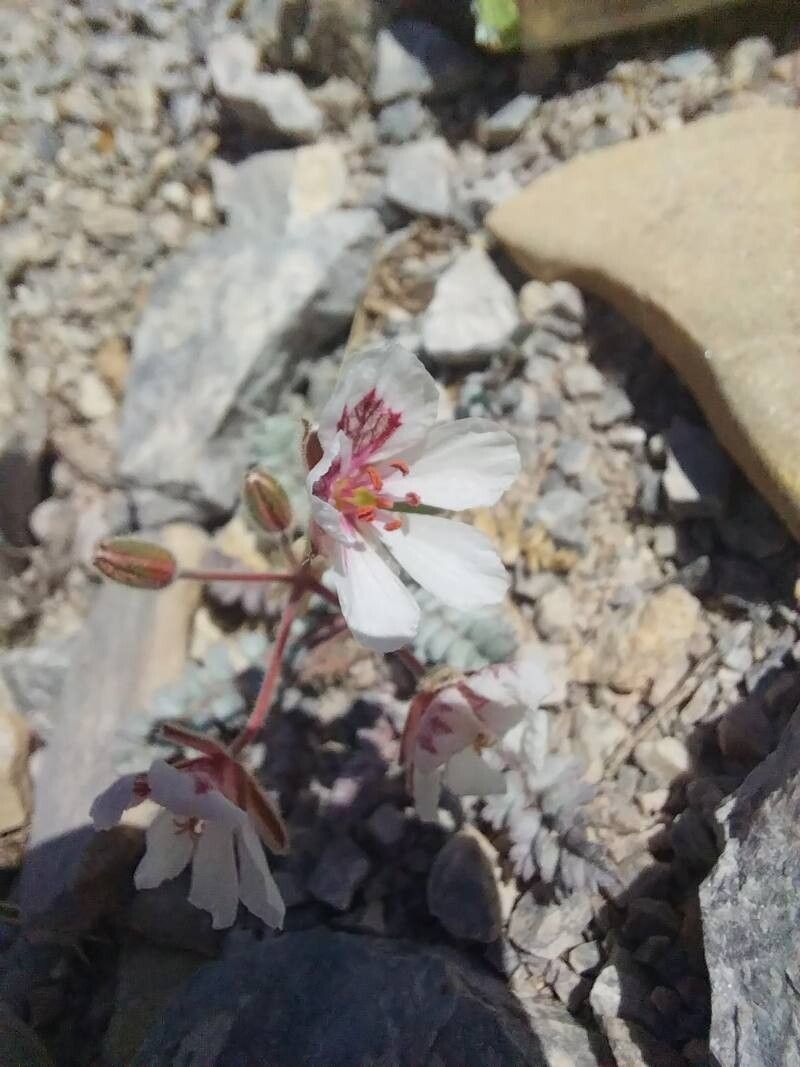
The Erodium astragaloides, with its delicate, ferny foliage and charming, pink-veined blossoms, is a captivating alpine plant that can add a touch of wild beauty to any garden. But getting your hands on one can be tricky, as they aren’t as readily available as other perennials. This is where the magic of propagation comes in!
While it might sound intimidating, propagating your own Erodium astragaloides is a rewarding endeavor well within reach, even for beginners. Let’s delve into the two most effective methods:
1. Seed Starting: From Tiny Seeds to Tiny Treasures
- Timing is Key: Start your seeds indoors approximately 6-8 weeks before the last expected frost in your region. Erodium astragaloides seeds benefit from a period of cold stratification, mimicking the natural cycle they would experience in their alpine habitat.
- Sowing with Care: Use a well-draining seed starting mix and barely cover the seeds. Keep the soil consistently moist but not waterlogged. A humidity dome or placing the seed tray inside a plastic bag can help maintain adequate moisture levels.
- Chill Out: Seal the seed tray in a plastic bag and place it in the refrigerator (around 40°F) for 4-6 weeks. This cold period is essential for breaking seed dormancy and promoting germination.
- Light and Warmth: After the cold stratification, move the tray to a warm, bright location but out of direct sunlight. Maintain consistent moisture. Germination usually occurs within 1-3 weeks.
- Thinning and Transplanting: Once the seedlings develop their first true leaves, thin out the weaker ones to give the strongest seedlings more space. When all danger of frost has passed, gradually harden off the seedlings by introducing them to outdoor conditions for progressively longer periods each day. Finally, transplant them into their permanent locations in the garden.
2. Cuttings: Cloning Your Alpine Star
- The Right Time: Spring is the optimal time for taking cuttings, as the plant is actively growing.
- Making the Cut: Using a clean, sharp knife or pruning shears, take 3-4 inch cuttings from the tips of healthy, non-flowering stems. Remove the lower leaves, leaving 2-3 pairs at the top.
- Hormone Boost (Optional): While not strictly necessary, dipping the cut end in rooting hormone can increase the success rate, especially for beginners.
- Planting the Cuttings: Insert the cuttings into a well-draining potting mix, burying at least one node below the surface. Water gently and cover the pot with a clear plastic bag or humidity dome to retain moisture.
- Patience is a Virtue: Place the pot in a bright location but out of direct sunlight. Keep the soil consistently moist. Rooting can take several weeks; you’ll know it’s successful when you see new growth.
- Transplanting: Once the cuttings have rooted and show vigorous growth, you can gradually harden them off and transplant them into the garden.
A Few Final Tips for Success
- Well-Drained Soil is Crucial: Erodium astragaloides thrives in well-drained soil and won’t tolerate soggy roots. Amend your soil with grit, perlite, or sand to improve drainage.
- Sun or Partial Shade: Erodium Astragaloides enjoys sunny locations but appreciates some afternoon shade in hotter climates.
- Water Wisely: Water deeply but infrequently, allowing the soil to dry out slightly between waterings.
Propagating your own Erodium astragaloides is a rewarding experience that connects you more deeply with this captivating plant. With a little patience and these simple techniques, you’ll soon have a thriving colony of these alpine treasures gracing your garden!