Unleashing the Beauty of Erodium daucoides: A Guide to Propagation
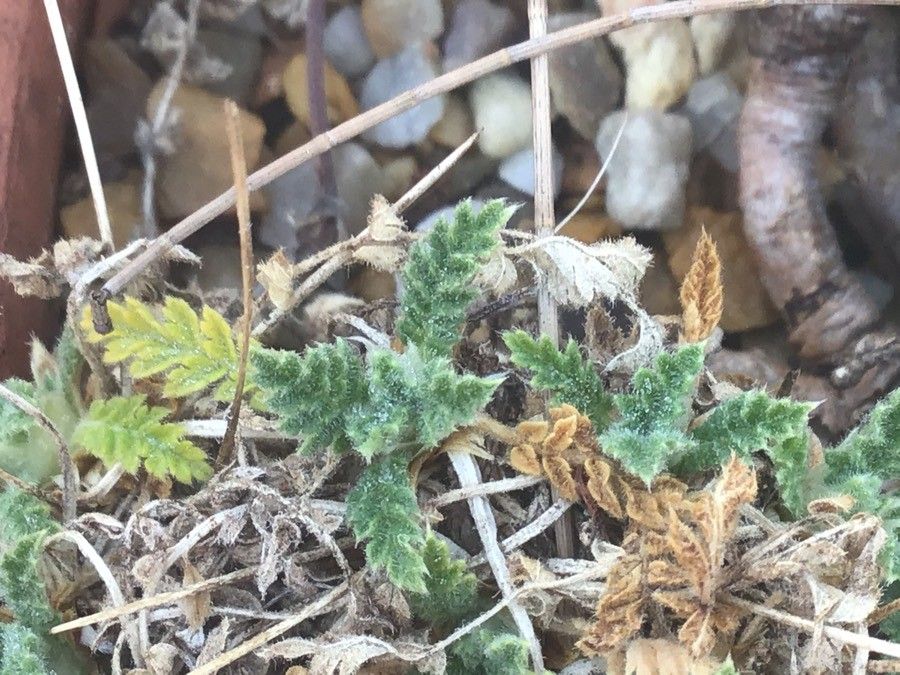
Erodium daucoides, with its delicate, heron’s-bill blooms and attractive foliage, is a charming addition to any rock garden, alpine trough, or well-drained border. While readily available at some nurseries, propagating your own Erodium daucoides is a rewarding endeavor that allows you to expand your collection and share this lovely plant with others.
This guide will explore two effective methods for propagating Erodium daucoides:
1. Seed Propagation:
Erodium daucoides readily sets seed, making this method a reliable way to produce new plants. Here’s a step-by-step guide:
- Seed Collection: Keep a watchful eye on your Erodium daucoides as the flowers fade. The seeds develop within elongated, beak-like structures (hence the common name “heron’s bill”). Once these structures turn brown and papery, the seeds are ready for collection.
- Sowing Time: You can sow Erodium daucoides seeds in both spring and autumn.
- Sowing Medium: A well-draining seed compost is essential. You can create your own by mixing equal parts of peat-free multipurpose compost, perlite, and grit.
- Sowing Depth: Surface sow the seeds, pressing them gently into the compost without completely burying them.
- Moisture & Light: Mist the sown seeds with water and keep the compost consistently moist but not waterlogged. Place the seed tray in a bright location but out of direct sunlight.
- Germination Time: Germination can take anywhere from a few weeks to a couple of months, so patience is key.
- Transplanting: Once the seedlings develop a few true leaves, they can be carefully transplanted into individual pots or directly into the garden.
2. Basal Cuttings:
For a quicker propagation method, consider basal cuttings, which utilize new shoots emerging from the base of the plant. Here’s how it works:
- Timing: Spring is the ideal time to take basal cuttings of Erodium daucoides.
- Taking Cuttings: Carefully remove some soil from the base of the plant to expose the new shoots. Select healthy shoots that are about 2-3 inches long and cut them cleanly with a sharp, sterilized knife or pair of scissors.
- Preparing the Cuttings: Remove the lower leaves from the cutting, leaving only a few leaves at the top.
- Rooting Hormone (Optional): While not strictly necessary, dipping the cut end of the cutting in a rooting hormone powder can encourage faster root development.
- Planting the Cuttings: Plant the prepared cuttings in small pots filled with a well-draining potting mix, burying the nodes where the lower leaves were removed.
- Moisture & Humidity: Water the cuttings gently and cover the pots with a plastic bag or propagator lid to create a humid environment.
- Rooting Time: The cuttings should root within a few weeks. You can test for root development by gently tugging on the cutting – resistance indicates roots have formed.
- Transplanting: Once rooted, the new plants can be gradually acclimated to outdoor conditions before being planted out into their permanent locations.
Caring for Your New Erodium daucoides:
Regardless of the propagation method you choose, providing the right growing conditions is crucial for success:
- Sunlight: Erodium daucoides thrives in full sun to partial shade.
- Soil: Well-draining soil is essential to prevent root rot. Amend heavy soils with grit or sharp sand.
- Water: Water regularly during the growing season, allowing the soil to dry out slightly between waterings. Reduce watering in winter.
- Fertilizer: These plants are light feeders. A light application of balanced fertilizer in spring is usually sufficient.
By following these propagation techniques and providing proper care, you can enjoy the beauty of Erodium daucoides for years to come, watching your gardening efforts blossom into a sea of delicate blooms. Happy propagating!