From One Spine to Many: Propagating the Striking Eryngium agavifolium
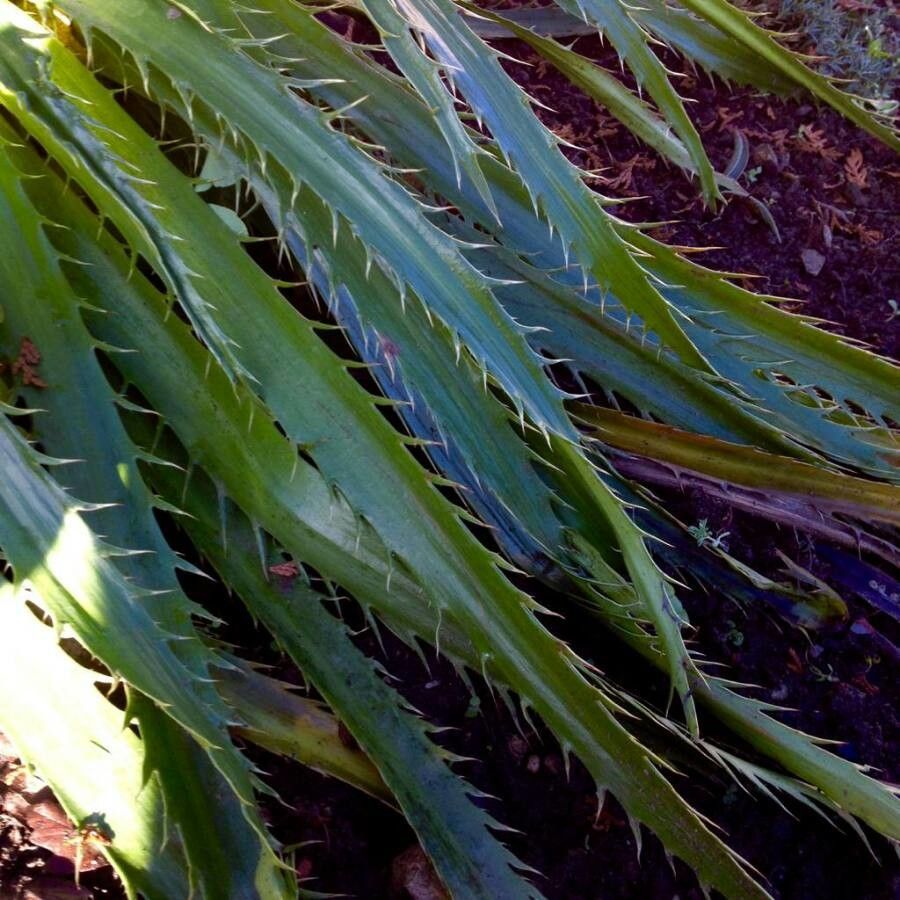
The Eryngium agavifolium, also known as the Agave-leaved Sea Holly, is a fascinating plant that demands attention with its dramatic, architectural foliage and striking blue flower heads. Its spiky, silvery-blue leaves resemble those of an agave, hence its name. But what if you want to grow a sea of these stunning plants in your garden? Propagation is the key!
While Eryngium agavifolium can be grown from seed, it’s often much easier and faster to propagate the plant through cuttings. Here’s a breakdown of how to successfully multiply your Agave-leaved Sea Holly:
1. The Timing is Key
The best time to take cuttings from Eryngium agavifolium is in the spring or early summer, when the plant is actively growing. The cuttings will have the highest success rate during this period.
2. Choose Your Cutting
Select a healthy stem from the current year’s growth. Ensure it is firm and ideally about 4 to 6 inches long. Use a sharp, clean knife or pair of pruning shears for a clean cut. Make the cut just below a node, which is the point where leaves grow from the stem. These nodes contain the dormant buds that will sprout new roots.
3. Pruning and Preparation
Once you have your cutting, remove any leaves from the bottom 2 inches of the stem. This helps prevent rot and encourages root development. You can also dip the cut end of the stem in rooting hormone powder, which can help speed up root growth.
4. Planting the Cutting
Prepare a pot with a well-draining potting mix. Planting the cuttings in moist but well-draining soil is key. Make a small hole in the potting mix deep enough to accommodate the cutting. Insert the cutting into the hole, ensuring the bottom 2 inches are buried in the soil.
5. Create a Humid Environment
After planting, water the cuttings gently. To increase the humidity around the cuttings, cover the pot with a plastic bag or a clear plastic dome. This helps to retain moisture making it easier for the plant to root.
6. Patience is a Virtue
Keep the cuttings in a bright, indirect light location and maintain a moderate temperature. Avoid excessive heat or direct sunlight. The cuttings usually take about 4 to 6 weeks to develop roots. Don’t get discouraged if it takes longer; Eryngium agavifolium can be a little slow to root.
7. Monitoring and Care
Monitor the soil moisture regularly and water when the topsoil feels dry to the touch. You will also need to remove the plastic cover after a few weeks to allow the cuttings to acclimate to the open air. The cuttings will need to be thinned or transplanted once they’ve established a root system.
8. Patience Pays Off
Once your Eryngium agavifolium cuttings have established their roots, you can plant them in their permanent location. It’s important to note that young plants will need extra protection from frost over the first couple of winters.
Benefits of Propagation
Propagating Eryngium agavifolium through cuttings isn’t just a fun and rewarding process, it also offers a multitude of benefits:
- Genetic Continuity: Taking cuttings ensures that the new plants will be exact genetic copies of the mother plant, preserving its unique qualities.
- Faster Growth: Cuttings often establish themselves and start growing more quickly than plants grown from seed.
- Cost-Effective: It’s an economical way to increase your Eryngium agavifolium collection without having to buy new plants.
Final Thoughts
Propagating Eryngium agavifolium through cuttings is a relatively simple process. By following the steps outlined above, you’ll be well on your way to adding more of these striking plants to your garden, creating a captivating tapestry of architectural beauty and an array of vibrant blue blooms. Enjoy the process and revel in the satisfying outcome of growing your very own sea holly.