Taming the Sea Holly: A Guide to Propagating Eryngium aquifolium
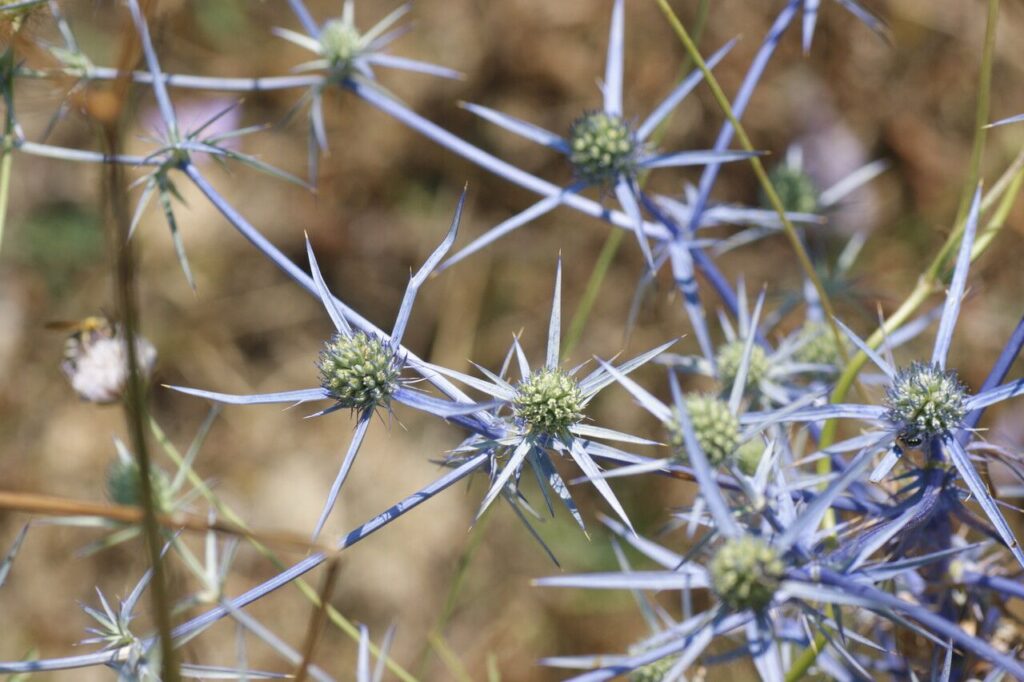
Eryngium aquifolium, more commonly known as Sea Holly, is a visual delight in any garden. Its silvery-blue, thistle-like blooms, reminiscent of a starburst, and architectural foliage draw the eye and spark conversation. But did you know that this striking plant, often found gracing coastal regions, can be readily propagated at home? It’s true! Let’s delve into the world of Eryngium aquifolium propagation and equip you with the knowledge to multiply your own spiky wonders.
Two Paths to Sea Holly Success:
There are two primary methods for propagating Eryngium aquifolium: seed sowing and basal cutting. Both offer unique advantages and suit different gardener preferences.
1. Sowing Seeds: A Dance with Nature
Propagating Sea Holly from seed is a rewarding experience that allows you to witness the entire life cycle of this fascinating plant.
- Timing is Key: The best time to sow Eryngium aquifolium seeds is in the spring, after the last frost has passed.
- Sowing the Seeds: Use a seed starting mix that is well-draining. Scatter the seeds on the surface and lightly press them in. Sea Holly seeds require light to germinate, so avoid burying them too deep.
- Warmth and Patience: Place your seed tray in a warm, bright location, but out of direct sunlight. Maintain consistent moisture and be patient – germination can take anywhere from 2 to 8 weeks.
- Transplanting Time: Once the seedlings have developed a couple of true leaves, they are ready to be carefully transplanted into individual pots or directly into your garden.
2. Basal Cuttings: Cloning Your Favorite Clumps
For a quicker and often more reliable method, basal cuttings are a fantastic option. This technique involves taking cuttings from the plant’s base, which are then encouraged to develop roots.
- The Right Time: Early spring is ideal for taking basal cuttings, just as the plant begins to show new growth.
- Taking the Cutting: Choose a healthy shoot from the base of the plant. Using a sharp, clean knife or pruning shears, make a cut about 3-4 inches long. Remove the lower leaves from the cutting, leaving only a few leaves at the top.
- Encouraging Roots: Dip the cut end of the cutting in rooting hormone (while optional, this can boost success rates). Then, plant the cutting in a pot filled with a well-draining potting mix.
- Creating a Humid Environment: To promote rooting, cover the pot with a clear plastic bag or use a propagation dome to maintain humidity. Place the pot in a brightly lit location, out of direct sunlight.
- Transplanting: After about 4-6 weeks, gently tug on the cutting to check for root development. If resistance is felt, the cutting has rooted and is ready to be transplanted.
A Few Tips for Sea Holly Success:
- Well-Drained Soil is a Must: Whether starting from seed or cuttings, excellent drainage is crucial for Eryngium aquifolium’s health and vigor. Amend heavy soils with grit or sand to improve drainage.
- Sun Lovers: These sun worshippers thrive in locations that receive at least 6 hours of direct sunlight per day.
- Water Wisely: Once established, Sea Holly is fairly drought-tolerant. Water deeply but infrequently, allowing the soil to dry out slightly between waterings.
With a little patience and the right techniques, you can successfully propagate Eryngium aquifolium and enjoy its unique beauty for years to come. Just imagine, a garden brimming with these captivating sea thistles, their metallic blue hues shimmering under the summer sun! So why not give propagation a try? You might be surprised at how rewarding it can be to multiply your very own botanical treasures.