Taming the Sea Holly: Propagating the Striking Eryngium ilicifolium
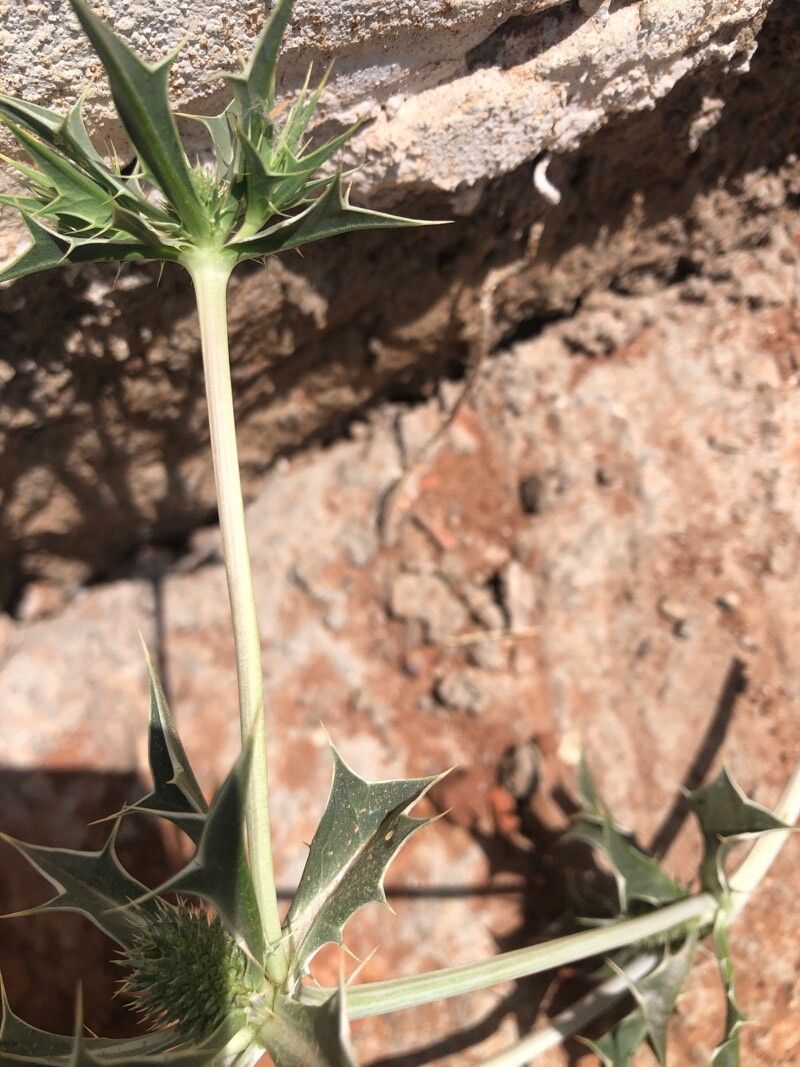
With its steely blue blooms reminiscent of a spiky sea creature, Eryngium ilicifolium, commonly known as Holly-leaved Eryngium, makes a dramatic statement in any garden. But this South American native, while strikingly beautiful, isn’t as widely available as other Eryngium species. If you’re lucky enough to find one, why not propagate it and share its unique charm?
Fear not, propagating Eryngium ilicifolium isn’t as intimidating as its prickly exterior suggests. Let’s dive into the two most successful methods:
1. Seed Propagation: A Game of Patience
Eryngium ilicifolium readily sets seeds, making this the most common – and sometimes the only – way to multiply your plant. Here’s a step-by-step guide:
- Seed Collection: Keep a watchful eye on spent blooms in late summer or early fall. The seeds are tiny and housed within prickly seed heads. Once the seed heads turn brown and dry, carefully collect them using gloves.
- Seed Preparation: Gently crush the seed heads to release the seeds. You can sow them immediately, but a period of cold stratification mimics their natural cycle and can improve germination rates. Store the seeds in a moist paper towel inside a sealed plastic bag in your refrigerator for 4-6 weeks.
- Sowing: Use a well-draining seed starting mix and sow the seeds on the surface, pressing them lightly. Keep the soil moist but not waterlogged, and place the pot in a bright location but out of direct sunlight.
- Germination: Patience is key here. Germination can take anywhere from a few weeks to several months. Once the seedlings are a few inches tall and have several sets of true leaves, you can transplant them to individual pots.
- Planting Out: Harden off your seedlings gradually by introducing them to outdoor conditions for increasingly longer periods over a week or two. Choose a sunny location with well-drained soil and plant your Eryngium ilicifolium seedlings, spacing them about 12-18 inches apart.
2. Basal Cuttings: A Faster Approach
For a quicker (though slightly less reliable) method, try propagating Eryngium ilicifolium from basal cuttings:
- Timing is Key: The ideal time for taking basal cuttings is in spring when the plant is actively growing.
- Take the Cuttings: Using a sharp, clean knife or pruners, carefully remove a few healthy shoots from the base of the plant. Aim for cuttings that are about 3-4 inches long.
- Prepare the Cuttings: Remove the lower leaves from the cutting, leaving only a few at the top. Dip the cut end in rooting hormone to encourage quicker root development (optional but recommended).
- Potting Up: Plant the cuttings in a well-draining potting mix, burying about a third of the stem. Water gently and cover the pot with a plastic bag or humidity dome to maintain moisture.
- Rooting: Place the pot in a bright location out of direct sunlight. Keep the soil consistently moist and be patient, as rooting can take several weeks. Once you see new growth, you’ll know your cuttings have successfully rooted.
- Planting Out: Once the roots are well-established, carefully harden off the new plants before transplanting them to their permanent location in your garden.
A Rewarding Challenge
Propagating Eryngium ilicifolium might require a bit more patience than some common garden plants, but the reward of these architectural beauties gracing your garden is well worth the effort. With a little love and attention, you, too, can enjoy the unique charm of this striking sea holly for years to come.