Taming the Wildflower: Propagating Western Wallflower (Erysimum asperum) for a Touch of Prairie Charm
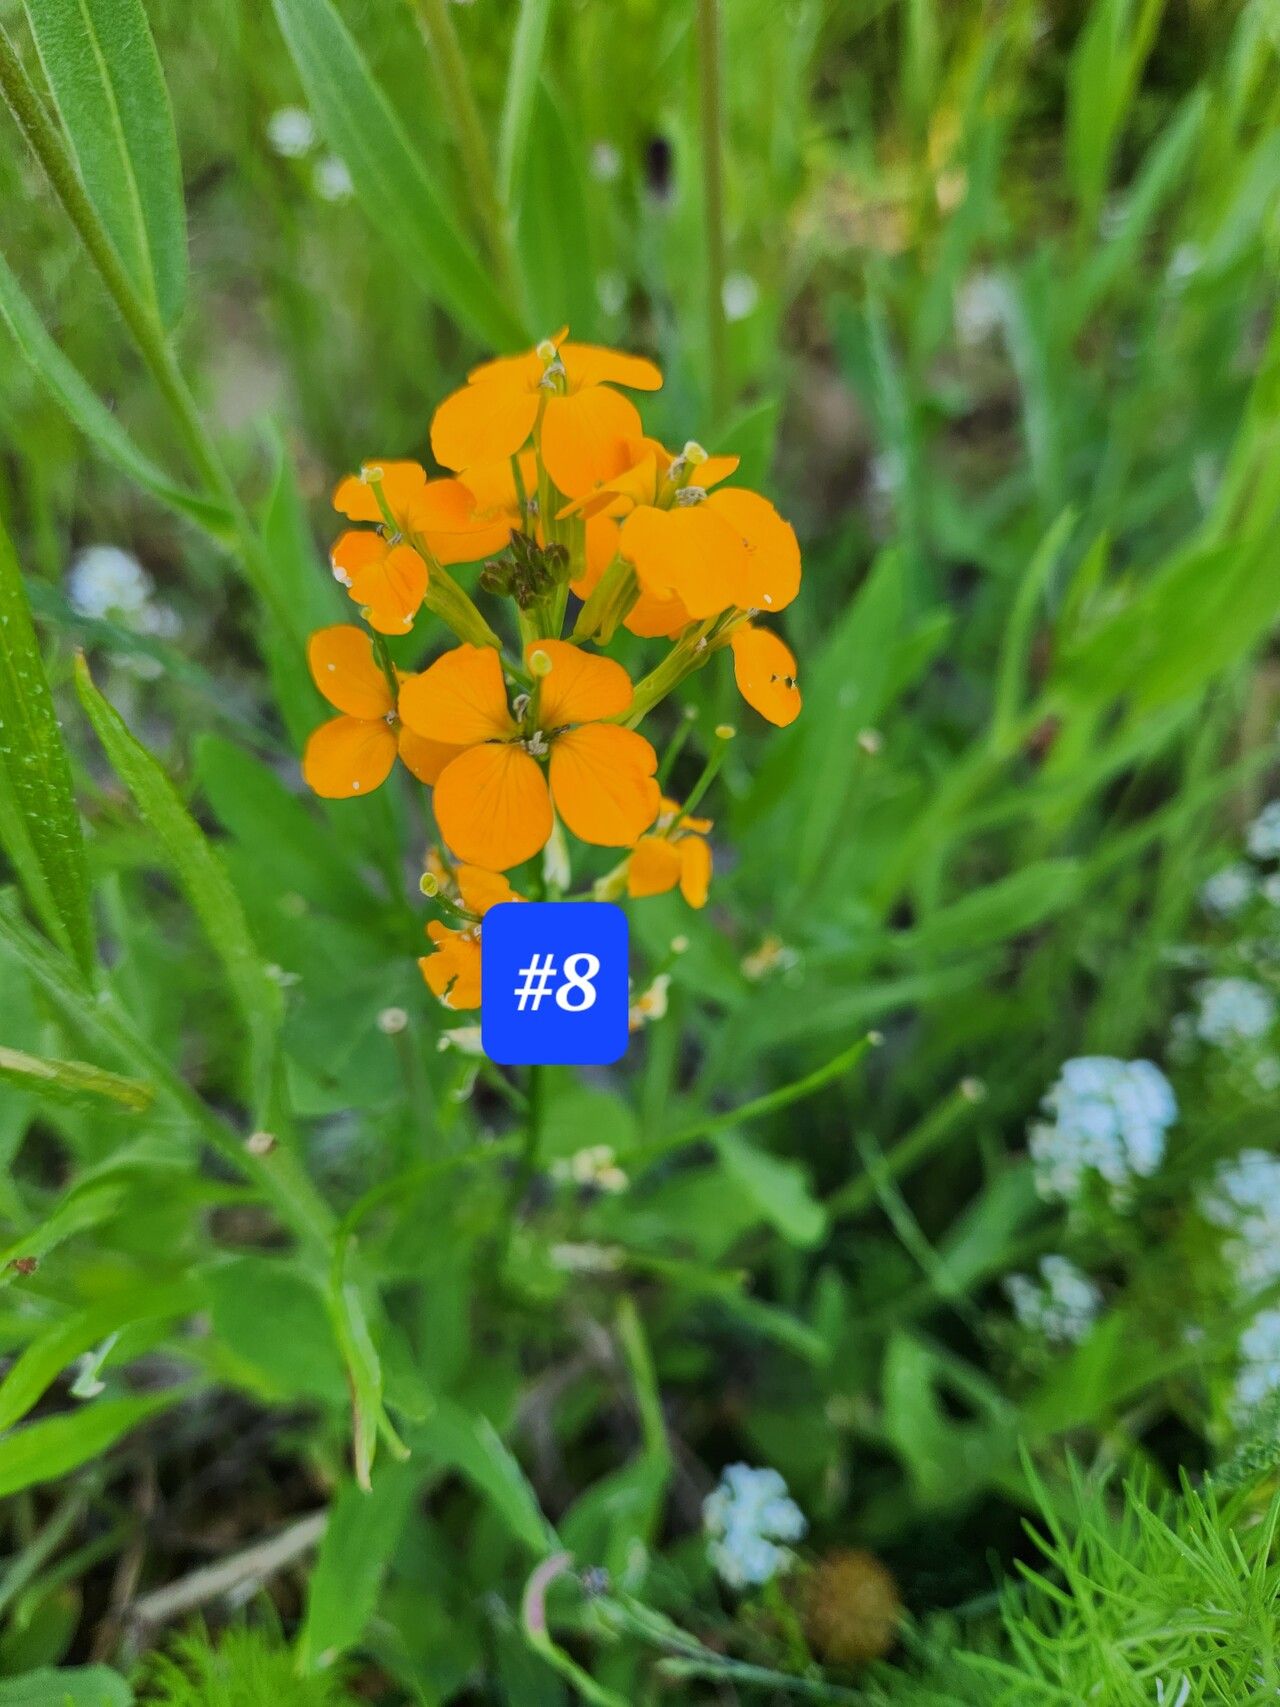
The Western Wallflower (Erysimum asperum), with its cheerful yellow blooms and alluring fragrance, brings a touch of wild prairie beauty to any garden. This North American native, while often found blanketing hillsides in the wild, can be easily encouraged to grace your backyard haven too. Let’s explore the rewarding journey of propagating Erysimum asperum, turning your green thumb towards a touch of untamed elegance.
Seeds: Sowing the Seeds of Success:
Propagating Western Wallflower from seed is a rewarding and straightforward process, offering a front-row seat to the plant’s life cycle. Here’s a step-by-step guide:
Seed Collection: If you’re lucky enough to have wild populations nearby, allow the seed pods to fully mature on the plant, turning a papery brown. Collect the seeds with care and store them in a cool, dry place.
Sowing Time: For best results, sow seeds directly outdoors after the last frost or start them indoors 6-8 weeks before your last expected frost.
Outdoor Sowing: Choose a location with well-drained soil and full sun to partial shade. Scatter the seeds on the soil surface, lightly pressing them in but avoiding burying them too deep.
Indoor Sowing: Use a seed-starting mix and sow seeds about ¼ inch deep in individual pots. Keep the soil consistently moist but not waterlogged.
- Germination: Patience is key, as Western Wallflower seeds can take anywhere from 10 days to several weeks to germinate.
Cuttings: Cloning Your Favorites:
While seed propagation is a reliable method, taking cuttings offers a way to replicate the unique characteristics of your most prized Wallflower specimens:
Timing is Key: The ideal time for taking cuttings is in the spring or early summer when the plant is actively growing.
Choose Healthy Stems: Select non-flowering side shoots that are approximately 3-4 inches long.
Prepare the Cuttings: Using a sharp, sterilized knife or pruning shears, make a clean cut just below a leaf node. Remove the lower leaves, leaving only 2-3 pairs at the top.
Encourage Rooting: Dip the cut end in rooting hormone (optional but beneficial) and insert the cuttings into a pot filled with a well-draining potting mix.
Create a Humid Environment: Cover the pot with a clear plastic bag or humidity dome to trap moisture and promote rooting. Place the pot in a bright location but out of direct sunlight.
- Rooting Time: Cuttings usually take several weeks to root. You’ll know they’ve successfully rooted when you see new growth emerging.
Caring for Your New Wallflower Generation:
Whether you’ve chosen the magic of seeds or the efficiency of cuttings, providing young Western Wallflower plants with optimal care is crucial for their success:
Watering: Keep the soil consistently moist but avoid overwatering, which can lead to root rot. Water deeply when the top inch of soil feels dry.
Sunlight: These sun-loving plants thrive in at least 6 hours of direct sunlight daily.
- Fertilization: While not heavy feeders, a light application of balanced fertilizer during the growing season can be beneficial.
Propagating Erysimum asperum , whether from seed or cuttings, is a rewarding experience for gardeners of all levels. By following these tips, you’ll soon have a vibrant display of these charming wildflowers, adding a touch of untamed beauty and a sweet fragrance to your landscape.