Unlocking the Secrets to Multiplying Your Wallflower Treasure: Erysimum Cuspidatum Propagation
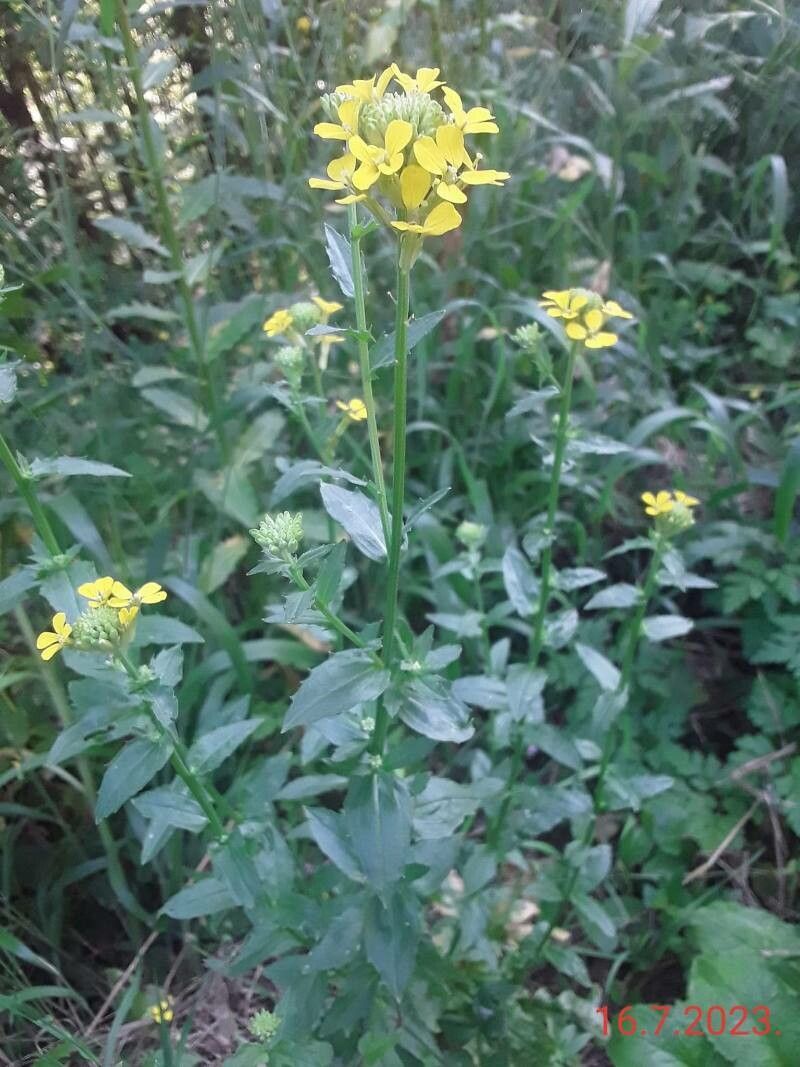
Erysimum cuspidatum, more affectionately known as the Aegean wallflower, is a sight to behold. This vibrant perennial boasts cheerful blooms that range from sunny yellows to fiery oranges, bringing a burst of color to gardens even in the cooler months. If you’re like us and find yourself captivated by its charm, you’re probably wondering: how can I get more of these beauties? Fear not, fellow plant enthusiast, for propagating Erysimum cuspidatum, while requiring a touch of patience, is a rewarding endeavor well within your reach. Let’s explore the two main methods:
1. Seed Starting: From Tiny Seeds to Blooming Wonders
Starting Erysimum cuspidatum from seed is a fascinating journey that allows you to witness the plant’s life cycle from its earliest stages. Here’s how to do it:
- Timing is Key: Aim to sow your seeds indoors around 6-8 weeks before the last expected frost. This gives your seedlings a head start and ensures they’re robust enough for transplanting once the weather warms.
- Sowing with Care: Use a well-draining seed starting mix, scattering the seeds lightly on the surface. Erysimum cuspidatum seeds need light to germinate, so avoid burying them deeply. A light misting of water is all they need to get going.
- Patience, Young Padawan: Germination typically takes 10-21 days. Keep the soil consistently moist but not waterlogged. A sunny windowsill or a grow light setup provides the warmth and light these little fellas crave.
- Transplanting Time: Once your seedlings develop a few true leaves and the danger of frost has passed, it’s time to introduce them to their outdoor home. Choose a sunny location with well-drained soil. Be gentle, as their root systems are delicate at this stage.
2. Cuttings: Cloning for a Blooming Legacy
If you’re seeking a faster route to mature plants that are genetically identical to your prized Erysimum cuspidatum, then propagation from cuttings is the way to go. Here’s the playbook:
- Timing is Everything: Spring, after the first flush of blooms, or early fall offers the ideal conditions for successful cutting propagation.
- Selecting the Champions: Look for healthy, non-flowering stems that are about 3-4 inches long. Make a clean cut just below a leaf node, which is the point where the leaf attaches to the stem. Remove the lower leaves, leaving only a few at the top.
- Rooting Hormones: The Secret Sauce: While not mandatory, dipping the cut end in rooting hormone powder can significantly increase your success rate. It encourages faster and stronger root development.
- Creating the Ideal Environment: Plant your cuttings in a well-draining potting mix, ensuring that the leaf nodes are buried. Maintain moisture and humidity by covering the pot with a plastic bag or using a humidity dome. A warm, bright location away from direct sunlight is best.
- Signs of Success: In a few weeks, you should notice new growth, a telltale sign that your cuttings have developed roots and are ready to be potted up individually.
A Final Word:
Propagating Erysimum cuspidatum, whether from seed or cuttings, is a rewarding experience that allows you to expand your garden with minimal cost and maximum satisfaction. Remember, patience and observation are key. Don’t be discouraged if your first attempt doesn’t yield a 100% success rate. Like any skill, practice makes perfect, and soon enough, you’ll be a propagation pro, surrounded by a dazzling display of Aegean wallflowers.