Unlocking the Secrets of Erysimum nevadense: A Guide to Propagation
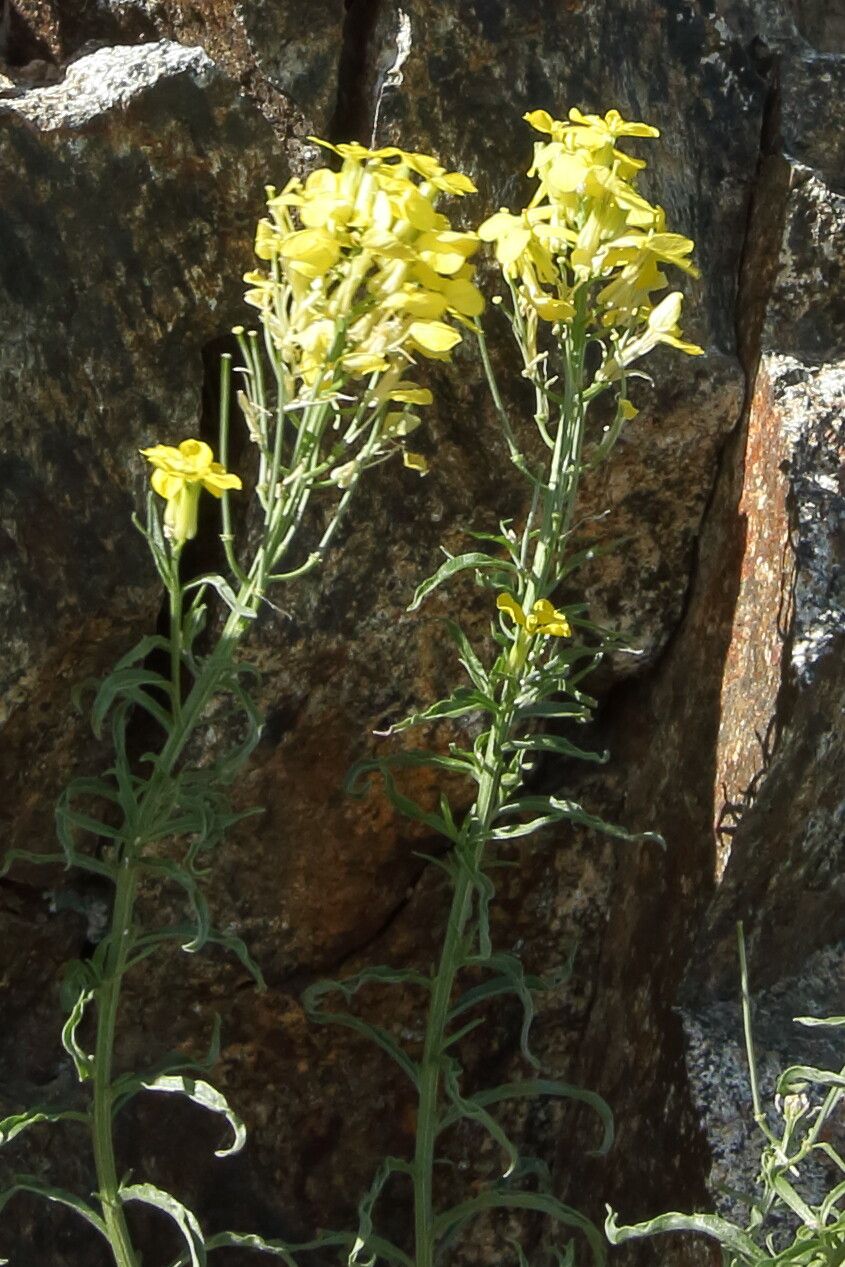
Erysimum nevadense, the captivating wallflower native to the western United States, is gaining popularity for its vibrant blooms and hardy nature. If you’ve fallen for its charm and want to expand your garden’s collection, understanding its propagation is key. This guide provides insights into the world of Erysimum nevadense propagation, empowering you to cultivate new life from this beautiful species.
Sow the Seeds of Success: Propagating from Seed
Propagating Erysimum nevadense from seed is a rewarding experience that yields satisfying results. Here’s a step-by-step guide to get you started:
- Timing is Key: Sow seeds in late winter or early spring, approximately 6-8 weeks before the last expected frost in your region.
- Prepare the Seedbed: Utilize a well-draining seed starting mix. Sow seeds thinly and cover them lightly with the mix.
- Moisture Management: Water gently but thoroughly, ensuring the soil remains consistently moist but not waterlogged.
- Sunlight and Warmth: Place the seed tray in a bright location, but out of direct sunlight. Maintain a temperature around 65-70°F (18-21°C).
- Germination Awaits: Be patient! Germination can take anywhere from 14 days to a few months, depending on the variety and growing conditions.
- Thinning Out: Once seedlings develop their first set of true leaves, thin them out to provide adequate space for growth.
- Transplanting Time: When all danger of frost has passed, harden off your seedlings gradually by introducing them to outdoor conditions for increasingly longer periods. Transplant them to their final location in well-drained soil and a sunny spot.
Cuttings: A Faster Route to New Plants
For quicker results, taking cuttings from established Erysimum nevadense plants is an effective method:
- Choose Wisely: In late spring or early summer, select healthy, non-flowering stems for cuttings.
- Make the Cut: Using a sharp, sterilized knife or pruning shears, cut a 4-6 inch section from the tip of the stem just below a leaf node.
- Prepare the Cuttings: Remove the lower leaves, leaving 2-3 pairs at the top. Dip the cut end in rooting hormone (optional but recommended).
- Potting Up: Plant the cuttings in a well-draining potting mix, burying the bottom node.
- Creating a Humid Environment: Cover the pot with a plastic bag or humidity dome to retain moisture.
- Root Development: Place the pot in a bright location, out of direct sunlight. After 4-6 weeks, gently tug on the cuttings to check for root development.
- Transplanting: Once rooted, gradually acclimate the cuttings to outdoor conditions before transplanting them to their permanent location.
Caring for Your New Erysimum Nevadense
Whether propagated from seed or cuttings, young Erysimum nevadense plants thrive with proper care:
- Sunlight and Soil: Provide at least 6 hours of direct sunlight per day and plant in well-drained soil.
- Watering: Water regularly, especially during dry periods, but avoid overwatering.
- Fertilizing: Feed with a balanced fertilizer during the growing season.
- Deadheading: Regularly remove spent blooms to encourage continuous flowering.
By following these propagation techniques and care tips, you’ll be well on your way to cultivating a thriving collection of these stunning wildflowers, adding a splash of color and natural beauty to your garden landscape.