
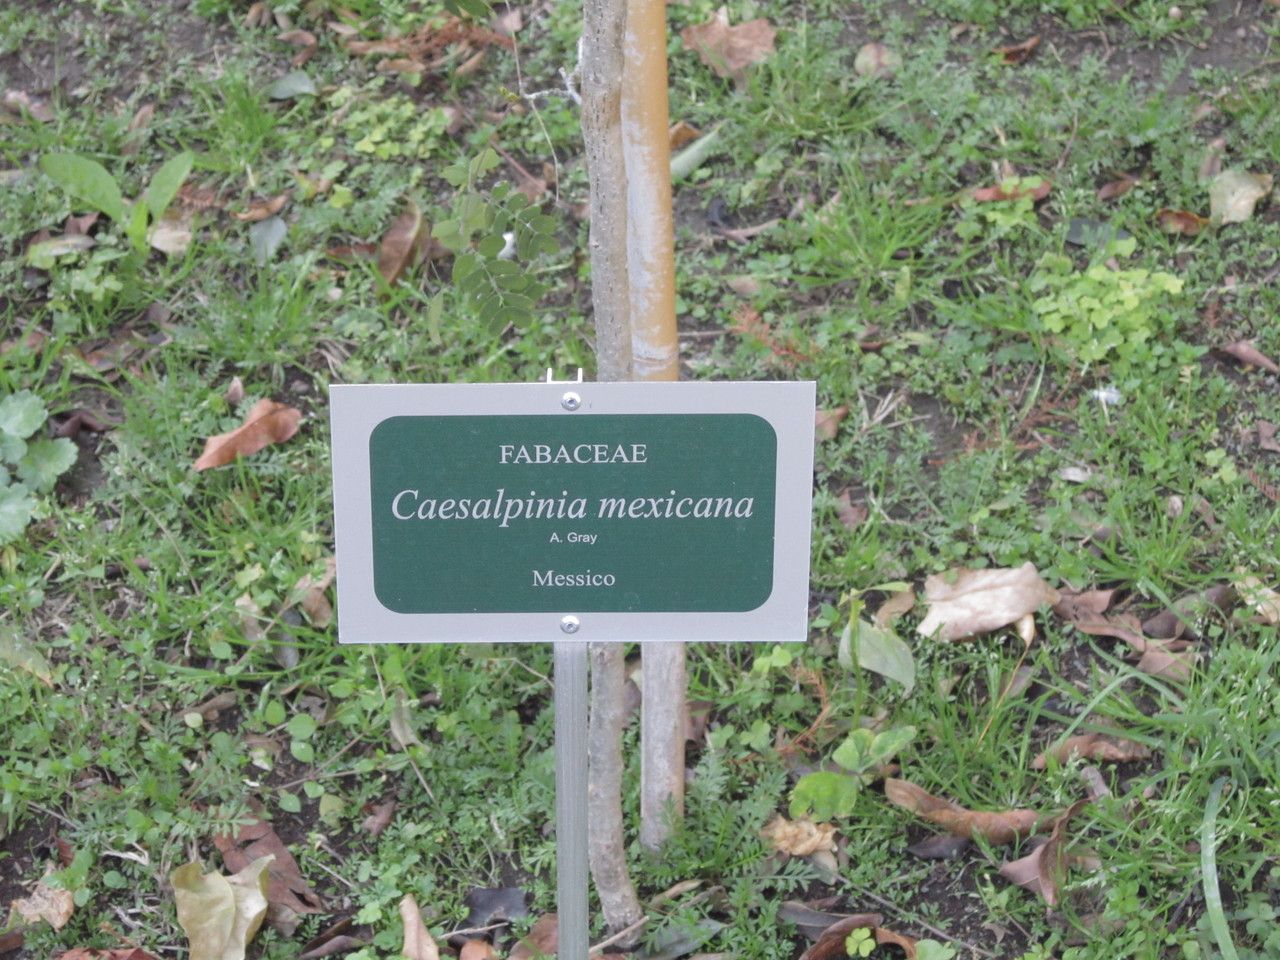
From Seed to Stunner: Growing Erythrostemon mexicanus (Mexican Redbud)
Erythrostemon mexicanus, better known as the Mexican Redbud, is a small, drought-tolerant tree prized for its vibrant pink-purple blooms that erupt in the spring. Native to Mexico and the southwestern United States, this hardy beauty attracts pollinators and adds a splash of color to gardens and landscapes. If you’re looking to add this showstopper to your own outdoor space, you’ll be pleased to know that it can be propagated both from seed and through cuttings, making it an accessible addition for both beginner and seasoned gardeners.
Starting from Seed – A Rewarding Challenge:
Propagation from seed is a popular method for the Mexican Redbud, offering a deeply satisfying experience of nurturing a tree from its earliest stage. Here’s what you need to know:
1. Seed Collection and Preparation:
- Timing is Key: Collect seed pods from established trees in late spring or early summer, once they have turned brown and dry.
- Scarification for Success: Mexican Redbud seeds have a hard outer coating that requires scarification to promote germination. This involves gently nicking or sanding the seed coat to allow moisture penetration. You can achieve this by rubbing the seed lightly between sandpaper or using a small file.
- Soak it Up: After scarification, soak the seeds in warm water for 12-24 hours to further enhance germination rates.
2. Sowing and Growing:
- Well-Draining Soil: Plant the scarified and soaked seeds in a seed-starting mix or a well-draining potting soil. Sow them about ½ to 1 inch deep.
- Warmth and Moisture: Place the seed trays or pots in a warm, sunny location. Keep the soil consistently moist but not waterlogged.
- Patience is a Virtue: Germination can take anywhere from a few weeks to a couple of months. Be patient and continue to provide optimal conditions.
Taking Cuttings – A Faster Route to Blooms:
For a quicker method of propagation, consider taking cuttings from an established Mexican Redbud:
1. Selecting the Right Cuttings:
- Timing: Choose healthy, new growth from the current year in late spring or early summer, just after the blooming period.
- Cut with Care: Make a clean cut just below a leaf node, using sharp pruning shears or a knife.
2. Preparing the Cuttings:
- Remove Excess Foliage: Trim off the lower leaves from the cutting, leaving only a few at the top.
- Rooting Hormone (Optional): Dipping the cut end in rooting hormone can encourage faster and more successful root development.
3. Planting and Caring for Cuttings:
- Potting Mix: Plant the prepared cutting in a well-draining potting mix, burying at least one node below the soil surface.
- Humidity is Key: Cover the pot with a clear plastic bag or humidity dome to create a warm, moist environment that encourages rooting.
- Indirect Sunlight: Place the cutting in a location with bright, indirect sunlight.
- Patience and Monitoring: Rooting can take several weeks. Check for resistance when gently tugging on the cutting—this indicates root development.
Bringing Your Mexican Redbud Outdoors:
Whether you’ve started from seed or cuttings, gradually acclimate your young Mexican Redbud to outdoor conditions before transplanting it into the garden. This process, called “hardening off,” helps the plant adjust to sun, wind, and temperature variations. Once established, your Mexican Redbud will thrive in well-drained soil and sunny locations, rewarding you with its stunning floral display year after year.