From Snipping to Sprouting: How to Propagate Escallonia Rosea and Fill Your Garden with Blooms
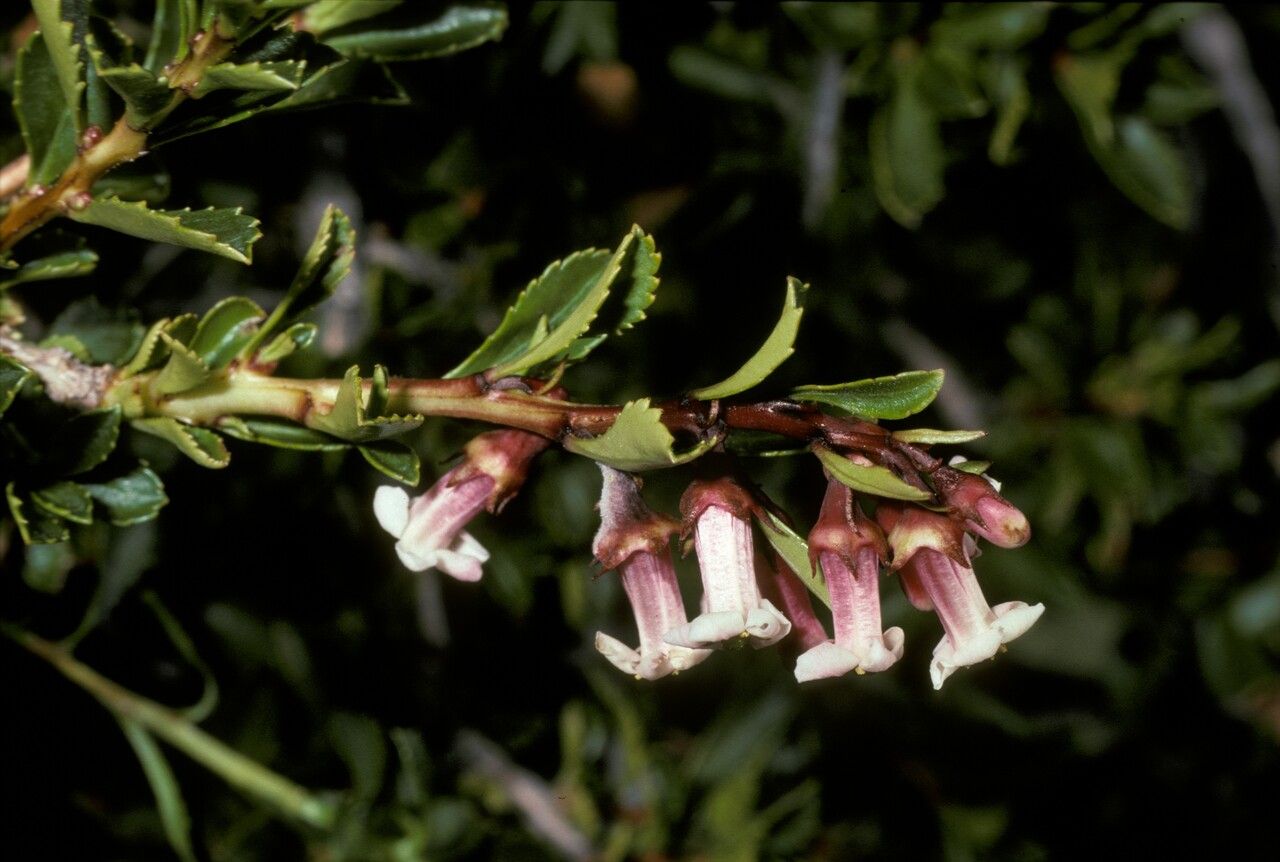
The Escallonia rosea, with its vibrant red flowers and glossy green foliage, adds a splash of colour and life to any garden. But what if you could share this beauty with your friends or expand your own collection? That’s where propagation comes in.
Propagating your own Escallonia rosea not only saves money but it’s a rewarding experience that allows you to create new plants from cuttings. Let’s explore this fascinating process together.
Time It Right: When to Propagate
The best time to propagate your Escallonia rosea is during the spring or early summer. This is when the plant is actively growing and the cuttings are most likely to root successfully.
Two Popular Methods: Semi-Hardwood Cuttings & Softwood Cuttings
There are mainly two popular methods for propagating Escallonia rosea:
1. Semi-Hardwood Cuttings: This method involves taking cuttings from the current year’s growth that has begun to harden.
- The Process:
- Select healthy stems with new growth that is just starting to become woody.
- Cut the stems into 4-6 inch lengths, using a sharp knife or pruning shears. Make sure each cutting has at least 3-4 nodes (the bumps where leaves grow).
- Remove the bottom leaves and make a diagonal cut at the base of the cutting.
- Dip the cut end of the cutting in rooting hormone powder, which promotes root growth.
- Plant the cuttings in pots filled with a well-draining potting mix. Insert the cutting deep enough so that only the top 2-3 nodes are exposed above the soil.
2. Softwood Cuttings: This method involves taking cuttings from the newest, soft growth of the plant.
- The Process:
- Select tender, pliable stems from the current year’s growth.
- Cut the stems into 3-4 inch lengths, making sure each cutting has at least 2-3 nodes.
- Remove the bottom leaves and make a diagonal cut at the base of the cutting.
- Dip the cut end of the cutting in rooting hormone powder.
- Plant the cuttings in pots filled with a well-draining potting mix. Insert the cutting deep enough so that only the top node is exposed above the soil.
Creating the Perfect Environment:
Once planted, place your cuttings in a warm, shaded location. Keep the soil consistently moist, but not waterlogged. Using a clear plastic dome or bag over the cuttings will help create a warm, humid environment that promotes root growth.
Signs of Success:
You’ll start to see signs of successful rooting in a few weeks. Look for new growth appearing at the top of the cutting and a more firm feel to the stem. Patience is key, as the rooting process can take several weeks to a few months.
Transitioning to Independence:
Once the cuttings have developed a strong root system, you can gradually introduce them to outdoor conditions. Start by hardening them off, which involves slowly acclimatizing them to the sun, wind, and temperature changes.
From Cutting to Blooming Beauty:
With the proper care and attention, your cuttings will transform into new Escallonia rosea plants ready to thrive in your garden. Not only will they provide you with a vibrant display of flowers, but they will also serve as a testament to your green thumb!
The Last Word:
Propagating your own Escallonia rosea is a satisfying and rewarding experience. With these simple steps and a little patience, you can create beautiful and flourishing plants that will bring colour and life to your garden for years to come. So grab your pruning shears, get ready to experiment, and watch your Escallonia rosea collection grow!