From One to Many: Propagating Your Eulophia gracilis Orchid
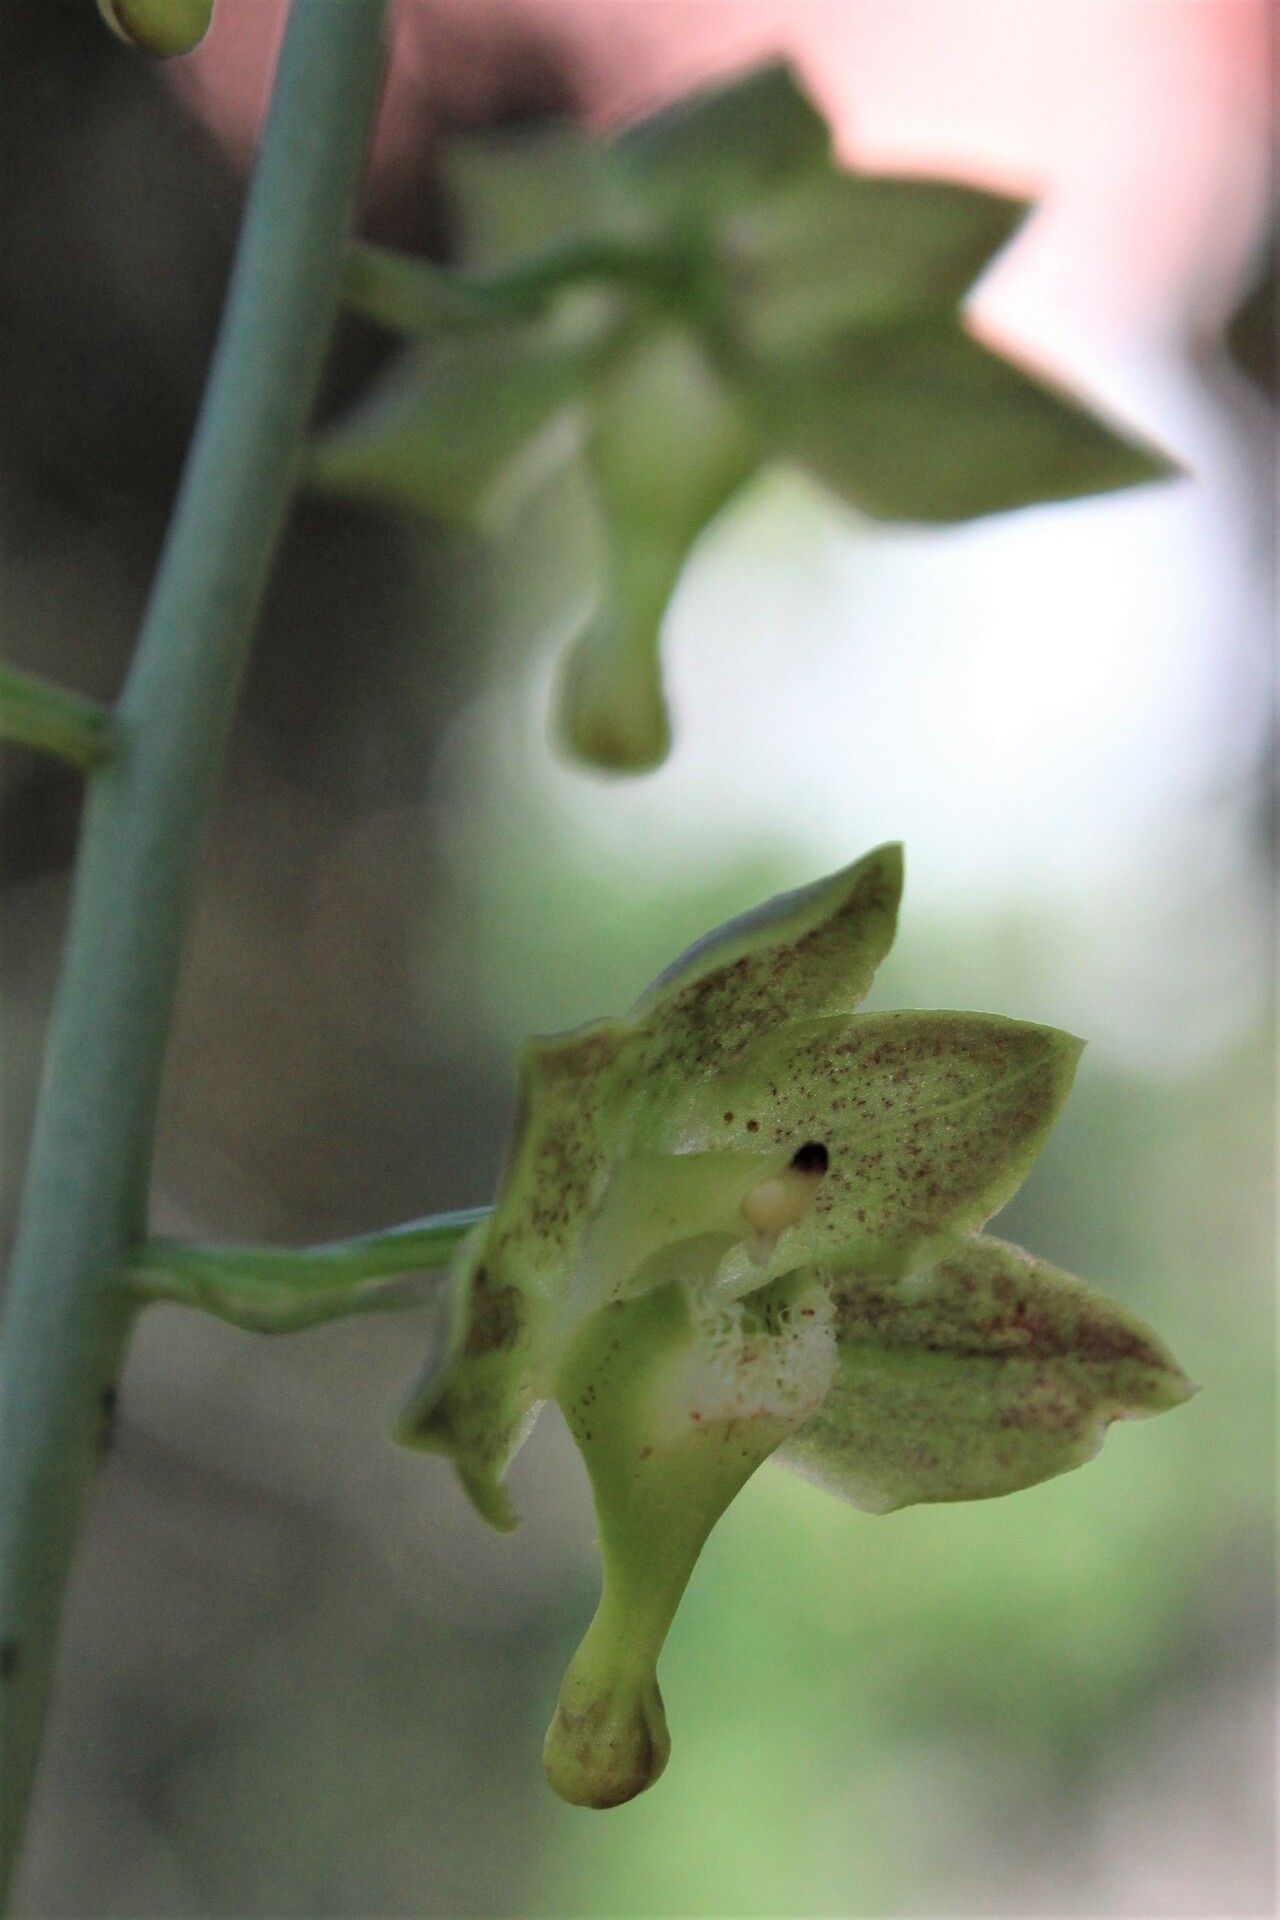
The Eulophia gracilis, with its delicate, fragrant flowers and graceful, slender leaves, is a true beauty in the garden. But what if you could enjoy more of these orchids, filling your space with their charming presence? The good news is, propagation of the Eulophia gracilis is surprisingly straightforward, allowing you to expand your collection and share the joy of this lovely plant.
The Joys of Propagation
Propagation, simply put, is the art of creating new plants from existing ones. It allows you to increase your orchid stash without having to purchase new plants, potentially saving you money. It also allows you to experiment with different growing methods and environments, ensuring your orchid collection flourishes.
Methods for Propagating Eulophia gracilis:
While there are various methods for propagating orchids, Eulophia gracilis thrives particularly well through division and seed propagation.
1. Division:
The most common and relatively easier method is division. This involves carefully separating a mature plant into individual sections, each containing its own roots and a healthy growth point. Here’s how to do it:
- Timing: The best time to divide your Eulophia gracilis is during the dormant period, typically after flowering when the plant starts to show signs of slowing down.
- Preparation: Gently remove the plant from its pot and loosen the soil around the roots.
- Separation: With clean, sharp tools, carefully divide the plant into individual sections, ensuring each has a healthy root system and at least one growth point.
- Repotation: Plant each section in a pot slightly larger than the root ball, using well-draining orchid potting mix. Water thoroughly and place in a bright, indirect light location.
2. Seed Propagation:
Growing Eulophia gracilis from seed is a challenging but rewarding process. This method requires a sterile environment and patience as it can take several years for seedlings to mature into flowering plants. Here’s a guide:
- Seed Collection: Gather ripe seed pods from your Eulophia gracilis plant. Avoid harvesting pods that are still green as they may not contain viable seeds.
- Sterilization: Clean and disinfect the seeds and your working area to avoid fungal infections.
- Sowing: Use a sterile seed tray filled with a specially formulated orchid seed sowing mix. Sow the seeds thinly, leaving space for growth.
- Environment: Place the tray in a humid, warm environment with indirect light. Maintain consistent humidity and temperature for optimal seed germination.
Essential Tips for Successful Propagation:
- Patience and Care: Propagation requires patience. Don’t be discouraged if you don’t see immediate results.
- Proper Soil Mix: Use a well-draining, airy potting mix specifically designed for orchids.
- Watering: Water sparingly, allowing the potting mix to dry slightly between waterings. Avoid overwatering, which can lead to root rot.
- Sunlight: Provide bright, indirect sunlight. Avoid exposing your plants to direct sunlight, especially during the hottest part of the day.
Sharing the Joy:
After successfully propagating your Eulophia gracilis, you can share your beautiful orchids with friends, family, or even donate them to local botanical gardens. Propagation isn’t just a way to expand your collection, but also a way to share the joy of growing orchids with others.
Now that you’ve discovered the secrets of propagating your Eulophia gracilis, embrace the opportunity to create more of these enchanting orchids, enriching your garden and sharing the beauty with others. Remember, with a little care and attention, your efforts will be rewarded with a flourishing collection of graceful and fragrant Eulophia gracilis orchids.