Unlocking the Secrets of Eurya Acuminata Propagation: A Guide to Success
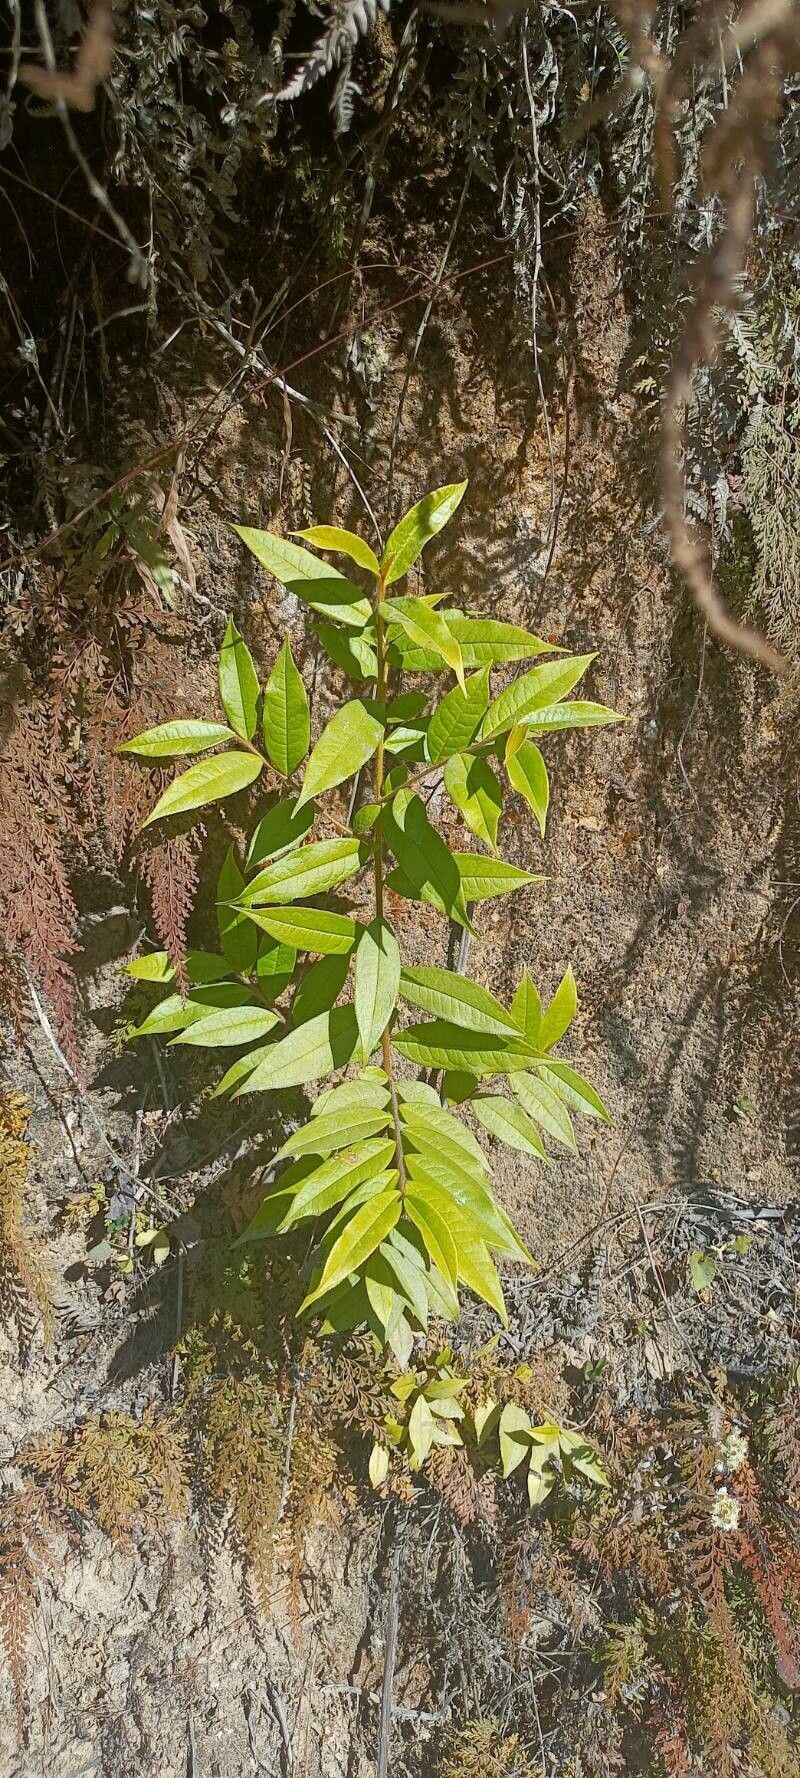
Eurya acuminata, with its glossy evergreen foliage and delicate, fragrant blooms, is a wonderful addition to any garden. This versatile shrub, native to East Asia, thrives in a variety of conditions and adds year-round interest with its elegant, upright habit. While finding Eurya acuminata at your local nursery might be a challenge, propagating this botanical gem at home is surprisingly achievable.
This guide will unlock the secrets of successfully propagating Eurya acuminata, allowing you to expand your garden with these enchanting shrubs.
Two Paths to Propagation: Seeds vs. Cuttings
There are two primary methods for propagating Eurya acuminata:
Seeds: While propagating from seeds is possible, it can be a slow process with less predictable results. Eurya acuminata seeds often have low germination rates and require patience, as seedlings may take several years to mature enough for transplanting.
- Cuttings: This method involves taking cuttings from a healthy, mature Eurya acuminata plant and encouraging them to develop roots. Cuttings offer a faster and more reliable approach, typically producing viable plants within a year.
Propagating Eurya Acuminata from Cuttings: A Step-by-Step Guide
Here’s how to successfully propagate Eurya acuminata using cuttings:
1. Timing is Key: The best time for taking cuttings is during the plant’s active growing season, ideally in late spring or early summer. This ensures the cuttings have the maximum energy reserves for root development.
2. Selecting the Right Cuttings: Choose healthy, non-flowering stems that are around 4-6 inches long. Look for semi-hardwood cuttings, which are firm but still have some flexibility.
3. Preparing the Cuttings:
- Using clean, sharp pruning shears, make a cut just below a leaf node (where the leaf attaches to the stem).
- Remove the leaves from the lower third of the cutting, leaving 2-3 pairs of leaves at the top.
- To further encourage rooting, you can dip the cut end of the cutting into rooting hormone powder.
4. Planting the Cuttings:
- Fill small pots (approximately 4 inches in diameter) with a well-draining potting mix specifically formulated for cuttings. A mix of peat moss, perlite, and vermiculite works well.
- Moisten the potting mix thoroughly and make a small hole in the center of each pot.
- Gently insert the cutting into the hole, ensuring the bottom node is submerged in the potting mix.
5. Creating a Humid Environment:
- Cover each pot with a clear plastic bag or place them inside a propagation chamber. This traps moisture and creates a humid environment, mimicking a greenhouse and promoting faster root development.
- Place the pots in a bright location, but out of direct sunlight, which can scorch the delicate cuttings.
6. Patience is a Virtue:
- Depending on the environment, it can take anywhere from 6-8 weeks for the cuttings to develop a healthy root system.
- Regularly check the moisture level of the potting mix, misting it lightly if it begins to dry out.
7. Transplanting the Cuttings:
- Once the cuttings show signs of new growth and have developed a robust root system, they are ready for transplanting.
- Carefully remove the cuttings from their pots, gently teasing apart any tangled roots.
- Plant them in larger pots or directly into your garden, providing well-drained soil and partial shade.
By following these steps, you can successfully propagate Eurya acuminata and enjoy the satisfaction of growing new plants from cuttings. With a little patience and care, you can multiply these attractive shrubs and create a lush, vibrant garden that flourishes year after year.