Untangling the Secrets of Excoecaria acerifolia Propagation: A Beginner’s Guide
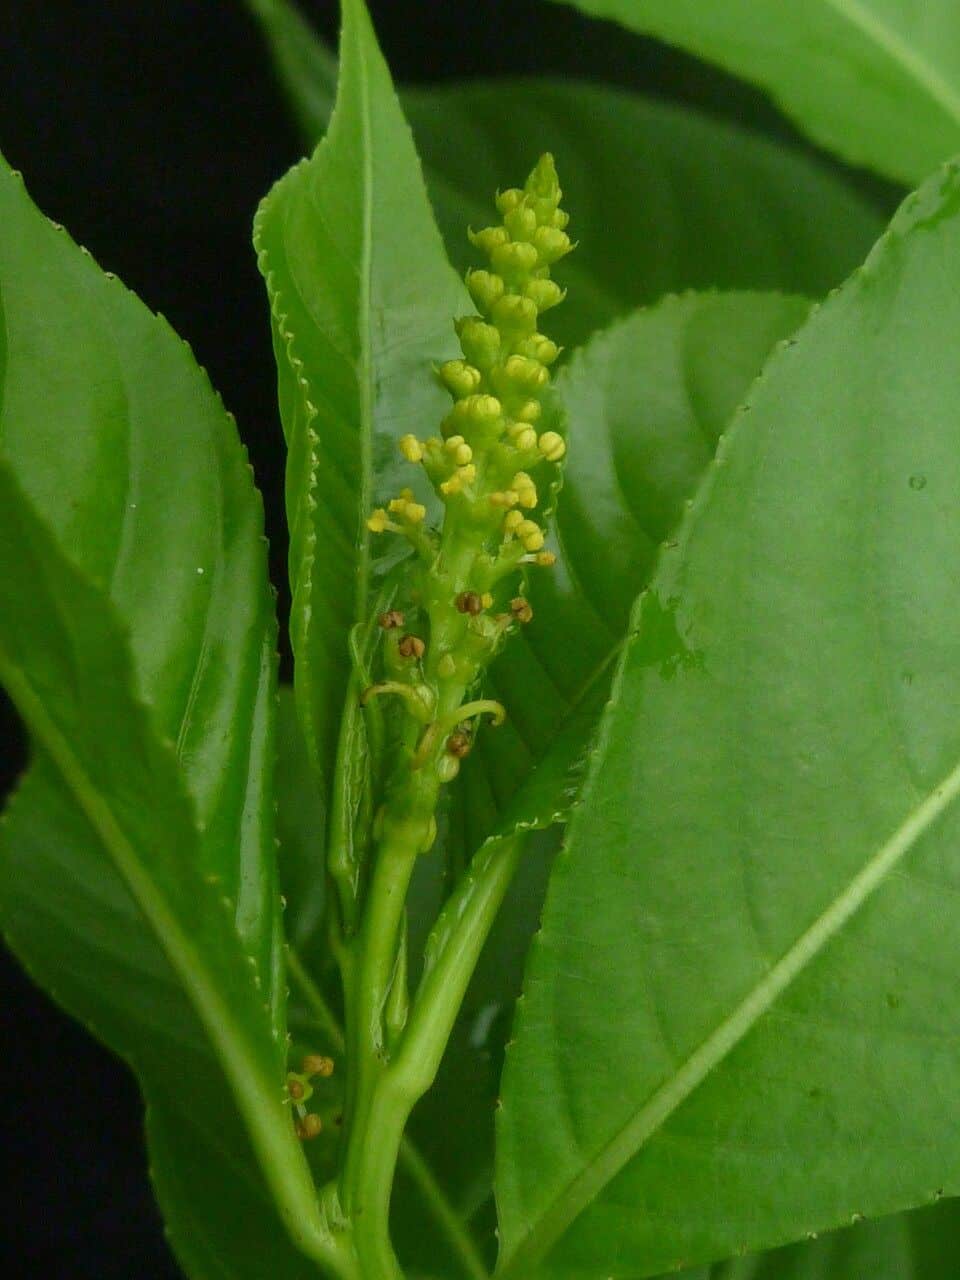
The Excoecaria acerifolia, also known as the painted copperleaf or the Fiji Fire Plant, is a visual delight in any garden. Its foliage boasts a stunning combination of copper, red, green, and cream, making it appear as though an artist has brushed each leaf with vibrant hues. But what if you could multiply this artistry in your own backyard? Propagating Excoecaria acerifolia might sound daunting, but it’s a surprisingly achievable feat even for amateur gardeners.
This guide will equip you with the knowledge and confidence to propagate Fiji Fire Plant and spread its unique beauty:
Two Paths to Propagation:
Excoecaria acerifolia primarily reproduces through two methods:
Seed Propagation: While possible, propagating from seeds can be unpredictable. The seeds are relatively small and can be challenging to germinate. Moreover, the resulting plant may not always exhibit the same vibrant coloration as the parent plant.
- Cutting Propagation: This method offers greater reliability and faster results. It involves taking cuttings from a healthy mother plant and encouraging them to develop roots.
Cutting to Success: A Step-by-Step Guide
Here’s a detailed look at propagating Excoecaria acerifolia from cuttings:
1. Timing is Key: The ideal time to take cuttings is during the plant’s active growing season, ideally in spring or early summer. This ensures a higher success rate due to warmer temperatures and increased humidity.
2. Choosing the Right Cuttings: Select healthy, non-flowering stems that are around 4-6 inches long. Using clean, sharp pruning shears, make a cut just below a leaf node (the point where a leaf emerges from the stem).
3. Preparing the Cuttings: Remove the leaves from the lower half of the cutting to prevent rotting. You can dip the cut end in rooting hormone powder (optional but recommended) to stimulate root growth.
4. Planting the Cuttings: Fill small pots with a well-draining potting mix. Create a hole in the center of each pot and gently insert the cutting, ensuring the bottom leaf nodes are buried.
5. Creating the Perfect Environment: Water the cuttings thoroughly and cover the pots with a clear plastic bag or a propagation dome. This helps maintain high humidity levels, mimicking the moist conditions required for root development. Place the pots in a warm, bright location, but avoid direct sunlight.
6. Patience is a Virtue: It typically takes 4-6 weeks for cuttings to develop roots. You can check for root development by gently tugging on the cuttings. Resistance indicates root formation.
7. Transplanting Your Success: Once the cuttings have developed a robust root system, transplant them into larger individual pots or directly into your garden. Choose a well-draining location with partial shade.
Important Considerations:
- Toxicity: Remember that Excoecaria acerifolia sap is toxic. Wear gloves when handling the plant and avoid contact with skin and eyes. Keep away from pets and children.
- Watering: While the cuttings are developing roots, ensure the soil remains consistently moist but not waterlogged. Overwatering can lead to root rot.
- Fertilizing: Once established, fertilize your Excoecaria acerifolia regularly during the growing season to support healthy growth and vibrant foliage.
By following these simple steps, you can confidently propagate your Excoecaria acerifolia and share the joy of this striking plant with fellow gardening enthusiasts. With a little patience and care, you’ll have stunning new additions to your garden before you know it.