Multiply your Joy: Propagating the Charming Felicia Muriacta
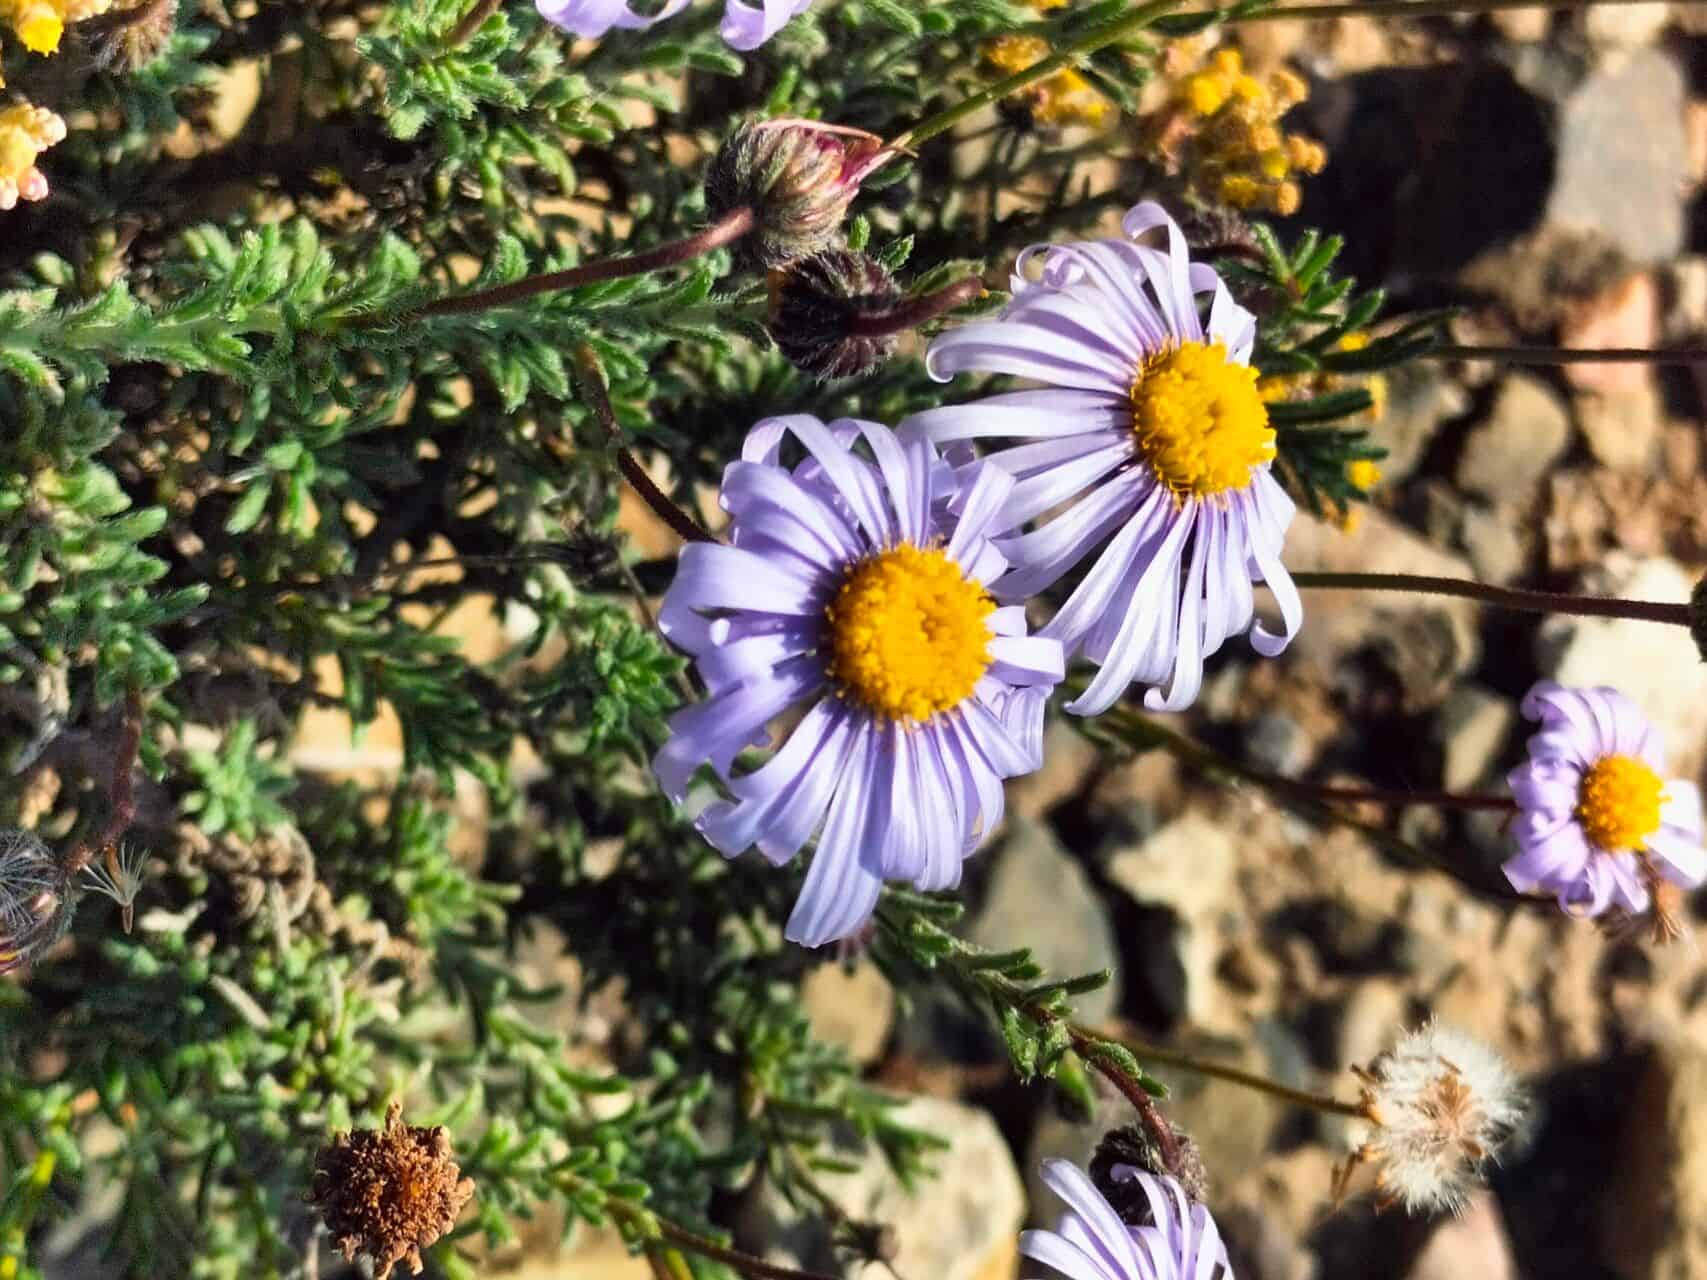
The Felicia muricata, with its captivating sky-blue blossoms and cheerful disposition, is a welcome addition to any garden. This South African native, also known as the blue daisy bush or wild aster, is a magnet for pollinators and a constant source of delicate beauty. And the best part? Propagating Felicia muricata is a surprisingly simple endeavor, allowing you to expand your collection of these delightful plants with ease.
Two Paths to Propagation:
Felicia muricata can be propagated through two main methods:
1. Seed Starting: Embarking on the journey from seed offers a rewarding experience for any plant enthusiast.
- Timing is Key: The ideal time to sow Felicia muricata seeds is in spring, after the last frost has passed.
- Sowing the Seeds: Choose a well-draining seed starting mix. Sprinkle the seeds on the surface and lightly press them down, ensuring they receive adequate light.
- Warmth and Moisture: A temperature of around 70°F (21°C) is optimal for germination. Keep the soil consistently moist, but not waterlogged.
- Patience is a Virtue: Germination typically takes 10-21 days. Once the seedlings have developed a few sets of true leaves, they can be carefully transplanted into individual pots or directly into your garden.
2. Taking Cuttings: For a quicker method of propagation, cuttings offer a reliable path to success.
- When to Snip: Spring or early summer is the best time for taking cuttings. Choose healthy, non-flowering stems for the best results.
- Preparing the Cuttings: Using a sharp, clean knife or pruning shears, take cuttings that are about 3-4 inches long. Remove the lower leaves, leaving a few leaves at the top.
- Hormone Boost (Optional): While not essential, dipping the cut end in rooting hormone can encourage faster root development.
- Planting the Cuttings: Insert the cuttings into a pot filled with a well-draining potting mix, burying the nodes (the points where leaves were attached) beneath the soil.
- Creating a Humid Environment: Cover the pot with a clear plastic bag or use a humidity dome to retain moisture and promote rooting.
- Rooting Takes Hold: Within a few weeks, the cuttings should develop roots. Gently tug on the cuttings – if you feel resistance, roots have formed! Once the cuttings are well-rooted, they can be potted up or planted out.
Tips for Success:
- Well-Drained Soil: Felicia muricata thrives in well-drained soil. Heavy, waterlogged conditions can lead to root rot.
- Sunlight is Essential: These sun-loving plants flourish in locations that receive at least 6 hours of direct sunlight each day.
- Watering Wisely: While they appreciate moisture, Felicia muricata is relatively drought-tolerant once established. It’s best to water deeply but infrequently, allowing the soil surface to dry out slightly between waterings.
- Pinching Back: Pinching back the growing tips of young plants encourages a bushier growth habit and a profusion of blooms.
Propagating Felicia muricata is a fulfilling endeavor that allows you to expand your garden’s beauty effortlessly. Whether you choose to start from seed or take cuttings, the process is straightforward and rewarding. So why not share the joy of this delightful plant with others? Propagate, plant, and enjoy the captivating charm of Felicia muricata!