Unlocking the Secrets to Propagating the Majestic Ficus Auriculigera
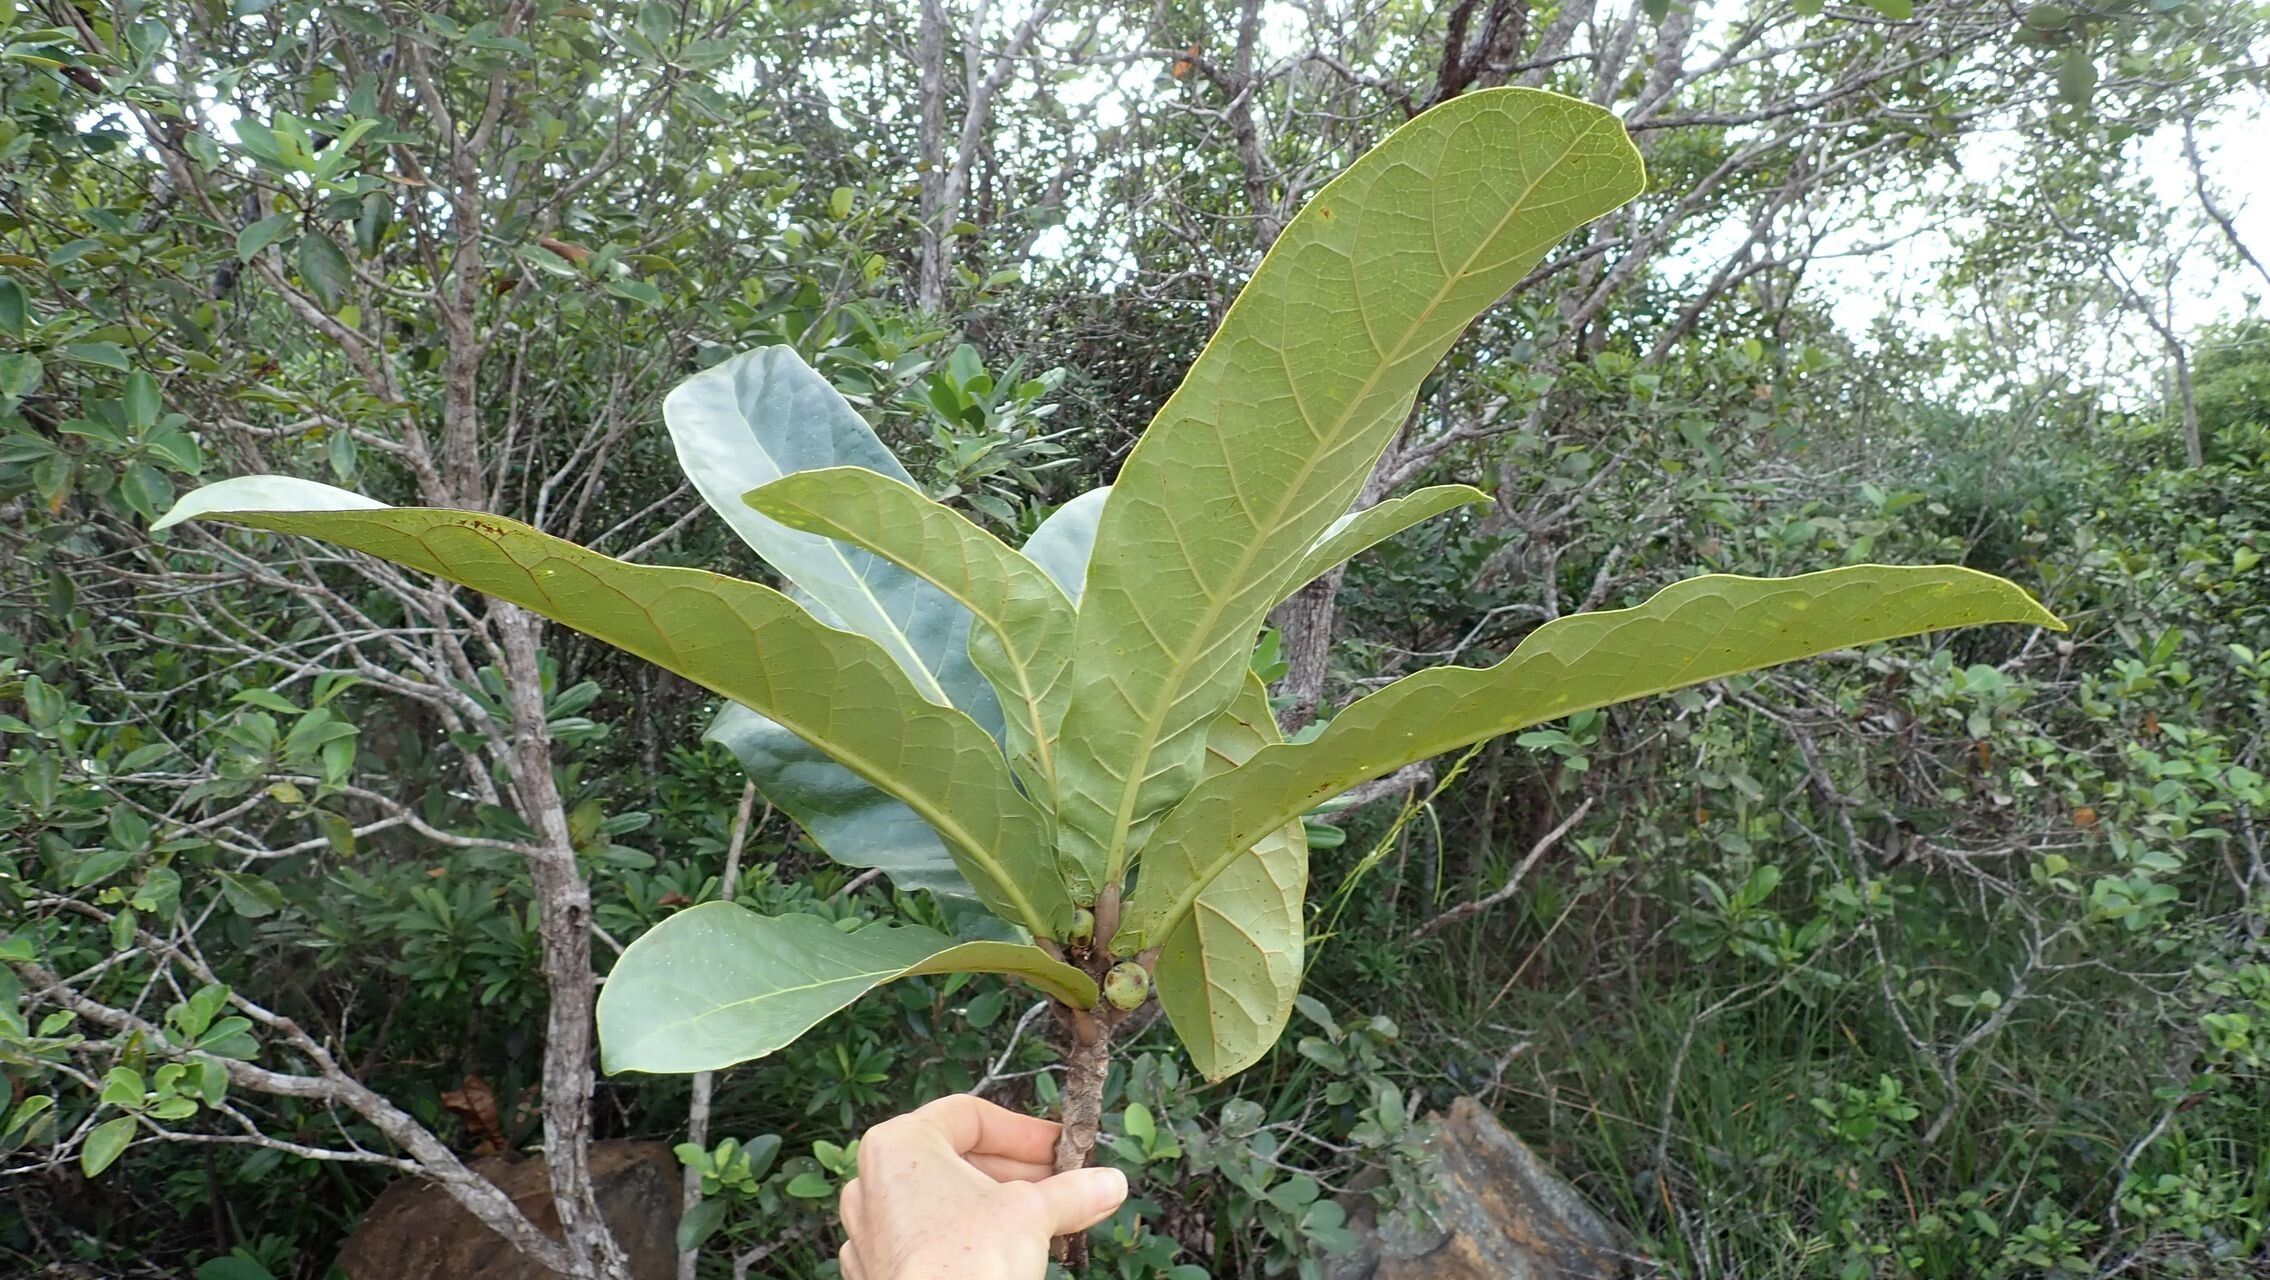
The Ficus auriculigera, also known as the Roxburgh fig or Elephant Ear Fig Tree, is a showstopper. With its massive, uniquely-shaped leaves that resemble, you guessed it, elephant ears, this tropical beauty can elevate any space from ho-hum to head-turning. And while caring for a mature Ficus auriculigera is relatively straightforward, propagating one might seem like a secret art only mastered by seasoned green thumbs. Fear not! We’re here to demystify the process and equip you with the knowledge to successfully grow your own Ficus auriculigera from scratch.
Propagation Methods: Choosing Your Adventure
There are two primary ways to propagate your Ficus auriculigera:
- Stem Cuttings: This is the most popular and arguably the easiest method.
- Air Layering: This technique is a bit more advanced but can be highly effective, especially for propagating larger branches.
Stem Cuttings: A Step-by-Step Guide
Timing is Key: Spring or early summer is the optimal time to take cuttings, as the plant is experiencing vigorous growth.
Select Your Weapon (and your Cutting): Use a sharp, sterilized knife or pruning shears. Choose a healthy stem that’s about 6-8 inches long with several nodes (small bumps on the stem where leaves emerge).
Make the Cut: Cut just below a node, making a clean, angled cut. Remove any leaves from the lower third of the cutting.
Hormone Power (Optional): While not essential, dipping the cut end in rooting hormone can increase your chances of success.
Planting Time: Plant the cutting in a well-draining potting mix, burying the bottom node.
Creating a Humid Haven: Cover the pot with a plastic bag or humidity dome to trap moisture and create a warm, humid environment.
- Light, Water, and Patience: Place the cutting in a bright spot but out of direct sunlight. Keep the soil consistently moist but not soggy. Roots should develop in 4-8 weeks. You’ll know it’s working when you see new growth.
Air Layering: For the More Ambitious Propagator
Choose Your Branch: Select a healthy branch about 1-2 inches in diameter.
Wound and Wrap: Make a 1-inch upward cut about 12-18 inches from the branch tip. Dust the cut with rooting hormone (optional). Surround the cut with moist sphagnum moss and wrap tightly with plastic wrap, securing both ends with string.
Patience is a Virtue: It will take several weeks, even months, for roots to develop within the moss.
- Separation and Potting: Once you see a robust root system through the plastic, carefully cut the branch below the rooted section and pot it in well-draining soil.
Post-Propagation Care: Nurturing Your New Plant Baby
Once your Ficus auriculigera cutting or air layered branch has rooted and shows new growth, congratulations! You’ve officially propagated your own elephant ear fig tree. Now, it’s time to provide the right care to help your new plant thrive:
- Light: Bright, indirect light is best. Avoid direct sunlight, which can scorch the leaves.
- Water: Water thoroughly when the top inch of soil feels dry. Don’t overwater, as this can lead to root rot.
- Humidity: These plants appreciate higher humidity levels. Consider misting the leaves regularly or placing the pot on a pebble tray filled with water.
- Fertilizer: Feed with a balanced liquid fertilizer every 4-6 weeks during the growing season.
Propagating your own Ficus auriculigera is a rewarding experience that allows you to connect with this incredible plant on a deeper level. With a little patience and the right techniques, you’ll be well on your way to cultivating a stunning specimen that will become a cherished part of your home for years to come.