Franklandia’s Secret: Unleashing the Power of Propagation
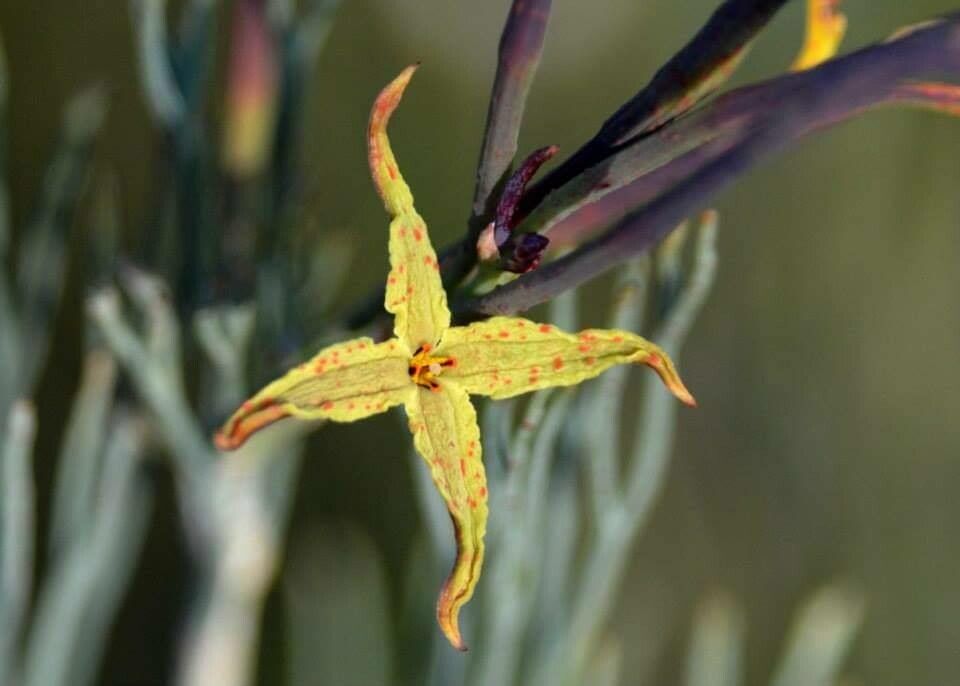
Franklandia fucifolia, a captivating shrub with its silvery-green foliage and striking yellow flowers, is a coveted addition to any garden. But what if we told you that growing your own Franklandia from scratch is within reach? This is where the magic of propagation comes in!
Unlocking the potential of Franklandia doesn’t have to be a horticultural mystery. Let’s delve into the world of propagation, exploring the best methods to bring new life to this captivating plant.
Seeds of Hope: A Journey from Seed to Seedling
While Franklandia can be propagated from seed, it’s not the most popular method. This is because seeds often require specialized conditions like stratification – a period of cold treatment before germination – to successfully sprout.
If you’re feeling adventurous, here’s a guide to sowing Franklandia seeds:
- Prepare Your Substrate: Select a well-draining seed-raising mix and fill a seed tray or pot.
- Sow the Seeds: Gently press the seeds into the soil, ensuring they are barely covered.
- Water Lightly: Mist the soil with water and maintain a consistently moist environment.
- Stratification: Place the tray in a refrigerator for 4 to 6 weeks to simulate a cold winter.
- Germination: After stratification, move the tray to a sunny location. Seeds should germinate within a few weeks.
- Prick Out and Pot Up: Once the seedlings have developed a few true leaves, gently prick them out and plant them in individual pots.
The Cutting Edge: Unlocking the Power of Cuttings
For most gardeners, the most successful and widely used propagation method for Franklandia is through semi-hardwood cuttings. Here’s how to achieve this:
- Timing is Key: Take cuttings in late summer or early fall when the plant has just finished flowering.
- Select Strong Branches: Choose healthy, mature stems from the current year’s growth.
- Cuttings: Take 4-6 inch cuttings with a sharp, clean blade. Ensure each cutting has at least two nodes (leaf junctions).
- Preparation: Remove the lower leaves and dip the end of the cutting in rooting hormone.
- Planting: Insert the cuttings into a pot filled with a well-draining mix specifically for cuttings.
- Water and Mist: Keep the soil moist and mist the cuttings regularly to maintain humidity.
- Rooted Success: With a little patience, roots should develop within 4-6 weeks.
Nurturing Your New Franklandia:
Once your cuttings or seedlings have successfully rooted, transplant them into a sunny location in your garden. Ensure the soil is well-draining and provide regular watering, especially during dry periods. With proper care and attention, your new Franklandia will flourish and reward you with its stunning foliage and vibrant flowers for years to come.
Franklandia: A Garden Gem You Can Grow Yourself
Propagating Franklandia is an exciting journey that allows you to experience the joy of growing your own unique specimens. Whether you choose to sow seeds or take cuttings, remember that patience and the right techniques are key to success. So, embrace the rewarding experience of propagation and discover the wonders Franklandia has to offer.