Unlocking the Secrets of the Chilean Fuchsia: A Propagation Guide
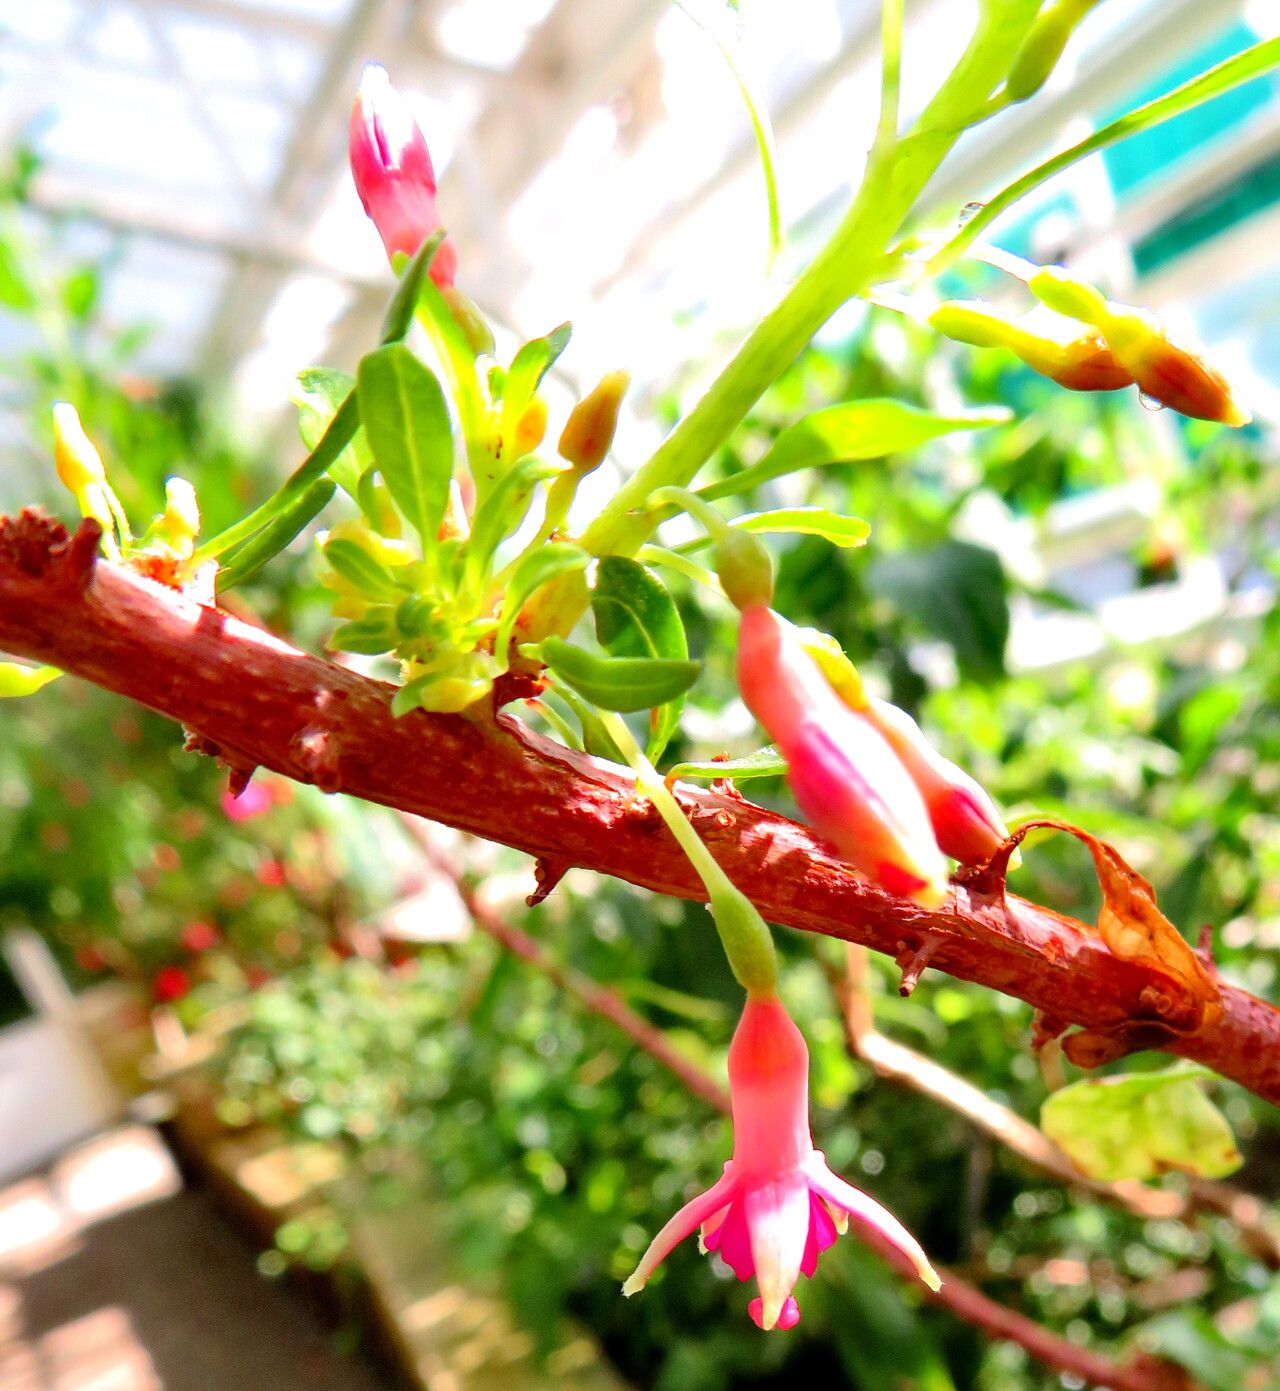
The Chilean Fuchsia (Fuchsia lycioides), with its delicate, bell-shaped flowers and vibrant colors, is a true showstopper in any garden. Unlike its trailing cousins, this hardy shrub boasts a unique, upright habit and thrives in milder climates. But how do you invite this South American beauty into your garden? The answer lies in understanding the art of propagation.
While obtaining Chilean Fuchsia plants from nurseries is possible, propagating them yourself is a rewarding experience that allows you to expand your plant collection while deepening your connection with this charming species.
Let’s explore the two most effective methods for propagating Fuchsia lycioides:
1. Seed Propagation:
- Timing is Key: Collect ripe berries from your Chilean Fuchsia in late summer or early fall. These berries will be plump and may have a slightly wrinkled appearance.
- Extracting the Seeds: Gently crush the berries and separate the tiny, black seeds from the pulp. Rinse the seeds thoroughly and allow them to dry completely on a paper towel.
- Sowing the Seeds: Sow the seeds in a seed tray filled with a well-draining seed-starting mix. Lightly press the seeds into the surface, ensuring they are evenly spaced. Mist with water and cover the tray with a plastic dome or cling film to create a humid environment.
- Providing Optimal Conditions: Place the seed tray in a warm, bright location, out of direct sunlight. Maintain consistent moisture and ventilation by removing the cover for a short period each day.
- Germination Time: Be patient! Chilean Fuchsia seeds can take anywhere from a few weeks to a couple of months to germinate.
- Transplanting: Once the seedlings have developed a couple of sets of true leaves, carefully transplant them into individual pots filled with a well-draining potting mix.
2. Propagation from Cuttings:
- When to Take Cuttings: The ideal time for taking cuttings is in late spring or early summer when the plant is actively growing.
- Taking the Cuttings: Using a sharp, clean knife or pruning shears, take cuttings that are approximately 4-6 inches long from healthy, non-flowering stems. Remove the leaves from the lower half of the cuttings.
- Encouraging Root Development: To promote rooting, dip the cut end of each cutting in rooting hormone powder (optional but helpful). Then, insert the cuttings into a pot filled with a moist, well-draining rooting mix, burying the bottom node.
- Creating a Humid Environment: Cover the pot with a clear plastic bag or use a propagation dome to maintain humidity. Place the pot in a warm, bright location, out of direct sunlight.
- Rooting Time: Keep the rooting medium consistently moist and be patient – it can take several weeks for roots to develop. You’ll know roots have formed when you see new growth on the cuttings.
- Transplanting: Once the cuttings have developed a healthy root system, carefully transplant them into individual pots filled with a well-draining potting mix.
Nurturing Your New Plants:
Regardless of your chosen propagation method, provide your new Chilean Fuchsia plants with consistent moisture, well-draining soil, and dappled sunlight. With proper care and attention, you’ll be rewarded with captivating blooms year after year. And the satisfaction of growing them yourself? Absolutely priceless!