Grow Your Own Wintergreen: Propagating Gaultheria pyroloides for a Sweet and Healthy Garden
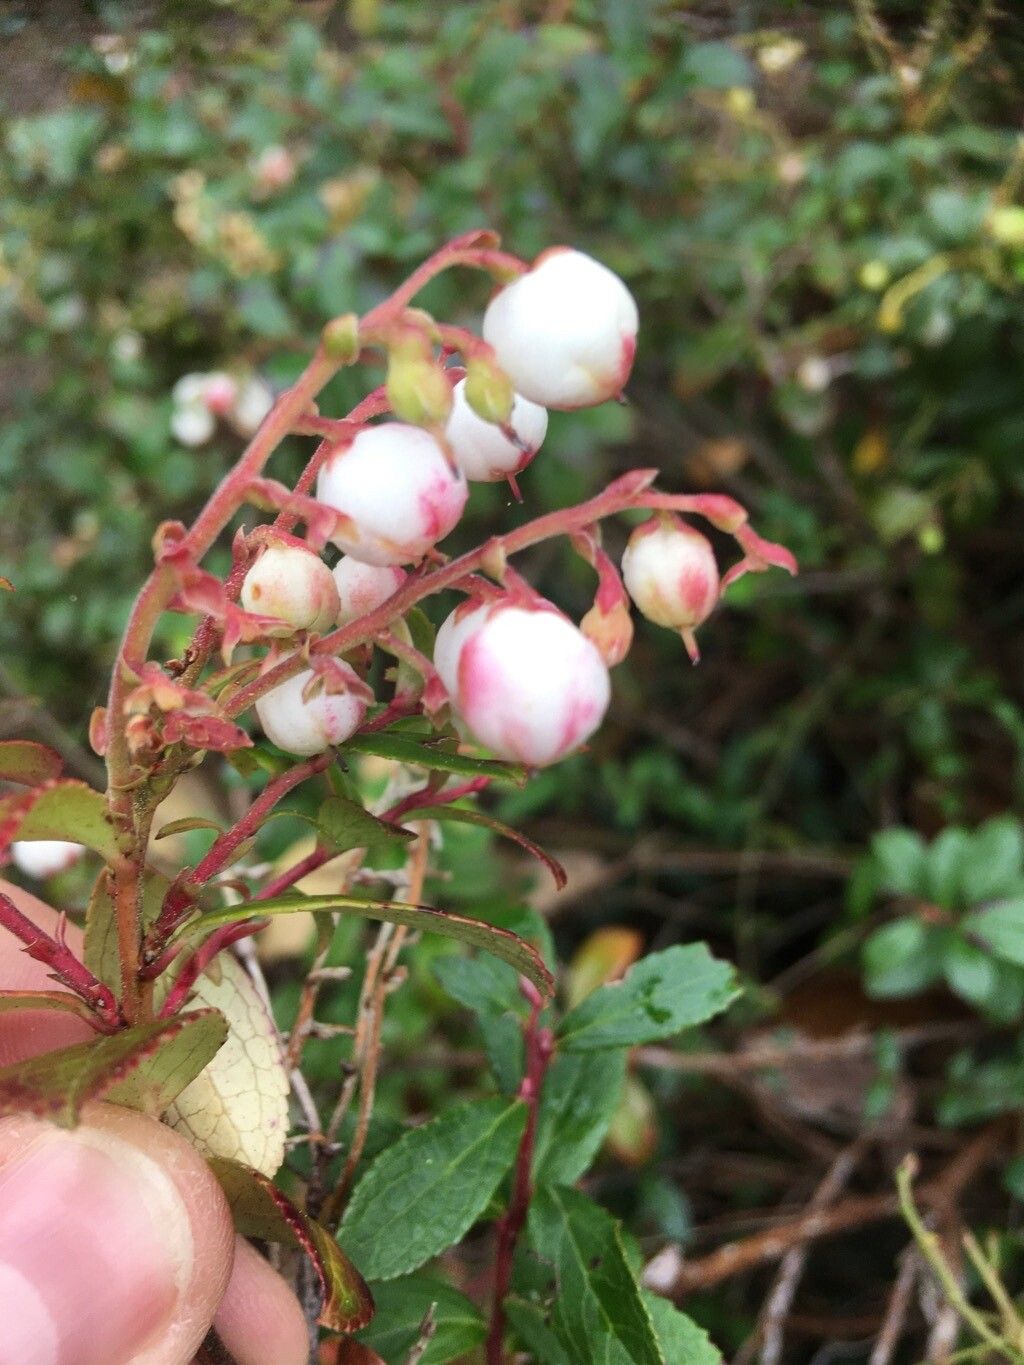
The delicate bell-shaped blooms of Gaultheria pyroloides, also known as creeping wintergreen, add a touch of charm to any garden. But this delightful plant offers more than just beauty. Its bright red berries are a natural source of vitamins and antioxidants, with a deliciously sweet, spicy flavor that makes them a perfect addition to homemade jams and chutneys.
If you’re a plant enthusiast looking to expand your garden and enjoy the benefits of wintergreen, propagation is an exciting and rewarding journey. Let’s explore the best methods to bring new life to this fascinating plant!
Seed Propagation: Patience is the Key
While wintergreen seeds are readily available, be prepared for a bit of patience with this method. Seed propagation can be a slow process, taking up to two years to see the first berries!
- Collect Seeds: Gather ripe berries from your existing wintergreen plant or purchase seeds from a reputable seed supplier.
- Stratification: To break dormancy and encourage germination, place the seeds in a cool, moist environment, simulating winter conditions. You can achieve this by mixing seeds with slightly moist vermiculite and storing them in a refrigerator for 6-8 weeks.
- Sowing: After the stratification period, sow the seeds in a seed tray filled with well-draining potting mix. Keep the soil lightly moist and in bright, indirect light.
- Transplanting: Once seedlings have developed several true leaves, carefully transplant them into individual pots or directly into the garden.
Vegetative Propagation: A Quicker Route
If you want to enjoy the fruits of your labor sooner, vegetative propagation methods such as cuttings offer a faster way to create new wintergreen plants.
Softwood Cuttings: This method is best suited for spring and summer when new growth is tender and pliable.
- Select a healthy stem with 4-6 inches of new growth.
- Make a clean cut just below a node (where leaves grow).
- Remove any lower leaves and treat the cut end with rooting hormone for faster root development.
- Plant the cutting in a pot filled with a moisture-retentive rooting mix.
- Cover the pot with a plastic bag or dome to maintain humidity.
- Place it in a bright, shaded location and keep the mix consistently moist.
- Once roots develop (usually within 6-8 weeks), you can gradually acclimatize the young plant to outdoor conditions.
- Layering: This involves encouraging a stem to root while still attached to the parent plant.
- Bend a healthy stem to the ground and gently bury a section of it with a small amount of soil.
- Pin the stem in place to ensure contact with the ground.
- Keep the soil consistently moist and monitor its progress.
- Roots will develop along the buried section, and once they are strong enough, you can separate the new plant from the parent.
Tips for Success:
- Choose the Right Soil: Wintergreen prefers moist, acidic soil, so ensure your chosen medium is well-draining and rich in organic matter.
- Provide Shade: While wintergreen thrives in shaded conditions, ensure it receives some indirect sunlight.
- Maintain Consistent Moisture: Keep the soil consistently moist, but avoid overwatering, as this can lead to root rot.
- Avoid Transplant Shock: Be gentle with the new plants, and handle them with care during transplanting to minimize stress.
Enjoy the Perks of Your Propagated Wintergreen:
Successful propagation not only allows you to enjoy the beauty and flavor of wintergreen but also provides you with the opportunity to share this precious plant with friends and family. By nurturing these new seedlings, you’re not only shaping your garden but also creating a legacy of sweet and healthy delights. So, gather your tools, choose your method, and embark on your wintergreen propagation journey!