Unleashing a Carpet of Blue: Propagating the Enchanting Glandora Diffusa
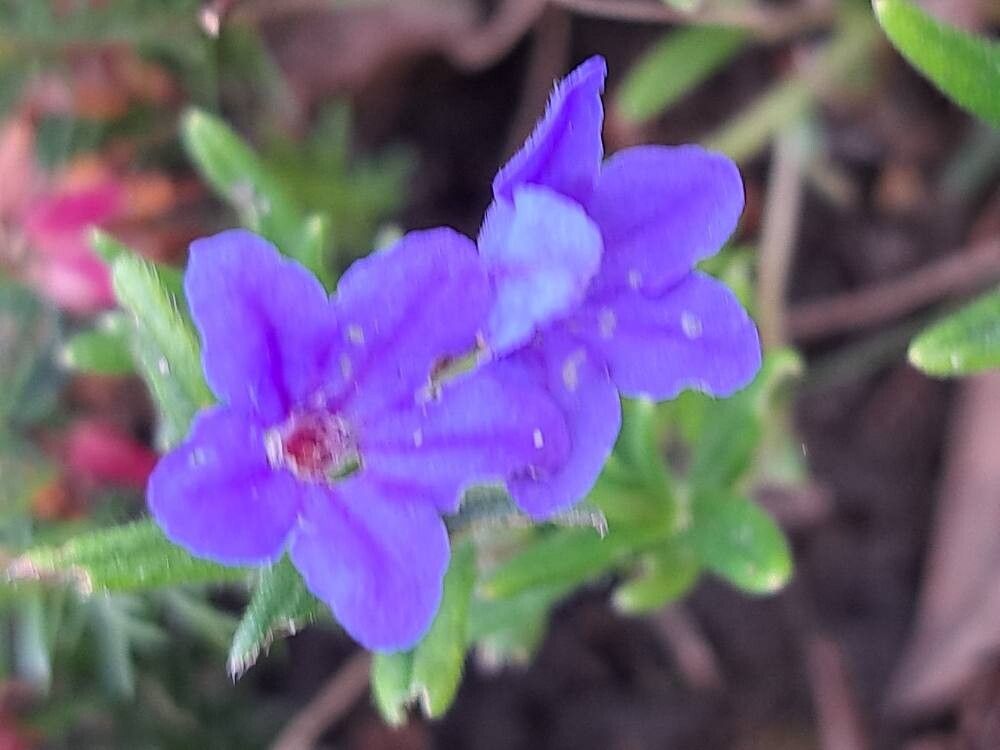
Glandora diffusa, more affectionately known as Lily of the Valley shrub or Rock Rosemary, is a gardener’s dream come true. Imagine a cascade of vibrant blue blossoms, erupting in waves throughout spring and early summer, effortlessly blanketing your rock gardens, trailing over walls, or spilling from containers. Envision the air alive with the sweet scent of honey, attracting buzzing pollinators to your garden haven.
Intrigued? Luckily, replicating this captivating display is easier than you might think. Propagating Glandora diffusa is a rewarding endeavor that can be achieved through two primary methods:
1. Cuttings: Cloning Your Blue Beauty
- Time it right: Late summer or early fall is the prime time for taking cuttings, just as the scorching summer heat begins to fade.
- Select your contenders: Choose healthy, non-flowering shoots around 3-4 inches long. Ideally, look for sections that have slightly hardened off but are still flexible.
- Prepare for success: Using a sharp, clean knife or pruning shears, make a clean cut just below a leaf node (the point where the leaf attaches to the stem). Remove the lower leaves, leaving only 2-3 pairs at the top.
- Hormone boost (optional): While not strictly necessary, dipping the cut end in rooting hormone powder can expedite the process and increase your chances of success.
- Pot it up: Plant the cuttings in a pot filled with a well-draining potting mix, burying the bottom node. Water gently and thoroughly.
- Create a cozy humidity dome: Cover the pot with a clear plastic bag or humidity dome to trap moisture and promote root development. Place it in a bright location, out of direct sunlight.
- Patience is key: Keep the soil consistently moist but not waterlogged. After 4-6 weeks, gently tug on the cuttings to check for resistance – a sign that roots have formed.
- Gradually acclimate: Once rooted, gradually acclimate the new plants to outdoor conditions by gradually increasing their exposure to sunlight and fresh air.
- Transplant to their forever home: After the last frost, transplant your rooted cuttings to their desired location in your garden.
2. Layering: Encouraging Natural Rooting
- Find a flexible friend: Choose a low-growing stem that is long and pliable.
- Prepare the ground: Loosen the soil around the base of the plant and incorporate some compost for added nutrients.
- Wound and secure: Gently wound the underside of the chosen stem by making a small scrape or notch. Bend the stem down and bury the wounded section in the prepared soil, securing it with a landscape staple or rock.
- Mother nature takes over: Keep the soil consistently moist and wait patiently. Over time, the buried section will develop roots.
- Sever the connection: After about 6-8 weeks, check for root development. Once established, carefully sever the newly rooted plant from the mother plant.
- Independent and thriving: Allow the new plant to remain undisturbed for a few weeks to acclimate before transplanting it to its desired location.
A Few Pointers for Success:
- Drainage is key: Glandora diffusa thrives in well-draining soil. Soggy conditions can lead to root rot, so ensure your planting site or containers drain well.
- Sun-kissed blossoms: Plant your Glandora diffusa in a location that receives at least 6 hours of sunlight daily to encourage abundant blooming.
- Less is more with fertilizer: Avoid over-fertilizing, as too much nitrogen can promote leafy growth at the expense of flowers. A light application of balanced fertilizer in spring is usually sufficient.
Propagating your own Glandora diffusa is a fulfilling endeavor that allows you to expand your garden sanctuary with ease. With a little patience and care, you can unlock a cascade of breathtaking blue blooms, transforming your outdoor haven into a captivating oasis.